Activating Campaigns and Journeys
Once the campaign or journey is ready, marketing users can then activate the campaign or journey immediately, or schedule activation for later.
Who can use this feature?
- Marketing Users - Browser
- Activating Now
- Scheduling for Later
- Users require a Campaign Manager license
Configuring Activating Campaigns and Journeys for
To configure this feature, ensure Configuring Campaign Manager is complete.
Activating Now as
To activate the campaign or journey immediately:
-
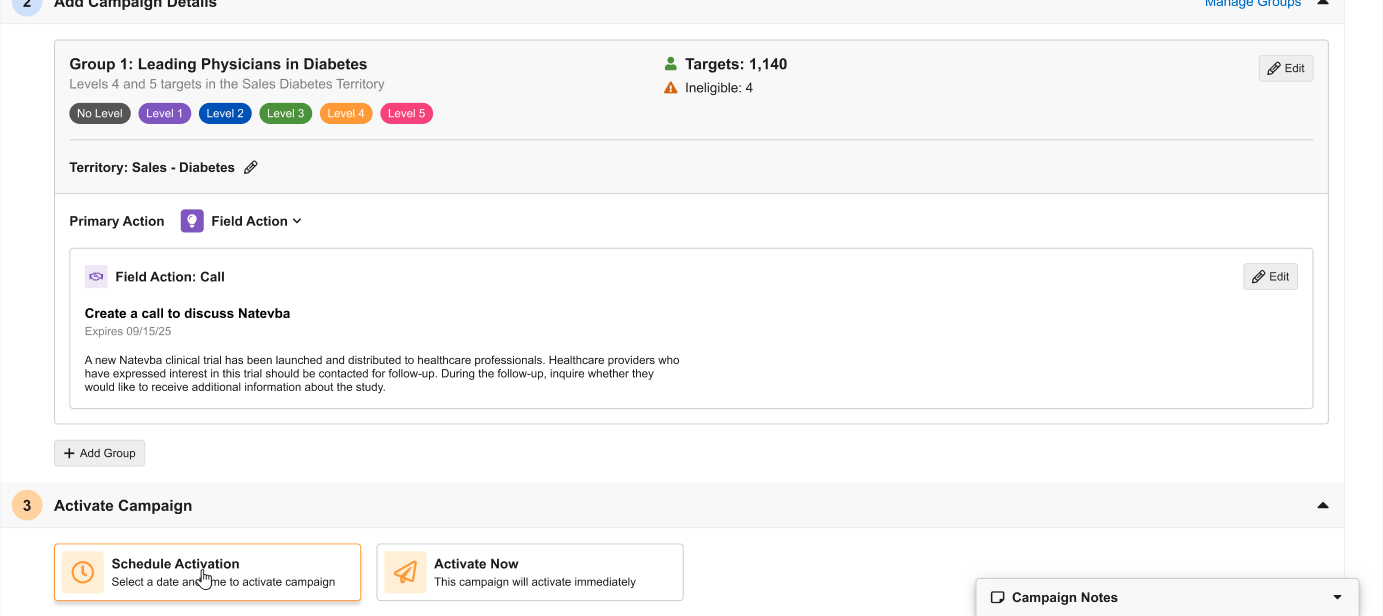
Navigate to the appropriate campaign or journey.
-
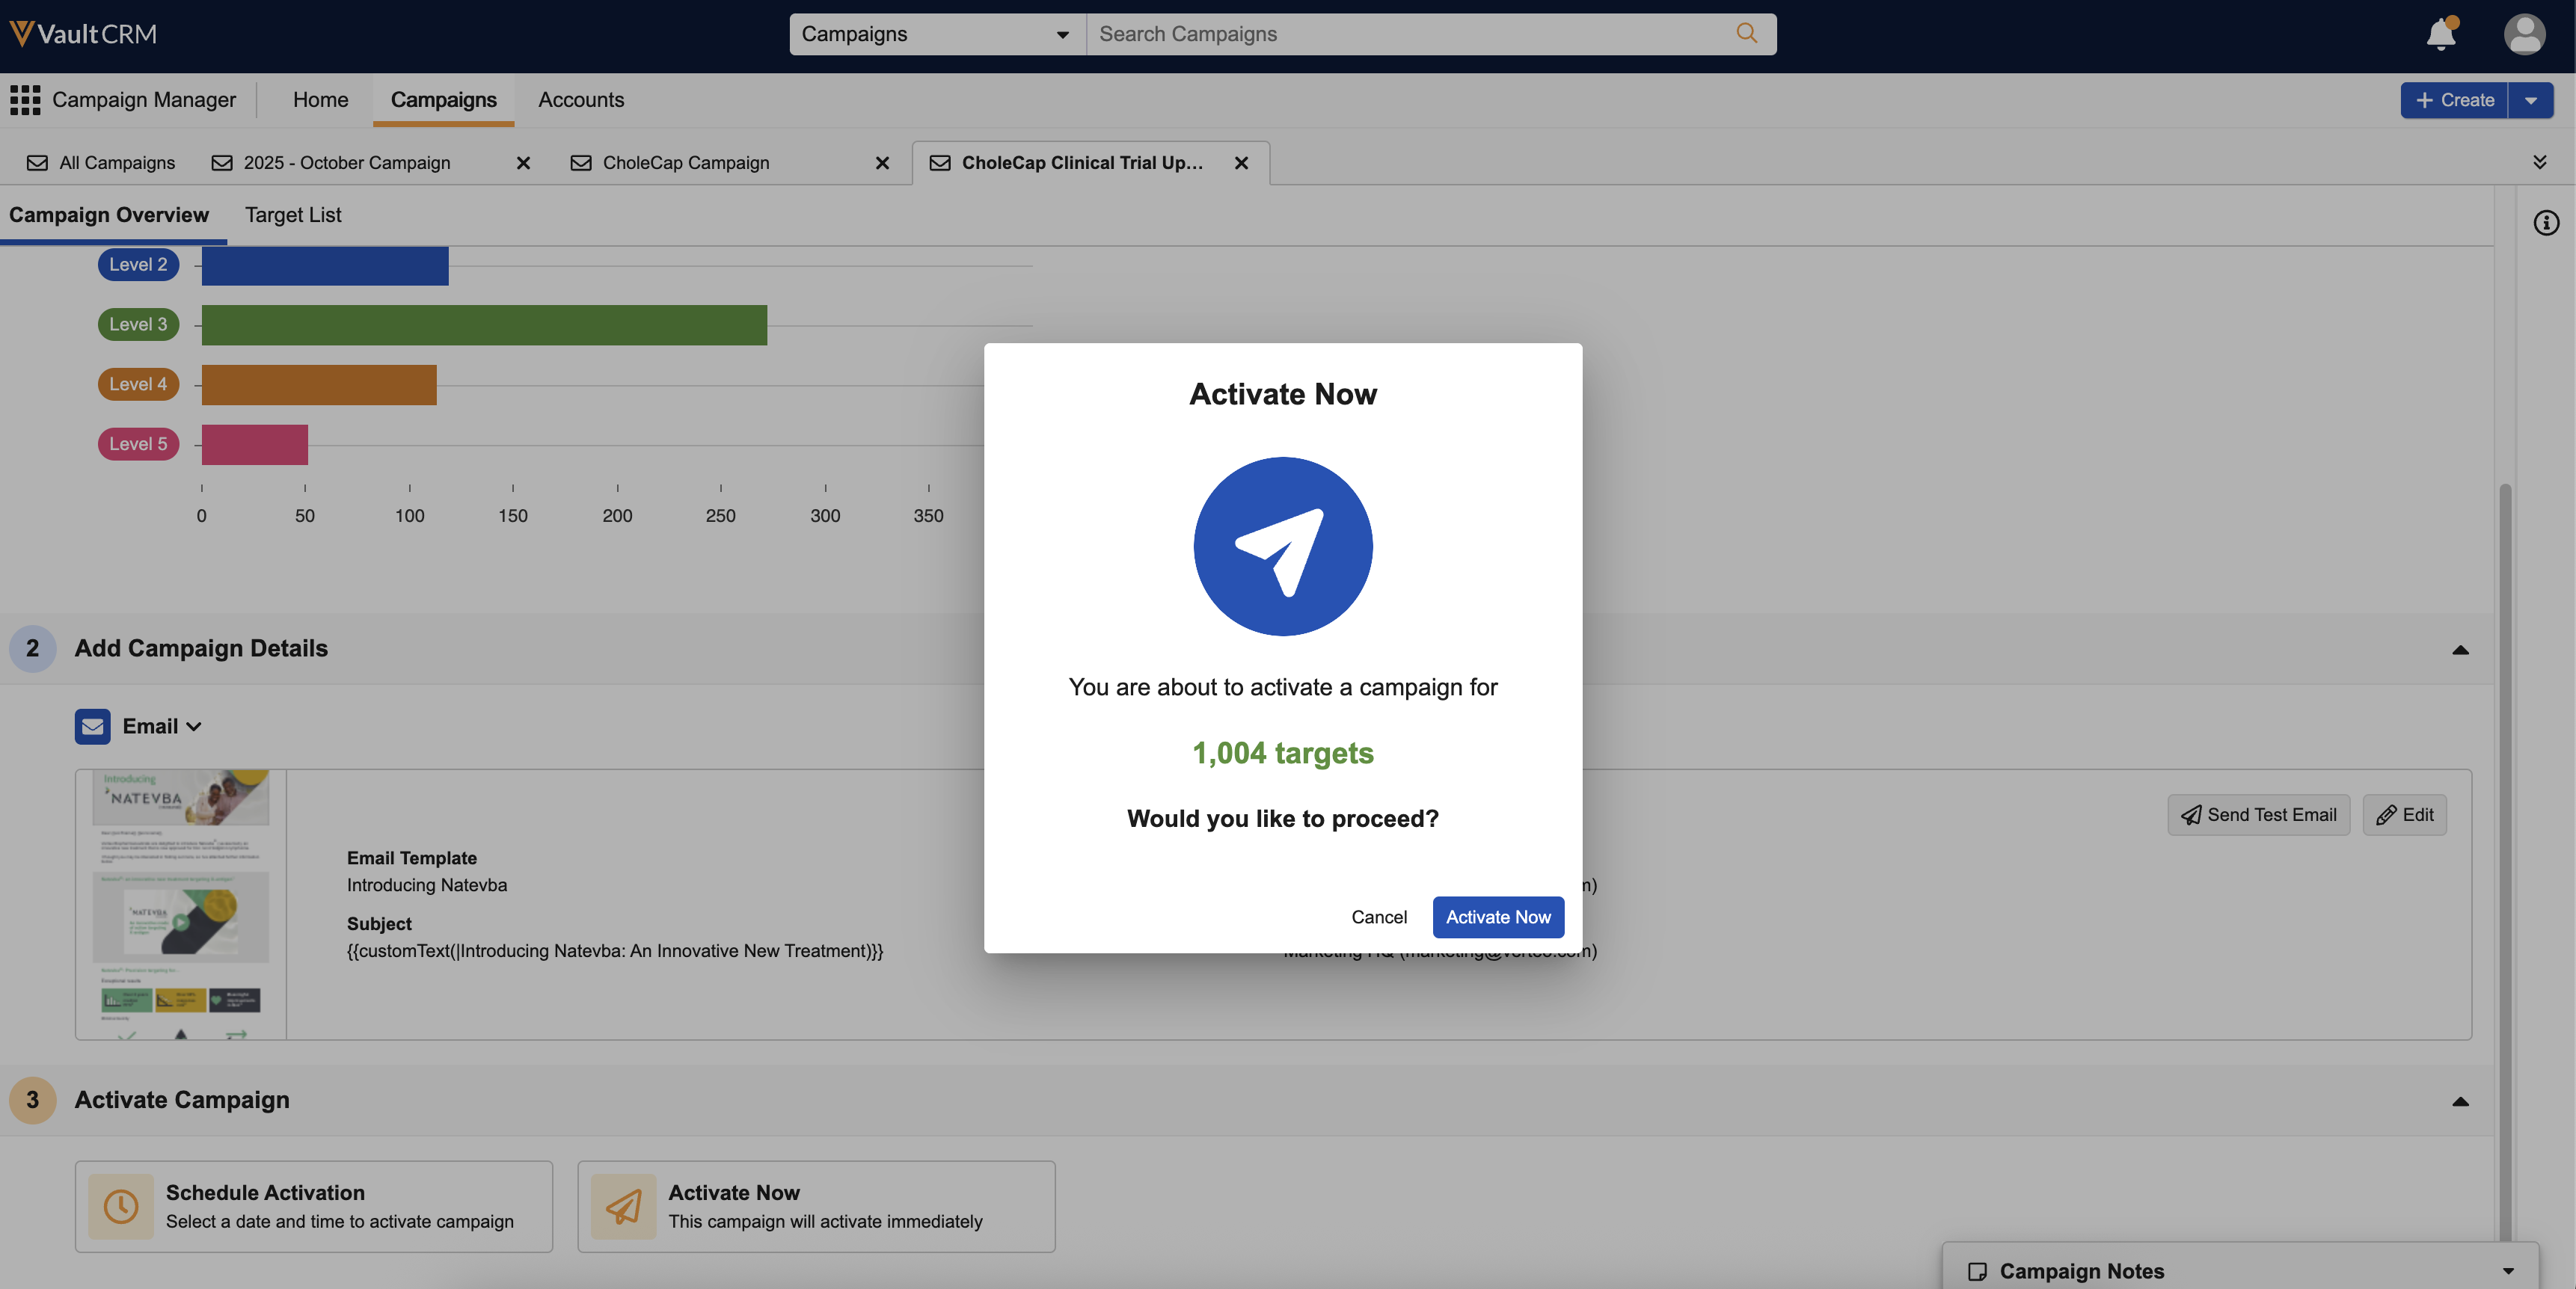
Select the Activate Now tile. A confirmation modal displays.
For journeys, users must also define an end date and time of the journey. If the journey has defined targets, the user must also select whether to run the first batch immediately, or for the next scheduled batch, based on the journey’s defined frequency.
- Select the Activate Now button.
Scheduling Activation as
To activate the campaign or journey at a future date and time:
-
Navigate to the appropriate campaign or journey.
-
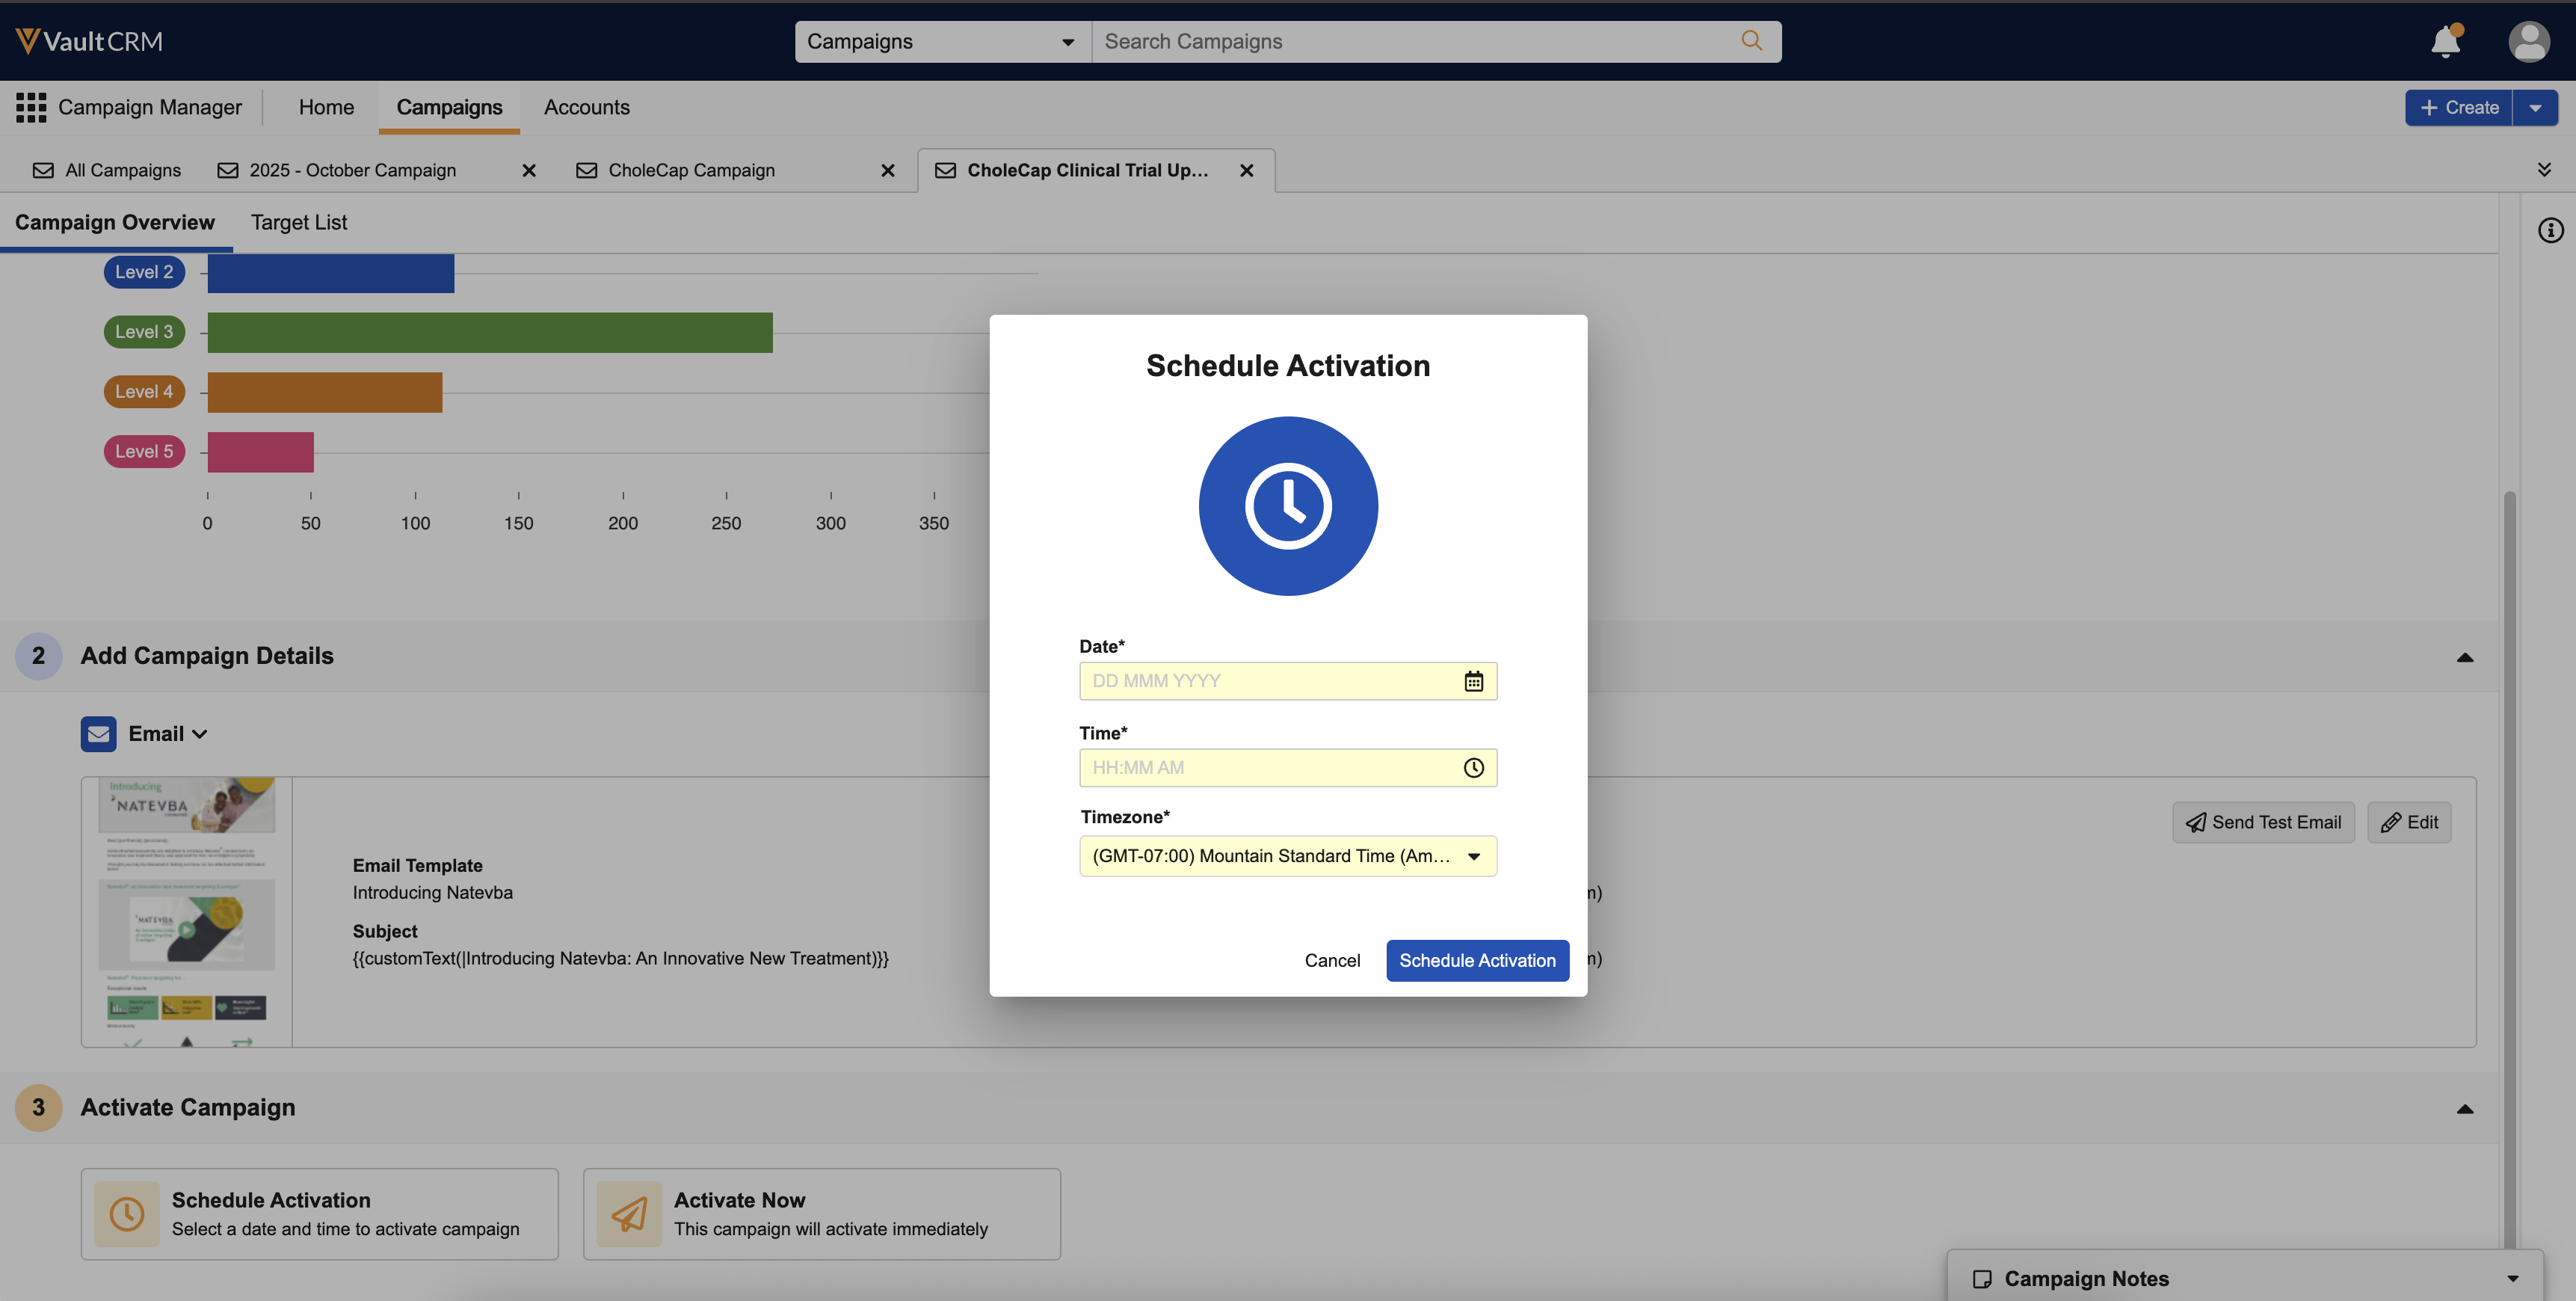
Select the Schedule Activation tile. The Schedule Activation modal displays.
-
Enter a future Date and Time.
You may enter today's date as long as you enter a time after the current time. If one or more actions have Field Review enabled, the campaign must be scheduled at least one hour in advance. For journeys, users must also define an end date and time of the journey.
-
Select Schedule Activation. A Scheduled section displays at the top of the Overview sub-tab with the following links:
- Select the Cancel Activation link to cancel the scheduled activation
- Select the Reschedule link to modify the scheduled date and time
Once the campaign or journey has activated, a set of metrics displays in the Performance Summary section. See Monitoring Performance in Campaign Manager for more information.

