Transitioning to Vault CRM for Veeva CRM Users
As you transition to Vault CRM from Veeva CRM, there are some key differences in terminology, field types, and navigation that we want to highlight. Understanding these differences will help ensure a smoother transition and minimize disruptions to your team's workflow.
- Understanding Terminology
- Supported Field Types
- Navigating Vault
- Managing Permission Sets
- Using App Controls and App Sections
- Using Section Attributes
- Supporting Layout Profiles Offline
- Managing Objects
- Managing Veeva Messages and VMOCs
- Creating Tabs
- Managing Custom Settings
- Using the CRM Setup Tab Collection
- Deprecated Features
'
Understanding Terminology
To get started with terminology differences between Vault CRM and Veeva CRM, familiarize yourself with the following:
| Vault CRM | Veeva CRM |
|---|---|
| Field Permission | Field Level Security |
| n/a | Visualforce Pages |
| Veeva Messages | Veeva Messages |
| Veeva Settings | Veeva Settings |
| Section Attributes | Section Signals (--nas) |
| field_name__v | Field_Name__vod |
| object_name__v | Object_Name__vod |
| Object Types | Record Types |
| Actions | Buttons |
| VMOCs | VMOCs |
| App Sections | zvod marker fields |
| App Controls | zvod fields |
| Security Profile | User Profile |
|
Permission Set |
Permission Set |
Supported Field Types
The following table lists the supported field types in Vault CRM and their Veeva CRM counterparts:
| Vault CRM | Veeva CRM |
|---|---|
| Yes/No | Checkbox |
| Currency | Currency |
| Date | Date |
| Date/Time | Date/Time |
|
Email subtype or Text with EmailFormat format mask |
|
| Formula | Formula |
| Reference | Lookup Relationship |
| Parent/Child | Master-Detail Relationship |
|
Number Business admins can define minimum and maximum values for number fields. When an end user populates a number field with a value outside the defined minimum or maximum values, an error message displays when saving the record. |
Number |
|
Percent subtype or Number with Percent format mask |
Percent |
|
Phone subtype or Text with Phone format mask |
Phone |
| Picklist | Picklist |
| Picklist with the Allow user to select multiple values checkbox selected | Multi-Select Picklist |
|
Roll-up fields are not supported on the CRM Desktop (Windows) platform. |
Roll-Up Summary |
| Text | Text |
| Long Text | Text Area |
| Long Text | Text Area (Long) |
| Rich Text | Text Area (Rich) |
|
Time subtype or Text with Time format mask |
Time |
| Link subtype or Text with LinkFormat format mask | URL |
To create fields in Vault CRM, see How to Add Object Fields.
The following Veeva CRM field types are not supported in Vault CRM:
- Address
- Auto Number
- External Lookup Relationship
- Geolocation
- Hierarchical Relationship
- Indirect Lookup Relationship
- Text (Encrypted)
If Integrating My Schedule and Microsoft Outlook Calendars is enabled, ensure the Enable_MS_Outlook_Calendar_vod field is deselected on every User record in Veeva CRM. This ends the integration for Veeva CRM, enabling users to successfully use the integration in Vault CRM.
Using Field Subtypes
When creating fields for an object, business admin users can select field subtypes to ensure certain types of fields display information in a specific format. A field subtype can automatically apply a format mask or a maximum field length to a field, making it quicker and easier for admins to create certain types of fields than defining custom format masks. For example, if a business admin wants to create a field to capture an email address on a record, they can create a field with the email subtype. This automatically applies the EmailFormat format mask on the field. When viewing the populated field in Vault CRM, the email address displays as a link.
The following field subtypes are supported:
- Email (Text) – Displays the populated text as links. When selected, the default email app displays and the recipient is populated with the text. On iPad, when Approved Email is configured, selecting an email link displays Approved Email. On CRM Desktop (Windows), email fields do not display as links.
- Link (Text) – Displays the populated text as links. When selected, the default browser displays.
- Percent (Number) – Displays the populated numbers as percentages
- Phone (Text) – Displays the populated text as phone numbers formatted based on the user’s locale. On iPad and iPhone, phone fields display as links. Selecting a phone number displays a menu with available actions.
- Time (Text) – Displays the selected time formatted based on the user’s locale. On Browser, end users can populate a time field or select from the available options.
Navigating Vault
There are a number of navigational differences between Vault CRM and Veeva CRM for commonly used configuration steps, for example, managing user permissions and updating custom settings. These differences are described below.
Managing Permission Sets
Permission sets control all the permissions for security profiles, including object and field permissions, and tab visibility.
To update object and field permissions in Vault CRM:
- Navigate to the Users & Groups tab in the Admin tab.
- Select Permission Sets from the side menu.
- Select the appropriate custom permission set, for example, Business Administrator Permissions or Primary Care Sales Permissions.
- Select Objects. This page may take a few seconds to display.
- Select Edit to update the object permissions for all objects and their object types. Alternatively, select a specific object to view and edit all of the permissions for that object, including the following:
- Object Permissions - Create, Read, Edit, and Delete (CRED) permission for each object type. If you grant Create or Delete permission, Read and Edit permissions are automatically granted.
- Object Field Permissions - Read and Edit permission for each field on the object
Using the All Object Fields checkbox to grant field permissions is not recommended. When the All Object Fields checkbox is selected, users automatically receive access for new fields added to the object, which can result in unexpected behavior.
- Object Action Permissions - View and Execute actions available on records for the object
- Object Control Permissions - Field app and section object controls available on layouts for the object. These are generally converted zvod fields and section signals.
- Select the appropriate permissions.
- Select Save.
Do not grant end users Metadata API access in the Application tab of a permission set. Granting Metadata API access causes sync errors when using Vault CRM on iPad or iPhone.
Using Object Controls
Almost all zvod fields and certain section signals in Veeva CRM are now field or section controls.
- Field control - A field with specific behavior or enables specific behavior within a detail form section
- Section control - A section with specific behavior or enables specific behavior on the page
To follow Vault's naming conventions, the preceding zvod_ is removed from the field names and all letters are lowercase. Custom zvod fields must follow these naming conventions.
Some zvod fields, for example, zvod_consent_activity_tracking__v and zvod_consent_default_consent_text__v on the consent_type__v object, still contain zvod in their field names. These fields store customer data and must have the same names as in Veeva CRM in order to successfully migrate the data.
You can manage user visibility to these controls in the Object Control Permissions for the appropriate permission sets.
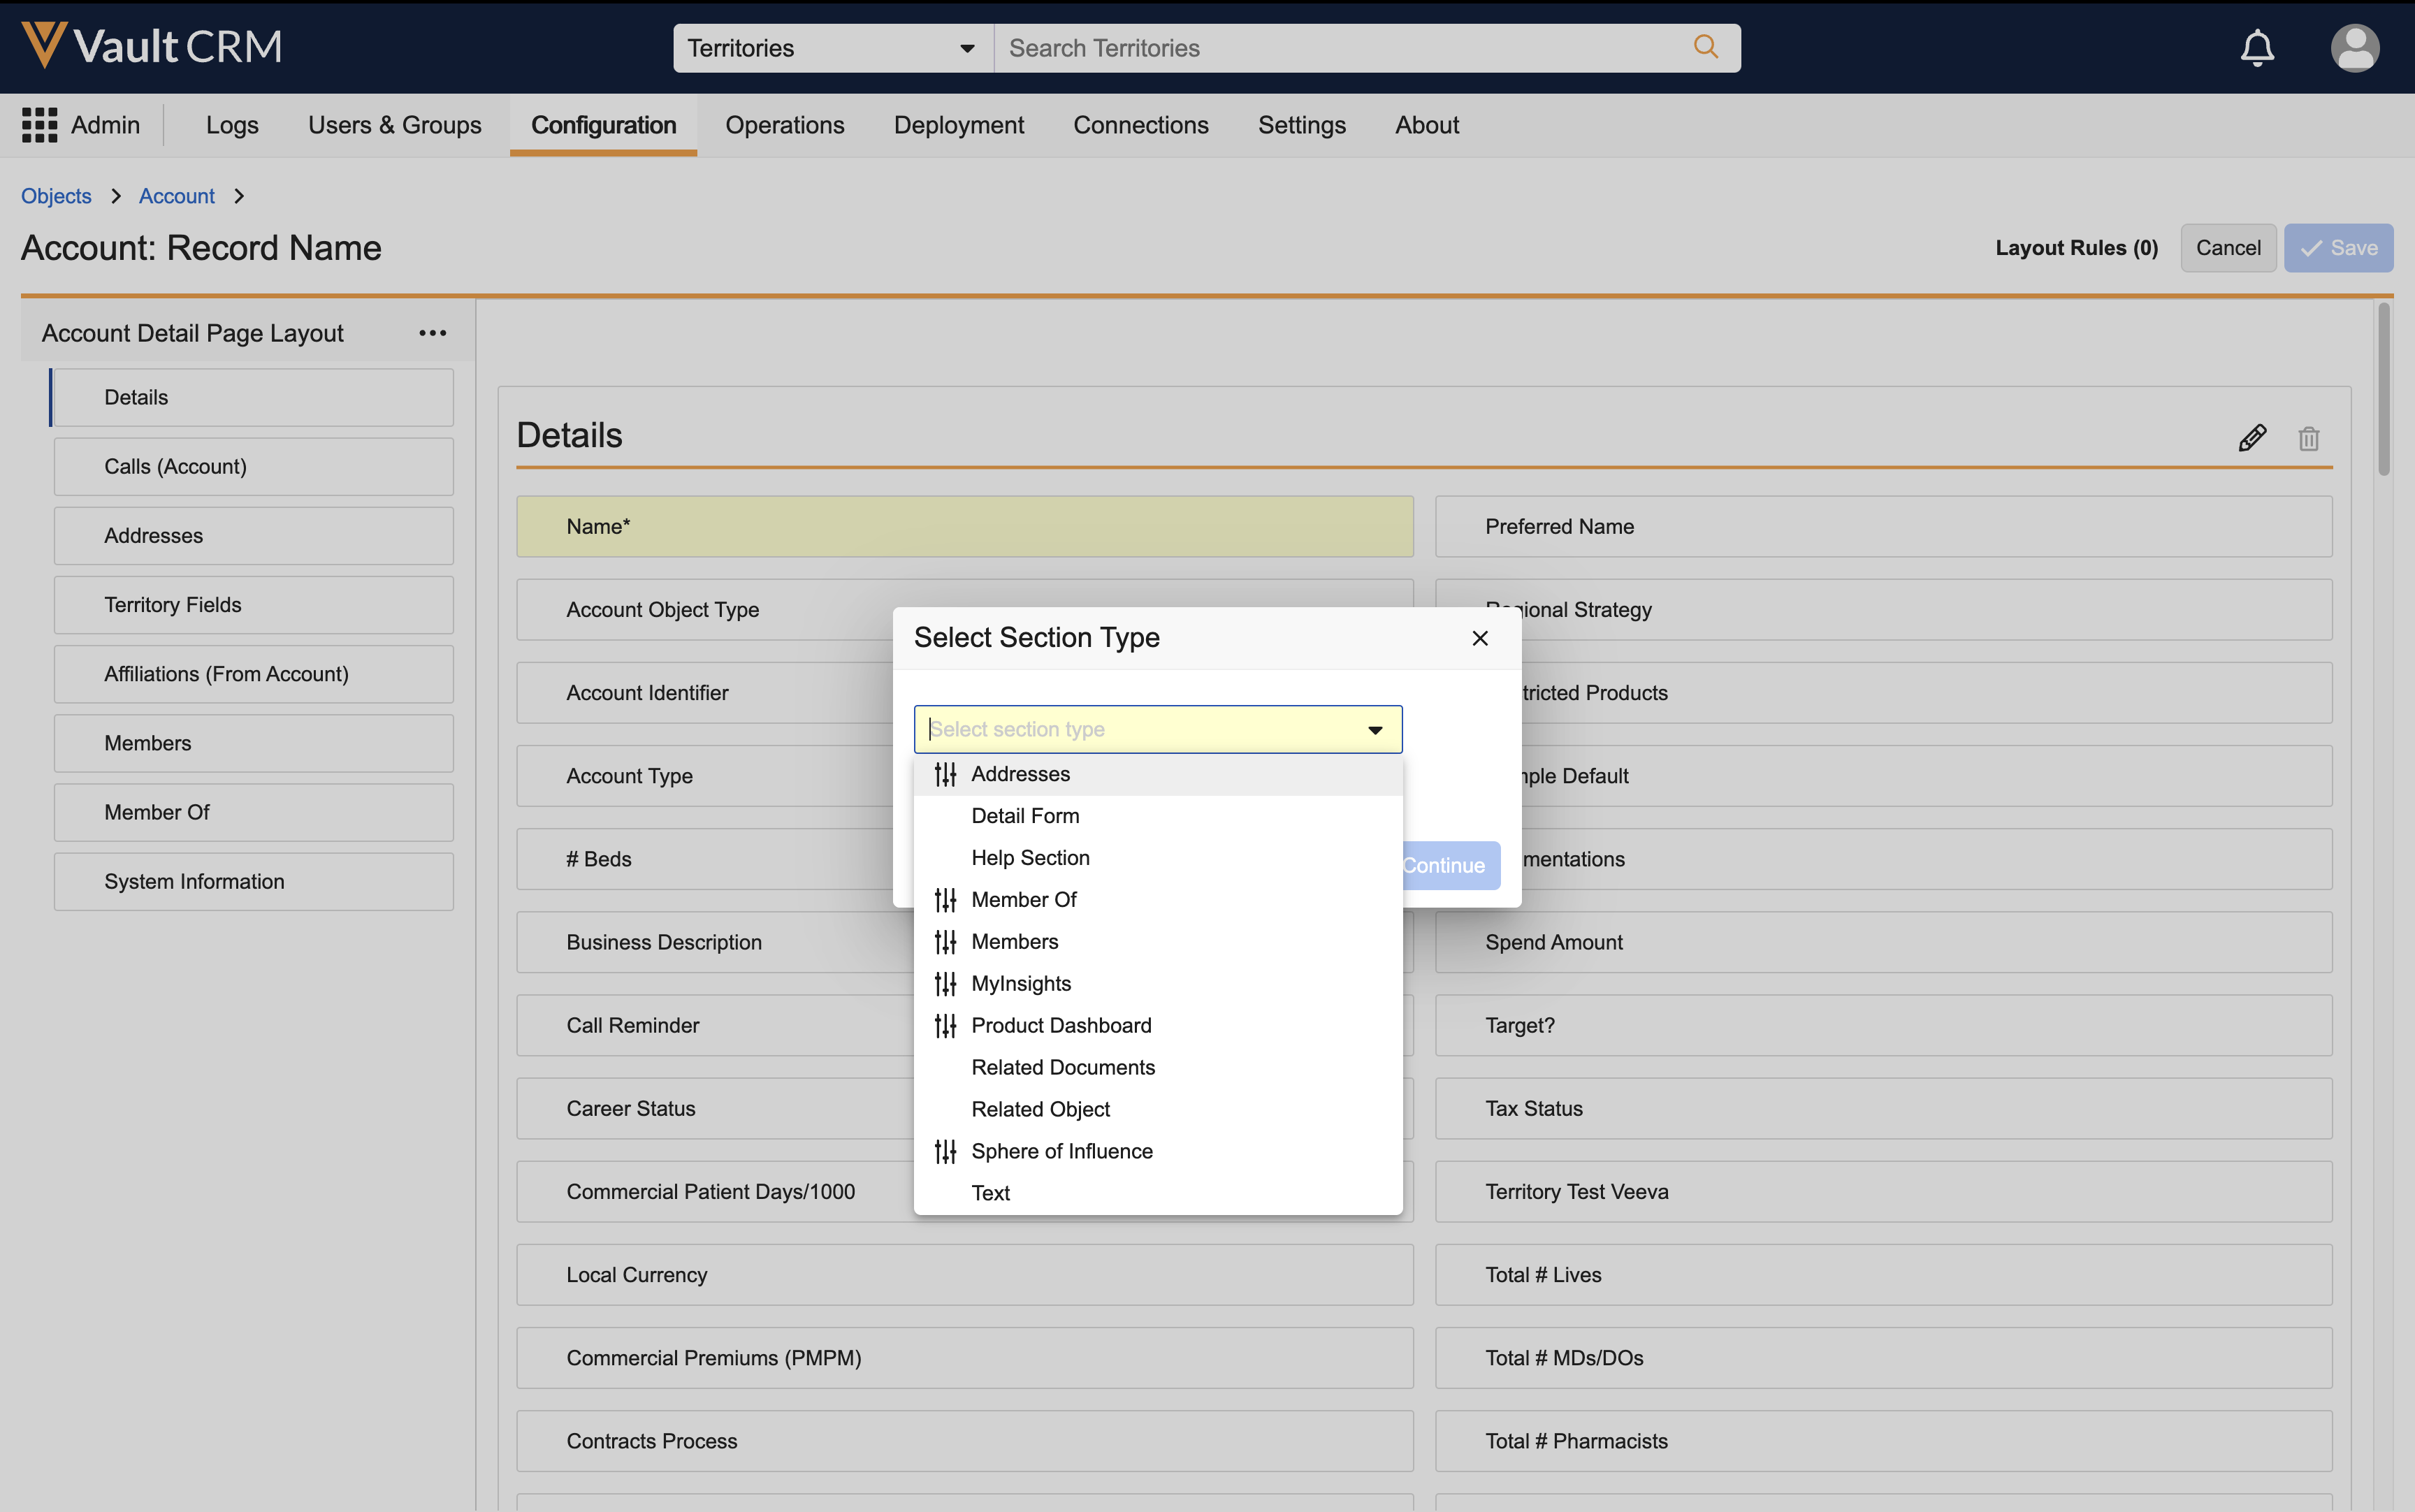
Using Section Attributes
Section signals in Veeva CRM are now section attributes for layouts. When creating or editing a section on a layout, the available section attributes display as check boxes labeled with the full name of the attribute. Select the checkbox for the appropriate attribute to include it in the layout.

Some section signals, including asf, rem, nab, nap, are now object controls.
Supporting Layout Profiles Offline
Layout profiles allow admins to define sets of users with access to specific object layouts, providing greater flexibility for customers to control layouts for the same object type for different groups of users according to business needs. See Configuring Layout Profiles for more information.
Managing Objects
Each object page includes the following:
- Object Types
- Fields
- Layouts
- Actions
- Validation Rules
To edit an object:
- Navigate to the Configuration tab in the Admin tab.
- Select Objects in the Object Setup section.
- Select the appropriate object from the list of available objects.
- Select the appropriate tab to view, create, or edit the component.
- Select Save.
Actions, fields, and layouts are all tied to object types. Each layout is created for a specific object type. To add actions and fields to a layout, the actions and fields must be enabled for the object type associated with that layout.
In Vault CRM, when you add a field referencing a child object to a layout for an object type, you must also add a field referencing the parent object. When creating or editing records for that object type, you must populate the field for the parent object before you can populate the field for the child object. See About Object Relationships for more information about parent-child relationships in Vault.
Managing Veeva Messages and VMOCs
Similar to Veeva CRM, Veeva Messages and VMOCs are object records in Vault CRM.
In order for incremental sync to function correctly, end users must have Read field permission to the modified_date__v field on each object with an active VMOC. This field permission is not automatically granted when granting Read object permission to the object.
To edit a Veeva Message:
- Navigate to the Objects tab in the Business Admin tab.
- Select the message__v object. Use the search bar to quickly find the object.
- Select the appropriate Veeva Message record. You can filter the list of records using the Filters in the side menu, or edit the columns and create custom views from the All Actions menu. Alternatively, select Create to create a custom Veeva Message.
- Select Edit.
- Edit the fields appropriately.
- Ensure the Active checkbox is selected.
- Select Save.
To edit a VMOC:
- Navigate to the Objects tab in the Business Admin tab.
- Select the vmobile_object_configuration__v object. Use the search bar to quickly find the object.
- Select the appropriate VMOC record. You can filter the list of records using the Filters in the side menu. or edit the columns and create custom views from the All Actions menu. Alternatively, select Create to create a custom VMOC.
- Select Edit.
- Edit the fields appropriately.
- Ensure the Active checkbox is selected.
- Select Save.
Creating Tabs
To create a tab in Vault CRM:
- Navigate to the Configuration tab in the Admin tab.
- Select Tabs in the User Interface section.
- Populate at least the Label and Tab Type fields.
- The Name field is automatically populated based on the Label field
- If you select Object for the Tab Type, the Object dropdown field displays. Select the appropriate object for the tab.
- Set the Status to Active.
- Select Save.
To grant tab visibility:
- Navigate to the Users & Groups tab in the Admin tab.
- Select Permission Sets from the side menu.
- Select the appropriate custom permission set, for example, Business Administrator Permissions or Primary Care Sales Permissions.
- Select Tabs.
- Select Edit.
- Select the View checkbox beside the appropriate tab.
- Select Save.
Managing Custom Settings
Custom settings are now objects in Vault CRM, including the following settings:
- Approved Email Settings (approved_email_settings__v)
- Concur Settings (concur_settings__v)
- Engage Link Settings (engage_link_settings__v)
- Events Management Settings (events_management_settings__v)
- Global Account Search Settings (global_account_search_settings__v)
- Mobile CRM Settings (mobile_crm_settings__v)
- Multichannel Settings (multichannel_settings__v)
- Network Settings (network_settings__v)
- Portal Settings (portal_settings__v)
- Samples State Credential Settings (samples_state_credential_settings__v)
- Samples State Settings (samples_state_settings__v)
- Territory Settings (territory_settings__v)
- VDS Settings (vds_settings__v)
- Veeva Settings (veeva_settings__v)
- WeChat Settings (wechat_settings__v)
You must create a record for each custom setting object to populate the values for each setting.
You do not need to create a record for the veeva_settings__v object. The Global Veeva Settings record is available in Vault CRM out-of-the-box.
To create a custom setting record:
- Navigate to the Objects tab in the Business Admin tab.
- Select the appropriate custom setting object, for example, Approved Email Settings of Multichannel Settings. Use the search bar to quickly find the correct object.
- Select Create.
- Enable the appropriate settings.
- Select Save.
Using the CRM Setup Tab Collection
The following admin pages are migrated to Vault CRM as tabs in the CRM Setup tab collection:
- Territory Management
- Territories
- Account Territories
- User Territories
- Geography Territories
- Assignment Rules
- Process Scheduler
- Content Setup
- Approved Email
- CLM
- CRM Vault Metadata
- Engage Setup
- Engage Group Management
- Engage Connect Administration
- Engage Platform Process Administration
- Engage Connect Process Administration
- CRM Processes
- MCCP Administration
- Survey Administration
- Global Account Search Configuration
- Outlook Integration Administration
Edit the permission set for the user to enable these tabs.

To use the admin tabs:
- Navigate to CRM Setup.
- Select the appropriate admin tab from the menu.
Deprecated Features
The following features are deprecated in Vault CRM:
- Data Model:
- Andi
- Account Management:
- Account Overview Panels
- Hard-coded native KOL profile
- Multichannel Calendar
- CLM:
- CoBrowse
- FaceTime
- Creating Sample Transactions on Save (Enable Samples on Save Veeva Setting)
- Engage for Portals
- Engage Connect:
- Approved Content for Engage Chat (replaced by Sharing CLM Content via Web Link)
- High Performance Call Report
- VInsights

