Recording a Virtual Event
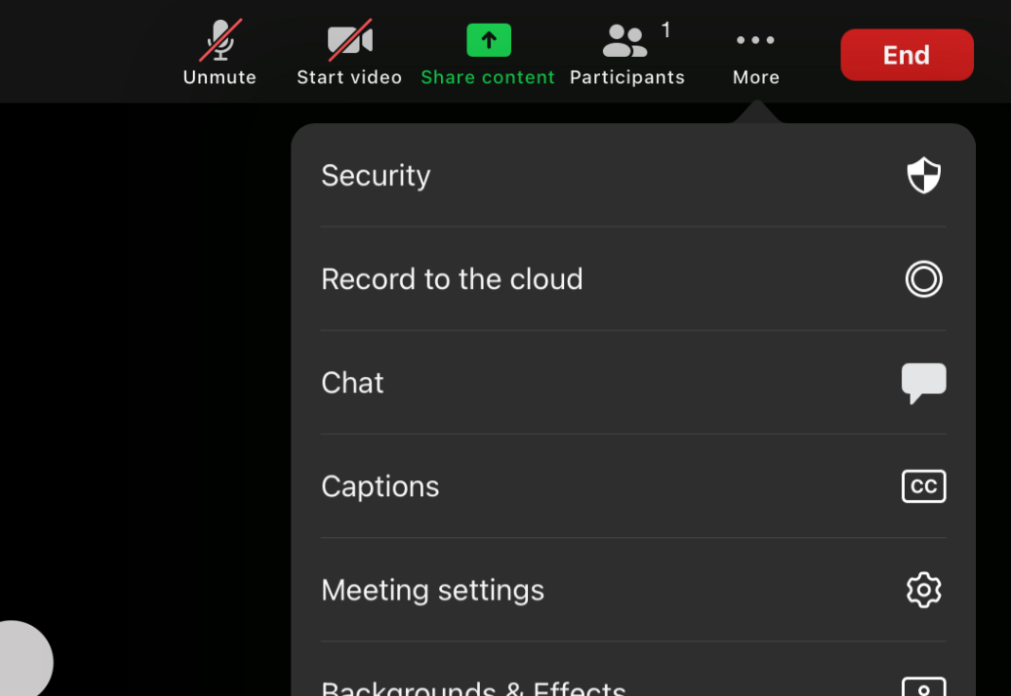
End users can record their virtual events via the Record to the Cloud button. Recordings of virtual events are stored in connected PromoMats instances and can be referenced for future training, marketing, or auditing purposes.
Who can use this feature?
- End Users - Browser, iPad
- Recording a Virtual Event
- Users require Events Management and Engage licenses
Configuring Virtual Event Recordings for
To configure this feature for end users:
-
Ensure the following features are configured:
- Navigate to Admin > Users & Groups > Permission Sets.
- Select the appropriate permission set.
- Select the Objects tab.
-
Grant the following permissions:
Object Object Permission Object Types Fields Field Permission em_event__v CRE n/a - vault_binder_path__v
- vault_external_id__v
Edit - Ensure end users have the Cloud Recording Group Meeting Permissions enabled.
- Navigate to the Admin > Configuration > Engage Platform Process Administration.
- Select New in the Vault Login Credential Management section.
-
Enter the following credentials:
- Vault Name
- Vault URL
- User name
- Password
- Select Save to validate the connection.
Recording a Virtual Event as
Event organizers can begin recording by selecting the Record to the Cloud button in the All Actions menu.

End users can pause or end the recording by selecting the Cloud button, then selecting the appropriate action. If a host stops or pauses a recording and then restarts, two recordings are saved.
When the event ends, recordings made are uploaded to the associated PromoMats instance in a new Vault Binder. Documents within the binder are created for each recording from the virtual event.
The location of the created binder is saved on the em_event__v record in Vault CRM via the following fields:
- vault_binder_path__v – Populates with the URL of the binder document in PromoMats
- vault_external_id__v – Populates with the external ID of the binder in PromoMats

