Creating Custom Inventory Monitoring Object Types
End users perform multiple activities when visiting a pharmacy, for example, verifying product placements, collecting product metrics, and checking inventory levels. These activities can vary from one account to another. To help users quickly see which activities they need to perform for each account during their visit, define custom Inventory Monitoring object types.
When an Inventory Monitoring object type is assigned to an account, only the relevant activities that need to be completed for the account display on the Inventory Monitoring Lines. Users do not need to remember which activities belong to which account when visiting a store because only the relevant items are available for them to capture information.
Who can use this feature?
- End Users - Browser, iPad
- Using Custom Inventory Monitoring Object Types
- Users do not require an additional license
Configuring Custom Inventory Monitoring Object Types for
To configure this feature:
- Ensure Configuring Inventory Monitoring is complete.
- Navigate to Admin > Users & Groups > Permission Sets.
- Select the appropriate permission set.
- Select Objects.
- Grant the following permissions:
Object
Object Permissions
Object Types
Fields
Field Permissions
account__v
n/a
n/a
default_inventory_monitoring_type__v
Read
Create custom inventory_monitoring__v object types:
- Navigate to Admin > Configuration > Objects.
- Select inventory_monitoring__v.
- Select Objects Types.
- Select Create.
- Enter the required information.
- Select Save.
Create custom inventory_monitoring_lines__v object types:
- Navigate to Admin > Configuration > Objects.
- Select inventory_monitoring_line__v.
- Select Object Types.
- Select Create.
- Enter the required information exactly as entered for inventory_monitoring__v.
- Select Save.
Create a custom object type layout for the inventory_monitoring_v object. This step is optional:
- Navigate to Admin > Configuration > Objects.
- Select inventory_monitoring__v.
- Select Layouts.
- Select Create.
- Add a layout for the custom object type.
- Select Save.
Create a custom object type layout for the inventory_monitoring_lines__v object and add desired fields to the layout:
- Navigate to Admin > Configuration > Objects.
- Select inventory_monitoring_lines__v.
- Select Layouts.
- Select Create.
- Add a layout for the custom object type.
- Add the fields for the custom object type to the layout.
- Select Save.
Create matching picklist values on the account__v object:
- Navigate to Admin > Configuration > Objects.
- Select account__v.
- Select Fields.
- Select inventory_monitoring_type__v.
- Select Create in the Picklist Values section.

- Enter the required information. The values entered must match the new object types exactly. For example, if the new object type is verify_product_placement__c, the matching picklist value name is verify_product_placement__c.
- Select Save.
- Select Fields.
- Select default_inventory_monitoring_type__v.
- Select Create in the Picklist Values section.
- Enter the required information. The values entered must match the new object types exactly. For example, if the new object type is verify_product_placement__c, the matching picklist value name is verify_product_placement__c.
- Select Save.
Select the appropriate custom object types for each account that uses custom object types:
- Navigate to Business Admin > Objects.
- Select account__v.
- Select the appropriate account.
- Select the edit icon.
- Select the appropriate inventory_monitoring_type__v field values for the account from the list of available Inventory Monitoring object types that can be recorded for the account.
- Select the appropriate default_inventory_monitoring_type__v value for the account from the list of available Inventory Monitoring object types that can be recorded for the account. This step is optional. If a default_inventory_monitoring_type__v value is not selected, the first value listed in the inventory_monitoring_type__v field is used.
- Select Save.
Grant permission to the custom object types:
- Navigate to Admin > Users & Groups > Permission Sets.
- Select the appropriate permission set.
- Select Objects.
- Select inventory_monitoring__v.
- Grant CRED permission to the new custom object type(s).
- Select Save.
- Select Objects.
- Select inventory_monitoring_lines__v.
- Grant CRED permission to the new custom object type(s).
- Select Save.
Using Custom Inventory Monitoring Object Types as
When a user creates an Inventory Monitoring record, the available Inventory Monitoring object types display in a picklist on the header.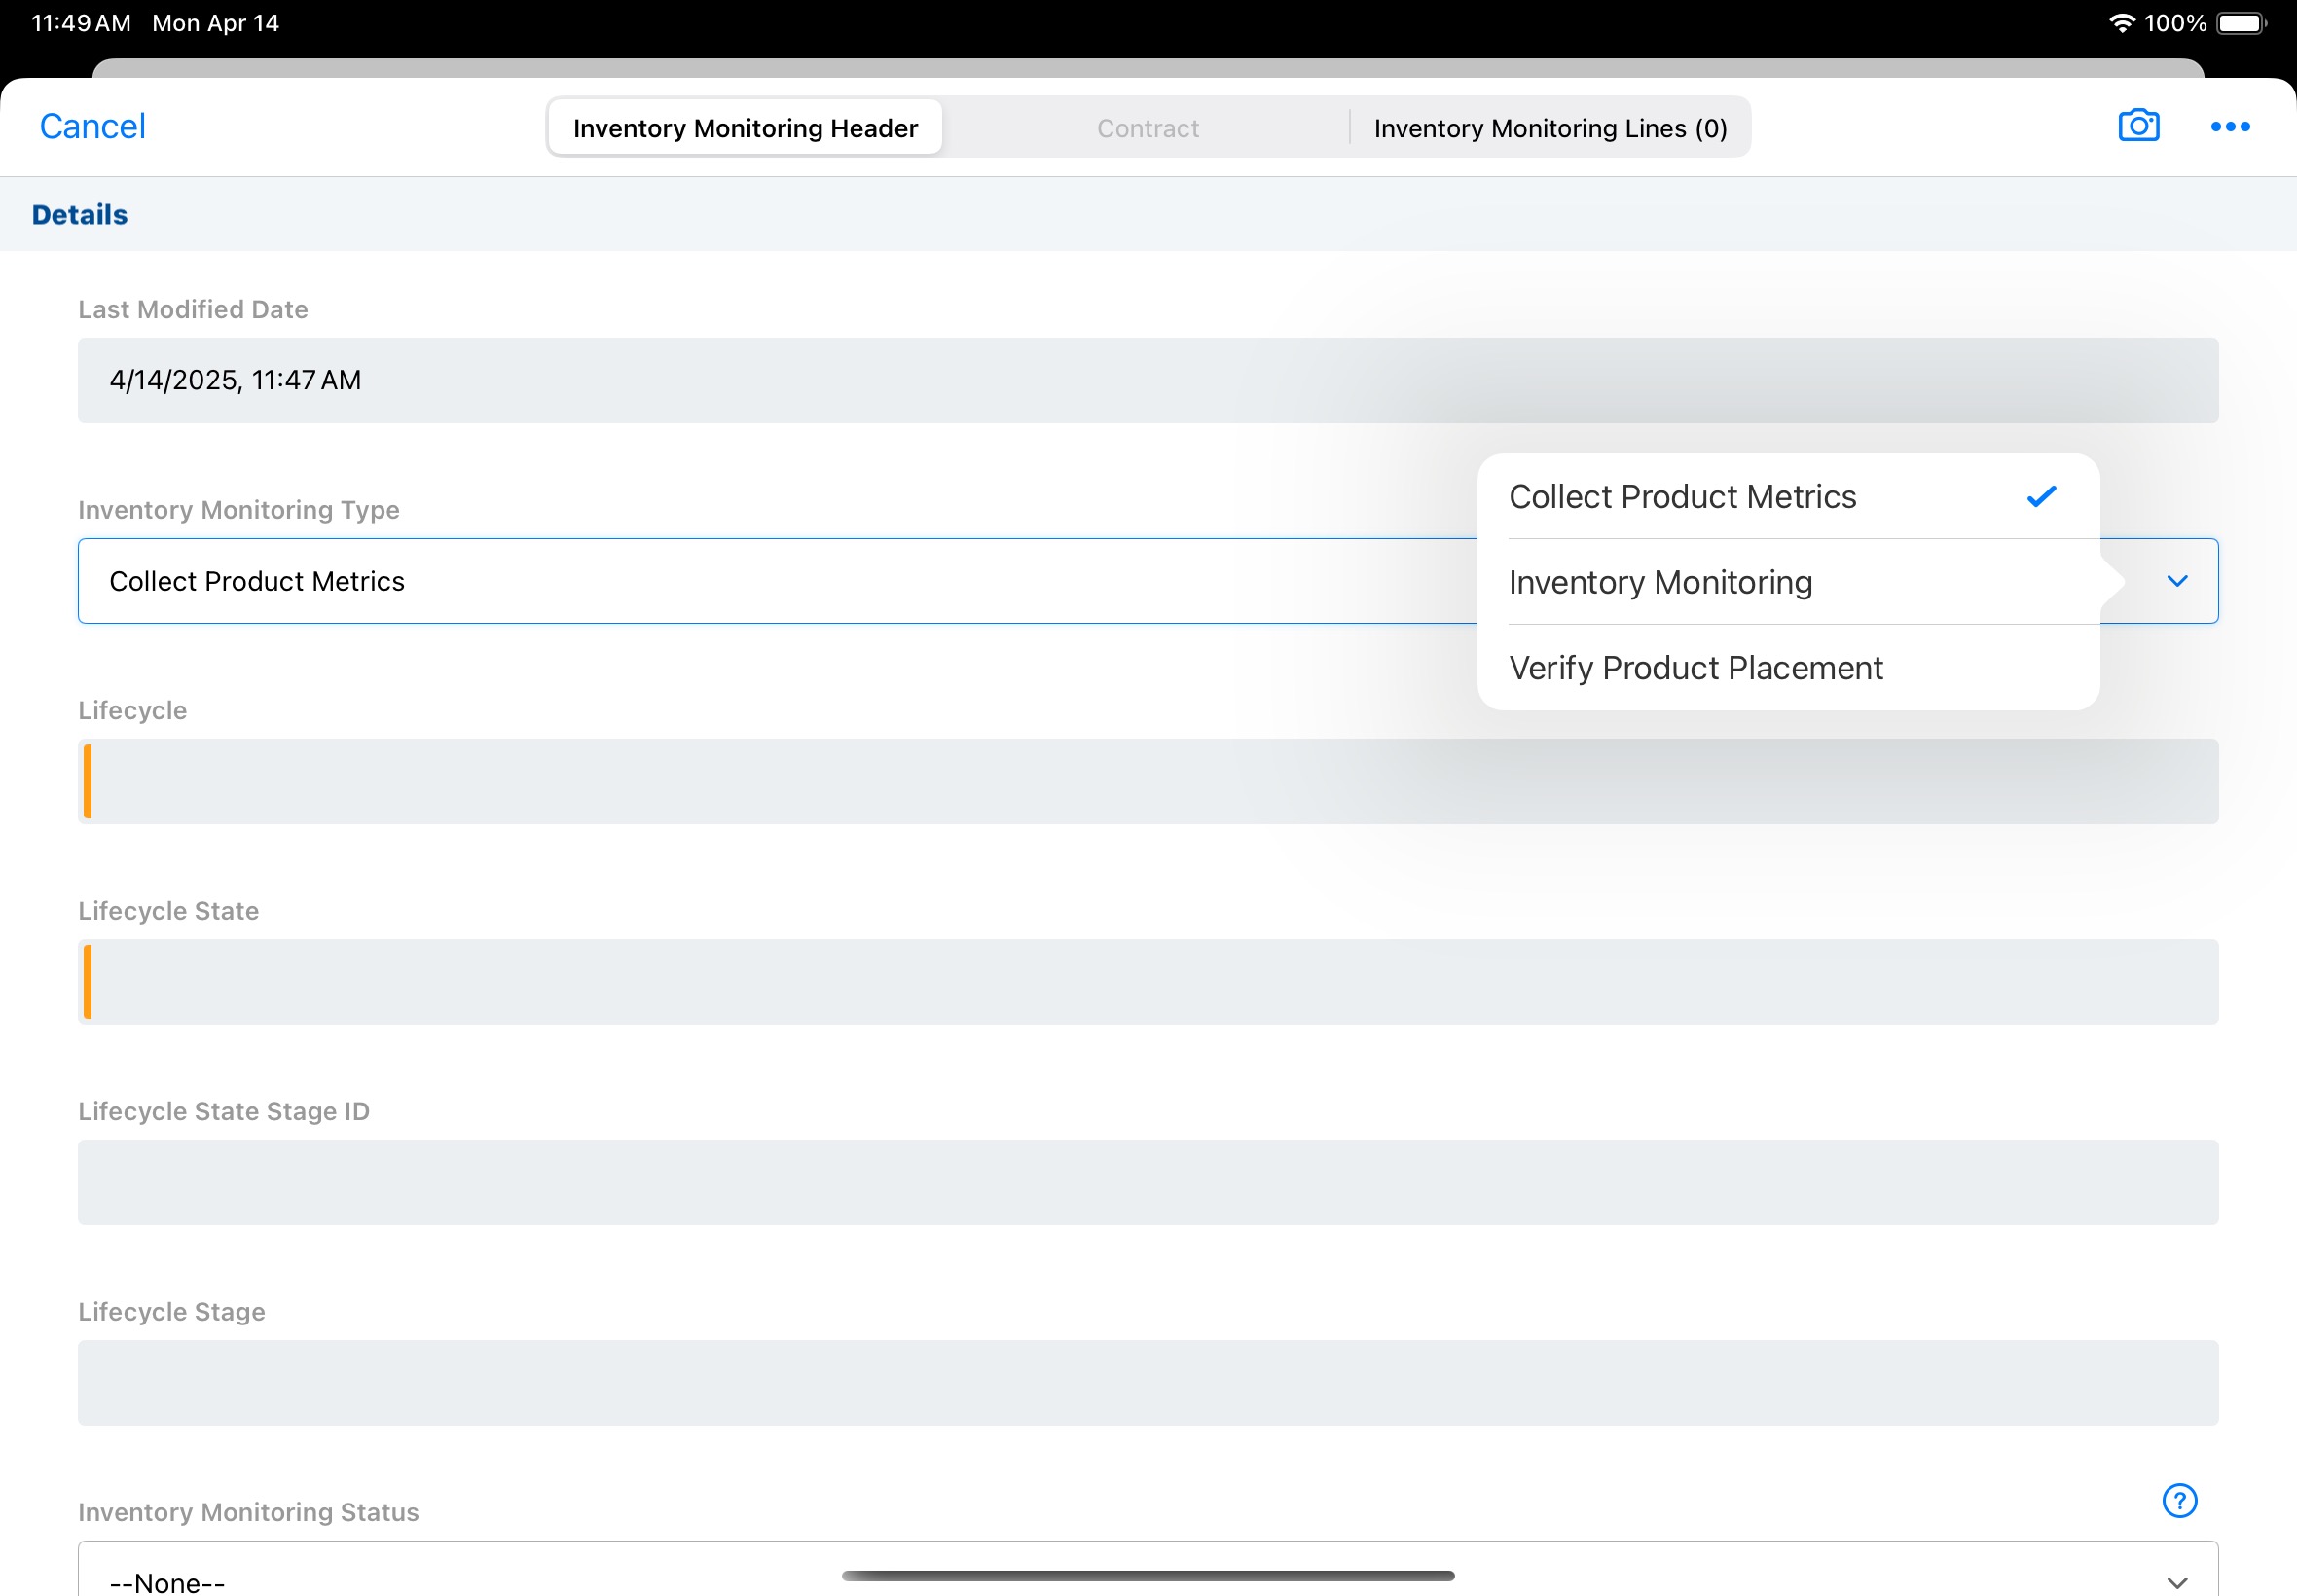
Users can change the Inventory Monitoring object type from the default value. If a user selects a new Inventory Monitoring object type after adding Inventory Monitoring Lines, existing Inventory Monitoring Lines are cleared from the record.

