Managing Approved Email Recipients
Depending on the entry point, the recipients of a composed Approved Email may be automatically populated. End users can add, edit, and delete these recipients from an Approved Email to ensure that the email is sent to the appropriate accounts. End users can also edit the email address of Approved Email recipients, ensuring that the correct email address is used. Consent validation occurs on each added recipient.
Who can use this feature?
- End Users — Browser, iPad, iPhone
- Adding Recipients to an Approved Email
- Editing a Recipient's Email Address
- Users require an Approved Email license
Configuring Adding Recipients to an Approved Email for
To configure this feature, ensure Configuring Approved Email is complete.
If the Additional Recipients Approved Email setting is set to 1, end users can add recipients to an Approved Email. These additional recipients must be from the user’s territory. For information on the number of recipients users can add, see Approved Email Limits.
Adding Recipients to an Approved Email as
Recipients of an approved email can be either HCP or HCO accounts. To associate a business account to an email for reporting purposes, see Associating Business Accounts to Approved Emails
To add recipients:
- Select the Recipients (
 ) button.
 - Select the Plus button.
- Search for an account by first name or last name.
- Select Add.
Selecting Recipients from the Accounts Page
Alternatively, if the user knows the recipients of an Approved Email before composing the email, recipients can be added to an Approved Email from the list of accounts:
- Select the Select button at the top of the list of accounts.
- Search for and select all appropriate accounts.
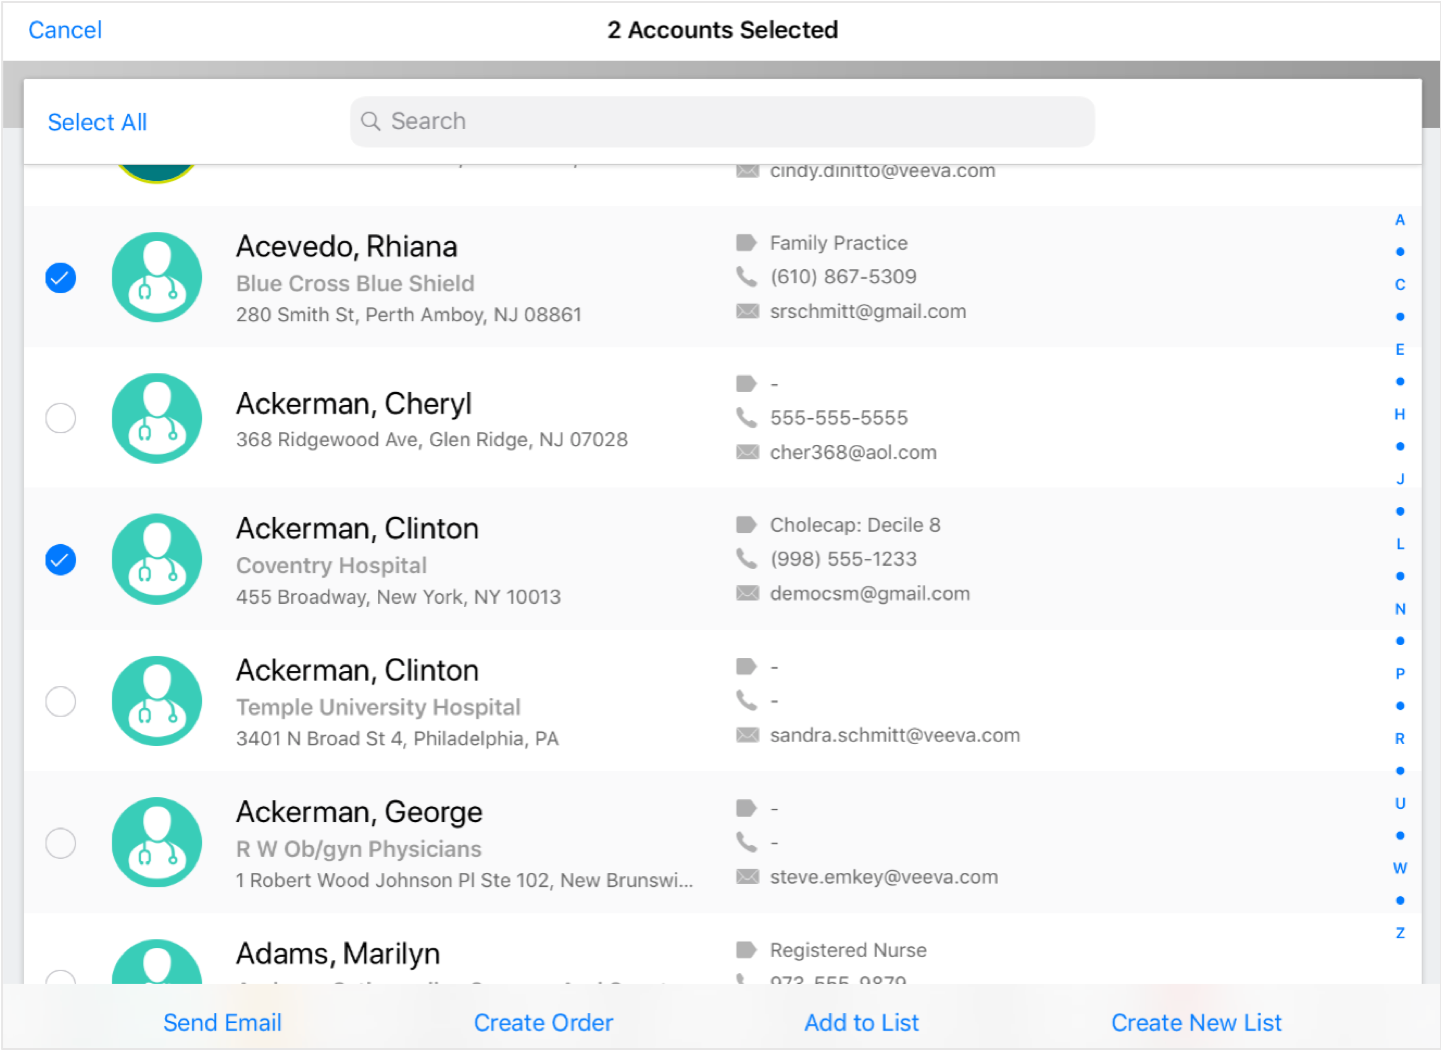
- Select Send Email.
The Send Email modal displays with all selected accounts added as recipients.
The Disabled Approved Email Entry Points setting can be used to hide the Send Email option from certain entry points, such as from the Accounts page.
Editing a Recipient's Email Address as
End users can also edit an existing recipient's email address, ensuring the Approved Email is sent to the correct email address for that account.
Editing a recipient’s email address is not available on iPhone.
- Select the Recipients () button.
- Select the All Actions button next to the appropriate recipient.
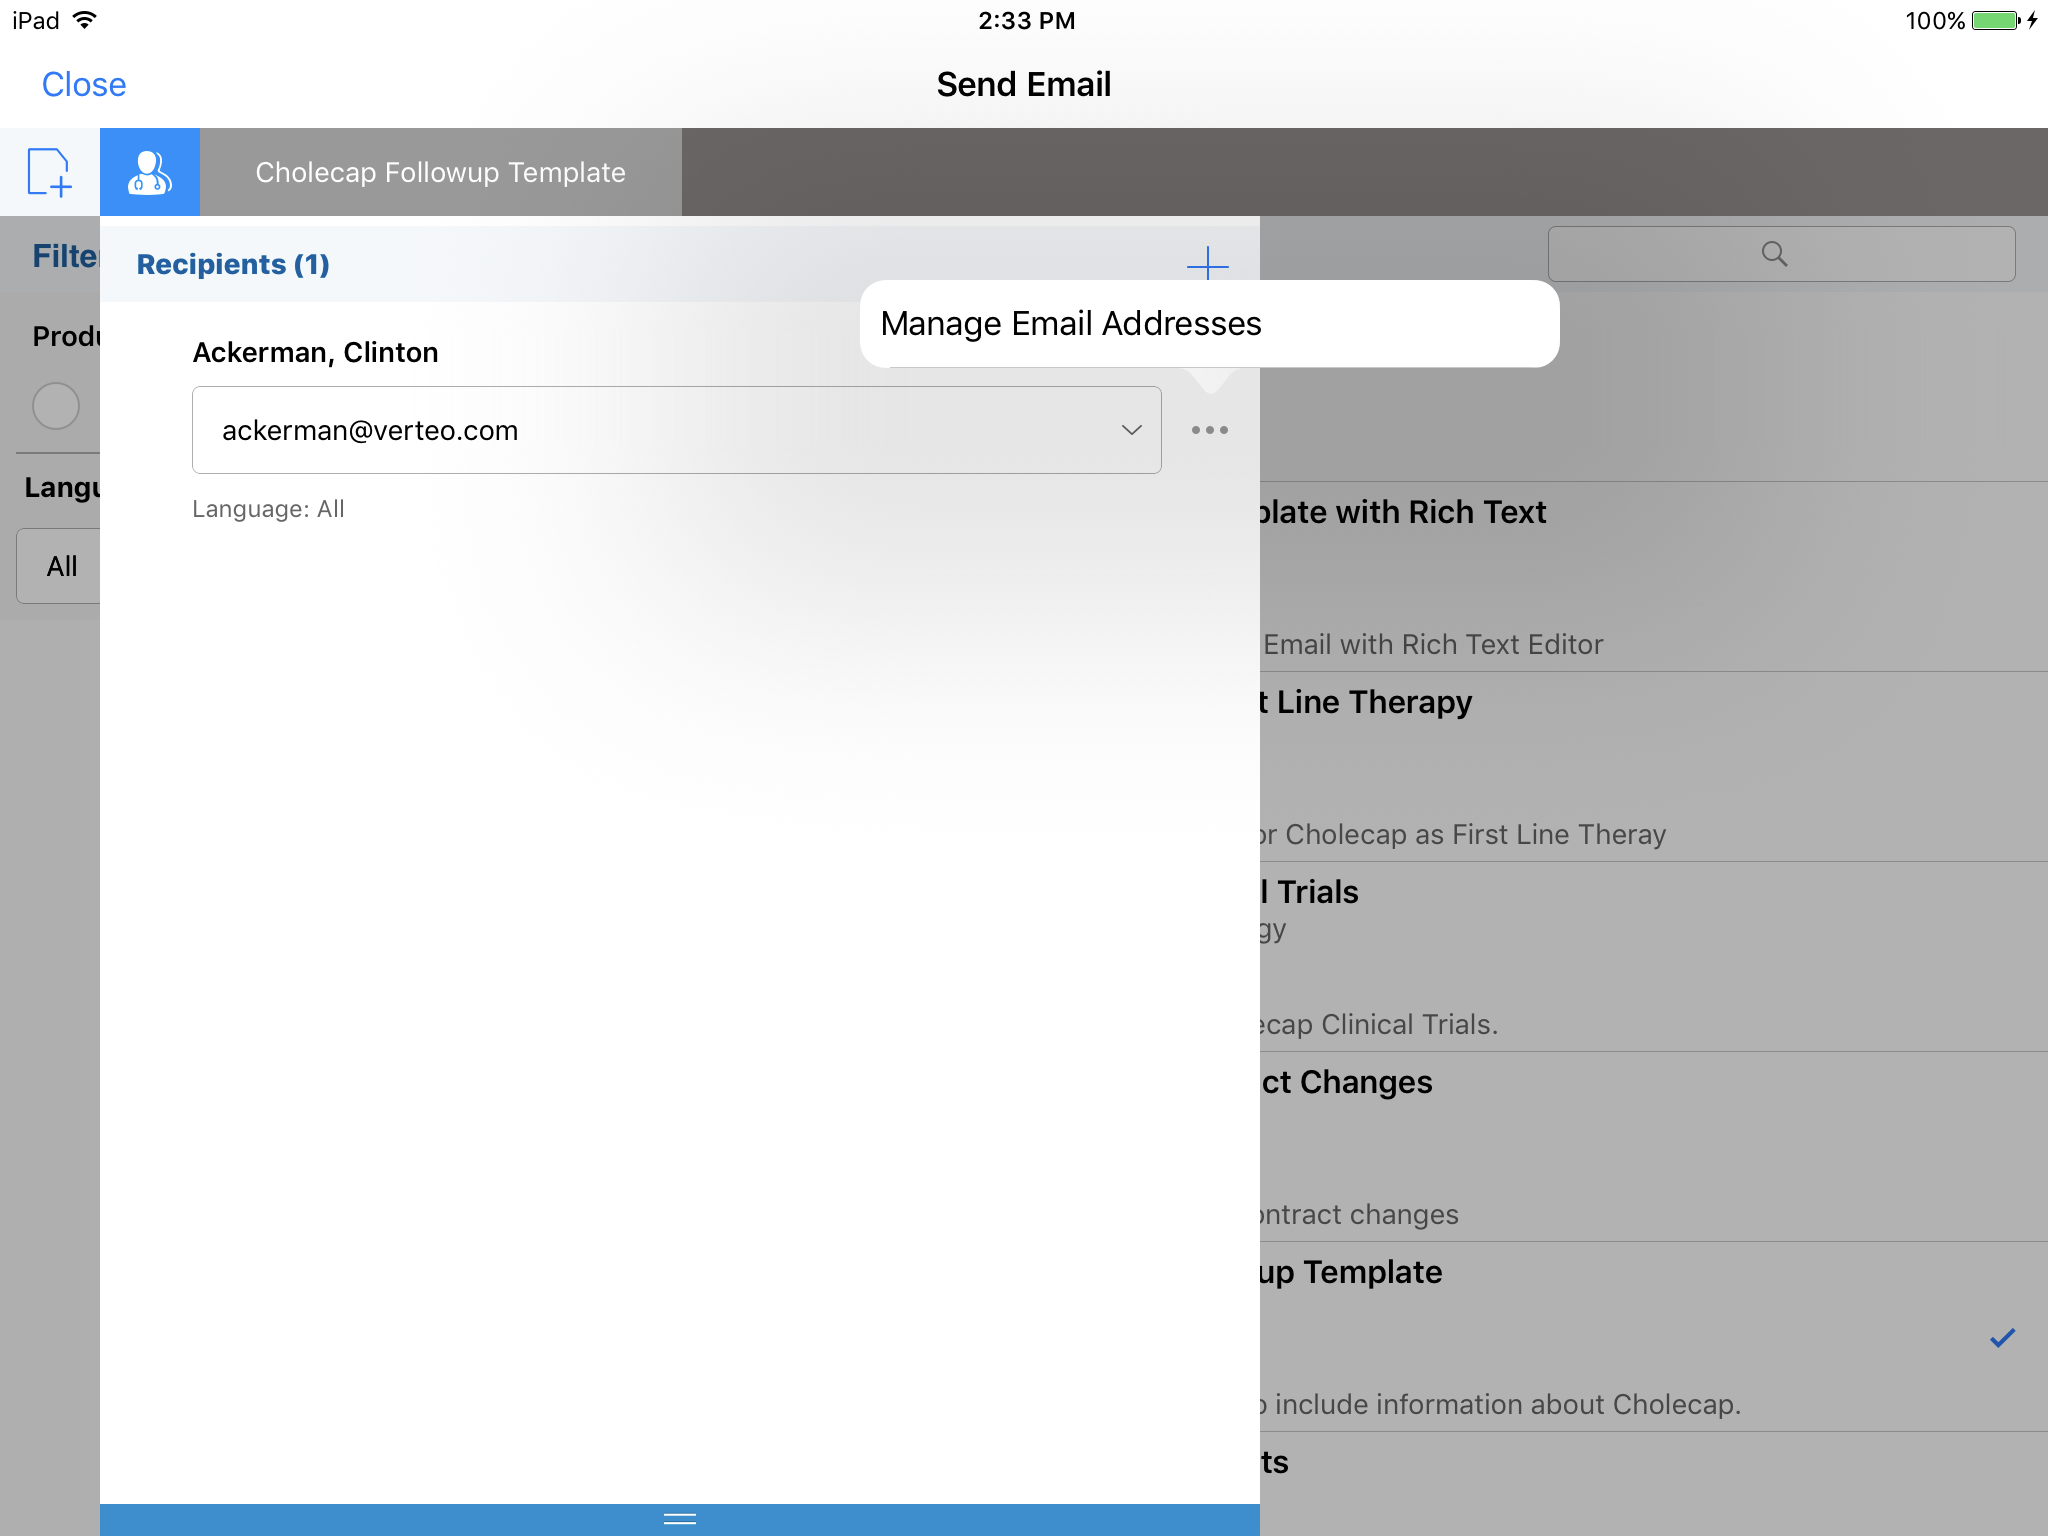
- Select Manage Email Addresses.
The Manage Email Address modal respects field permissions and layout settings for the account__v and address__v objects. If a field is marked as read only on the layout, the field always displays as read only on the Manage Email Address modal.
-
Enter the appropriate new email address.
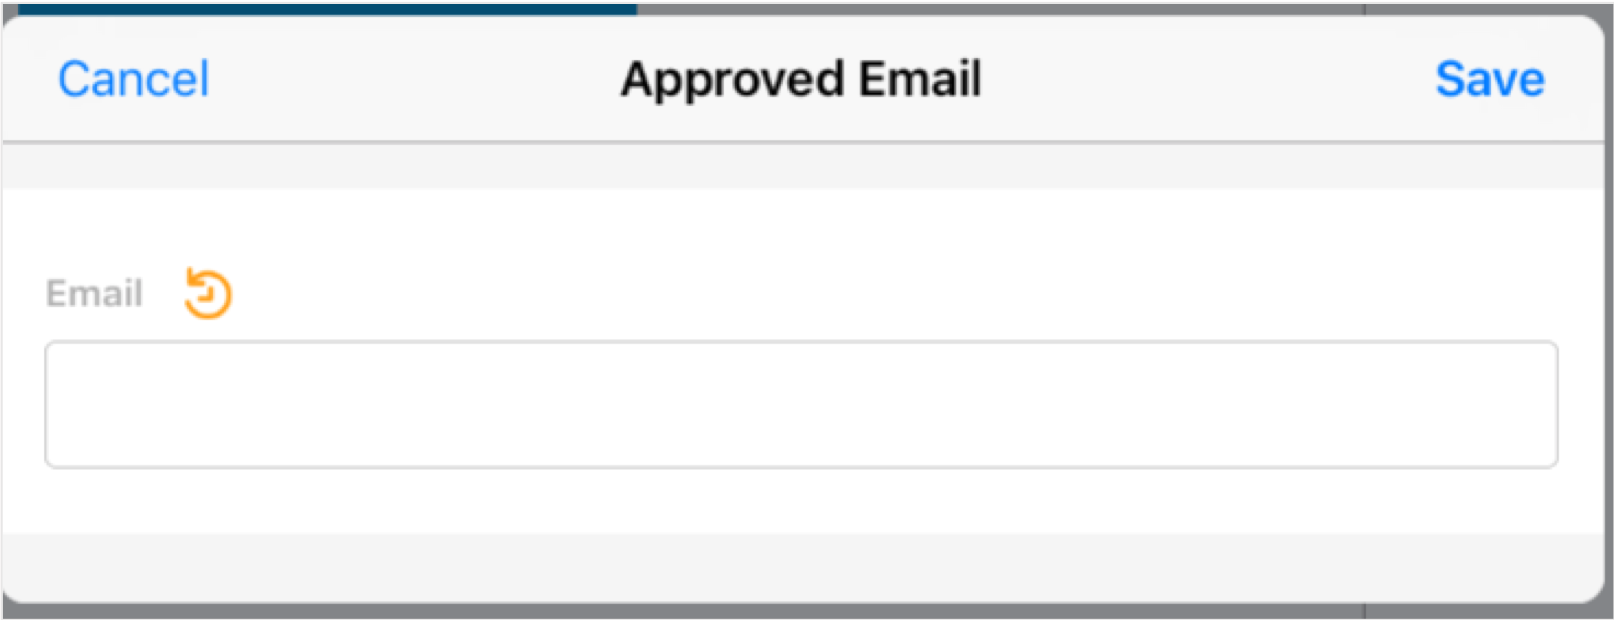
- Select Save.
Decoupled Data Change Requests are supported when editing a recipient's email address, as well as Data Change Requests on the Email Address fields if using Veeva Network.

