Using Directories in the Media Library
Content admins can define directories and their hierarchy to help users organize and navigate the media library. Creating a directory hierarchy for CLM presentations allows users to quickly and easily find the presentation they want to detail to an account.
Who can use this feature?
- Content Admin Users - Browser
- Create and manage directories
- End Users - CRM Desktop (Windows), iPad, iPhone, Windows (Beta)
- Apply directories to the media library
- Users do not require an additional license
Configuring Directories in the Media Library
To configure this feature, ensure Configuring CLM as Object Model is complete.
To configure this feature:
- Ensure Configuring CLM as Object Model is complete.
- Navigate to Business Admin > Objects > Multichannel Settings > Global Multichannel Settings.
- Populate the following Multichannel Settings for optional functionality:
- default_directory__v – Defines which directory displays by default when users navigate to the CLM media library. Populate with the External ID value for the appropriate directory.
Default directories are not supported on iPhone.
- hide_clm_thumbnails_in_all_dir_view__v – Disables presentation thumbnails when directories are not applied to the media library. Applies to the CLM Presentations and Training tabs.
- default_directory__v – Defines which directory displays by default when users navigate to the CLM media library. Populate with the External ID value for the appropriate directory.
Creating and Managing Directories
To create a directory:
- Navigate to Business Admin > Objects > Directories.
- Select Create.
- Populate at least the following fields:
- Directory Name - displays to end users
- Parent Directory - creates the directory hierarchy
- Display Order - defines the order the directories are displayed to the users and is optional
If an order is not defined, the list displays in alphabetical order. If only a portion of the folders are defined, the ordered folders display first and the remaining folders display in alphabetical order. After saving, the level__v field automatically calculates. For CLM, directories can be up to four levels deep.
To assign a CLM presentation to a directory in PromoMats/MedComms:
- Navigate to the appropriate document in PromoMats/MedComms.
- Select Edit.
- Select the appropriate directory in the Directory field in Document Properties.
- Select Save.
To assign a CLM presentation to a directory in Vault CRM:
- Navigate to Business Admin > Objects > CLM Presentations.
- Select the appropriate clm_presentation__v record.
- Select Edit.
- Select the appropriate directory in the directory__v field.
- Select Save.
Applying Directories to the Media Library
When users navigate to their media libraries, the default directory is automatically applied and only presentations assigned to the default directory display.
Users cannot add their custom presentations to a directory.
To apply a directory to the media library:
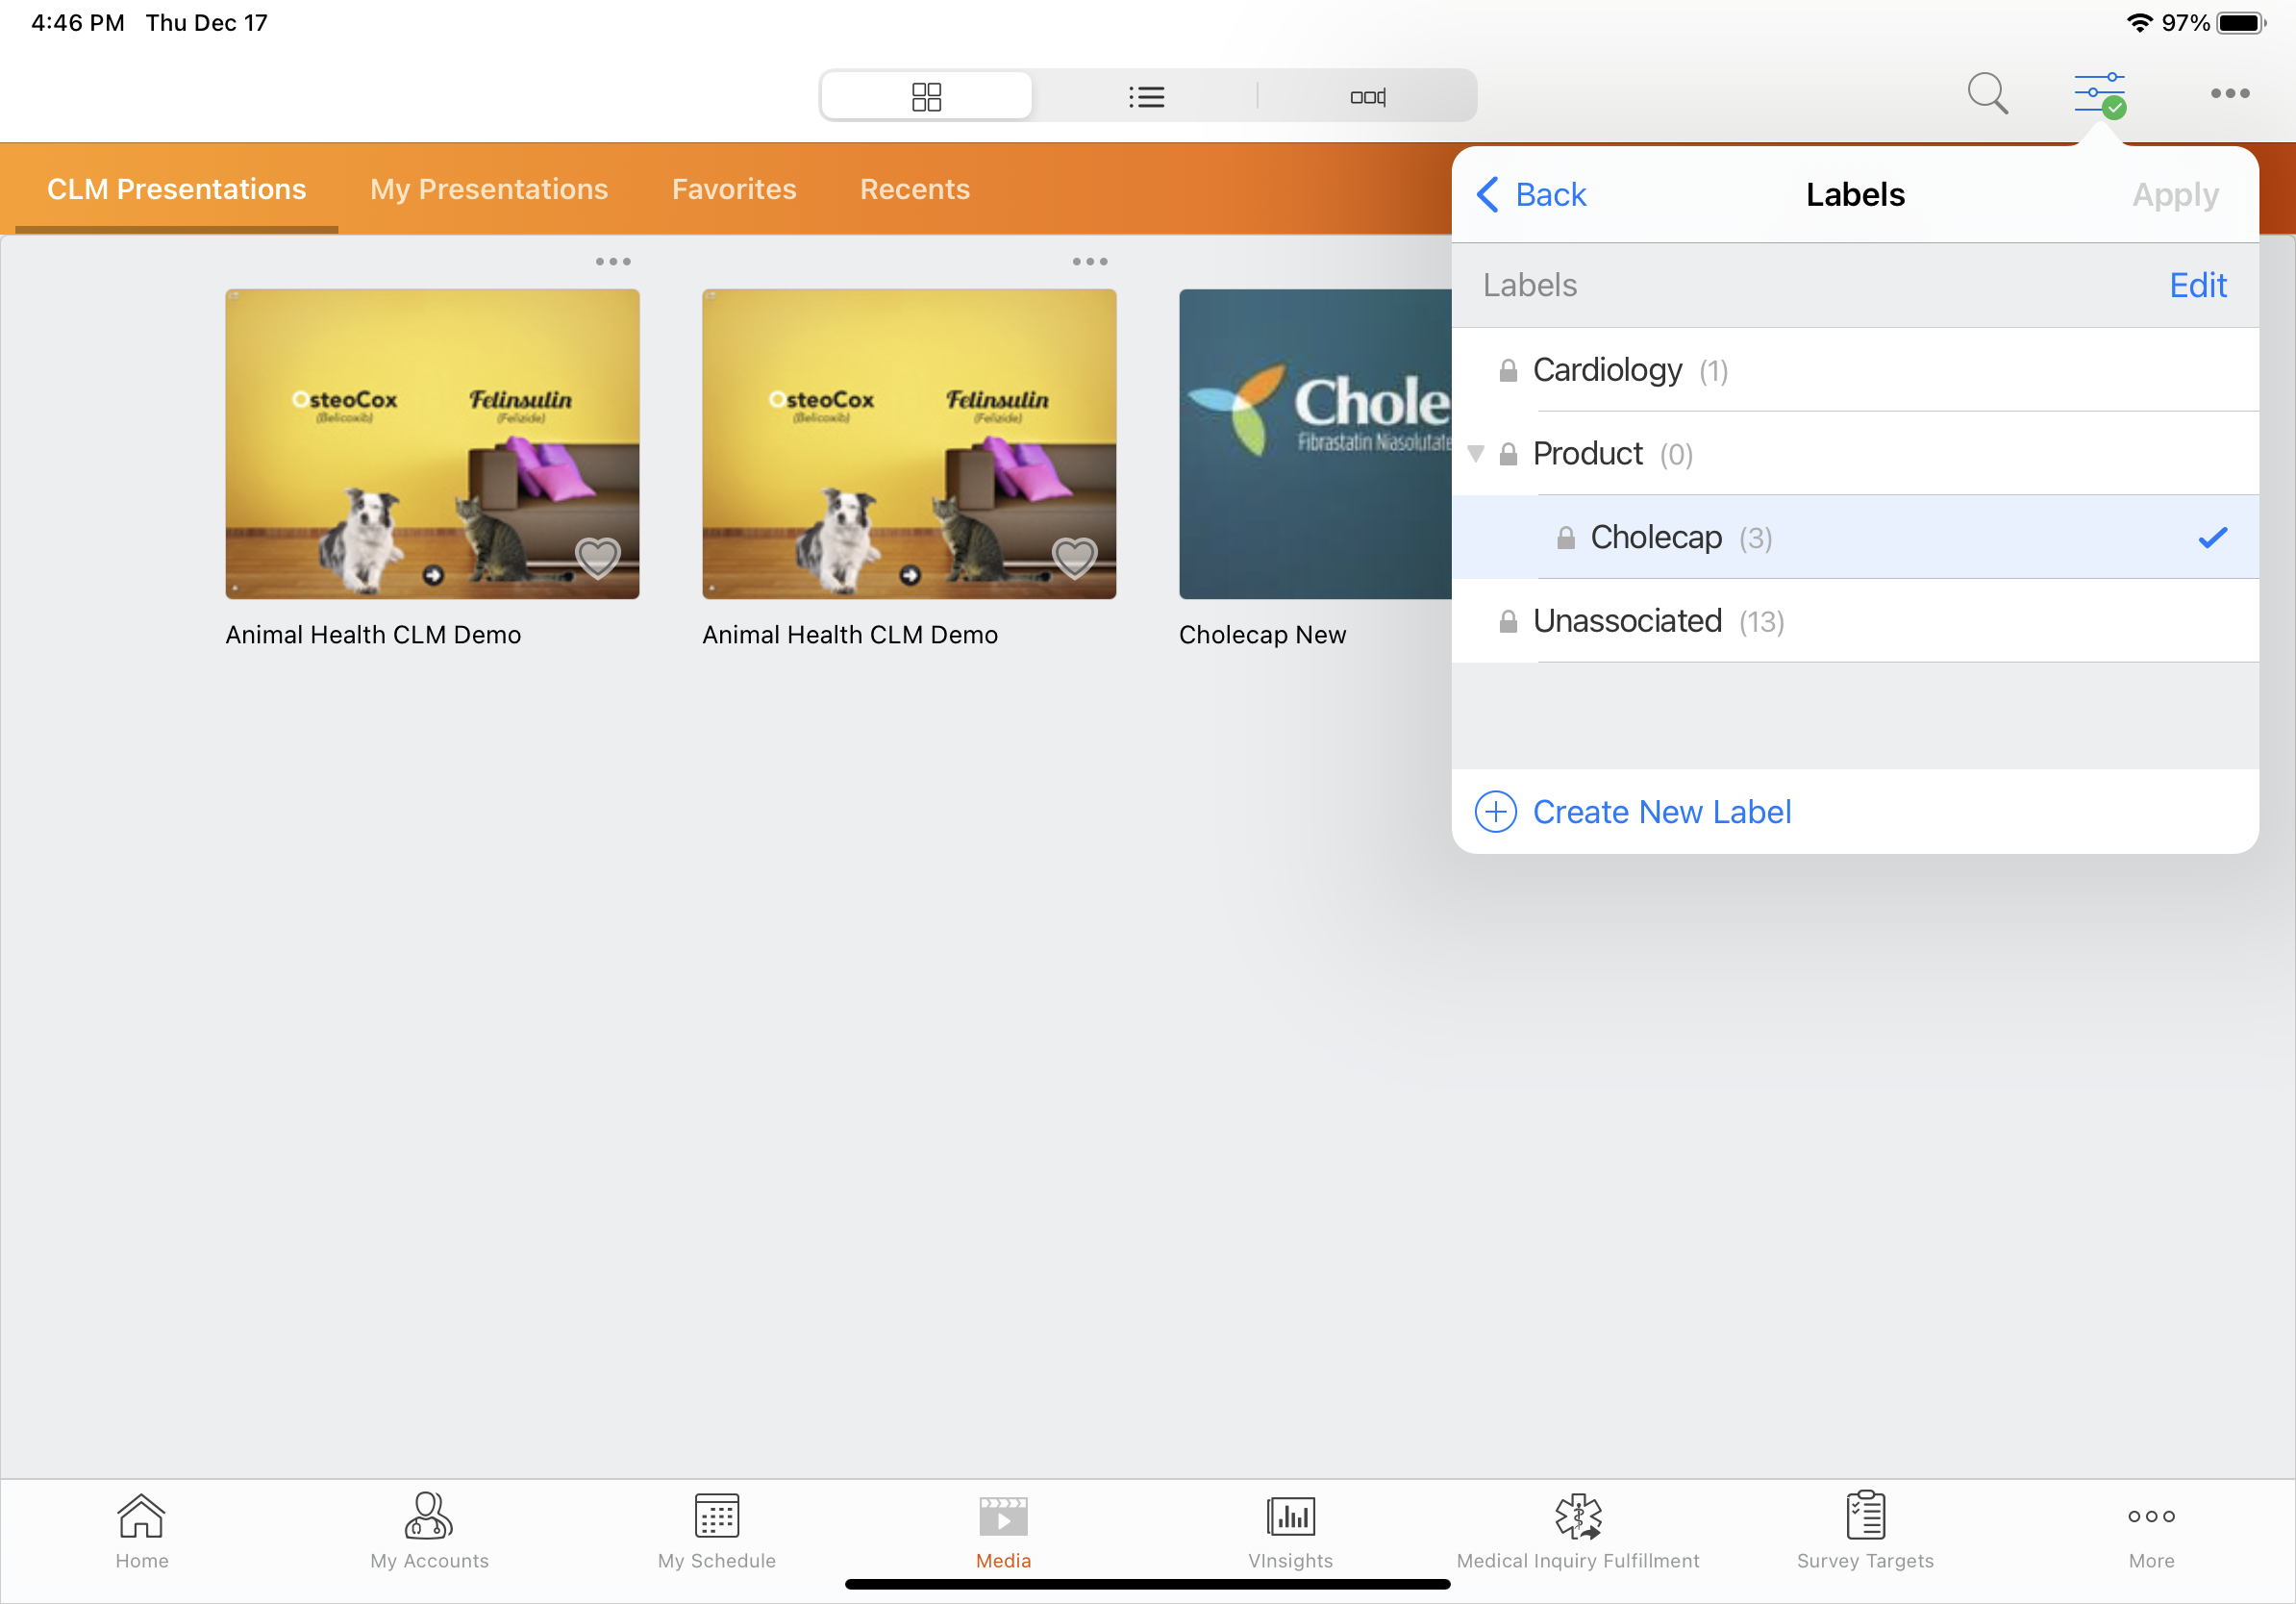
- Select the Filters button.
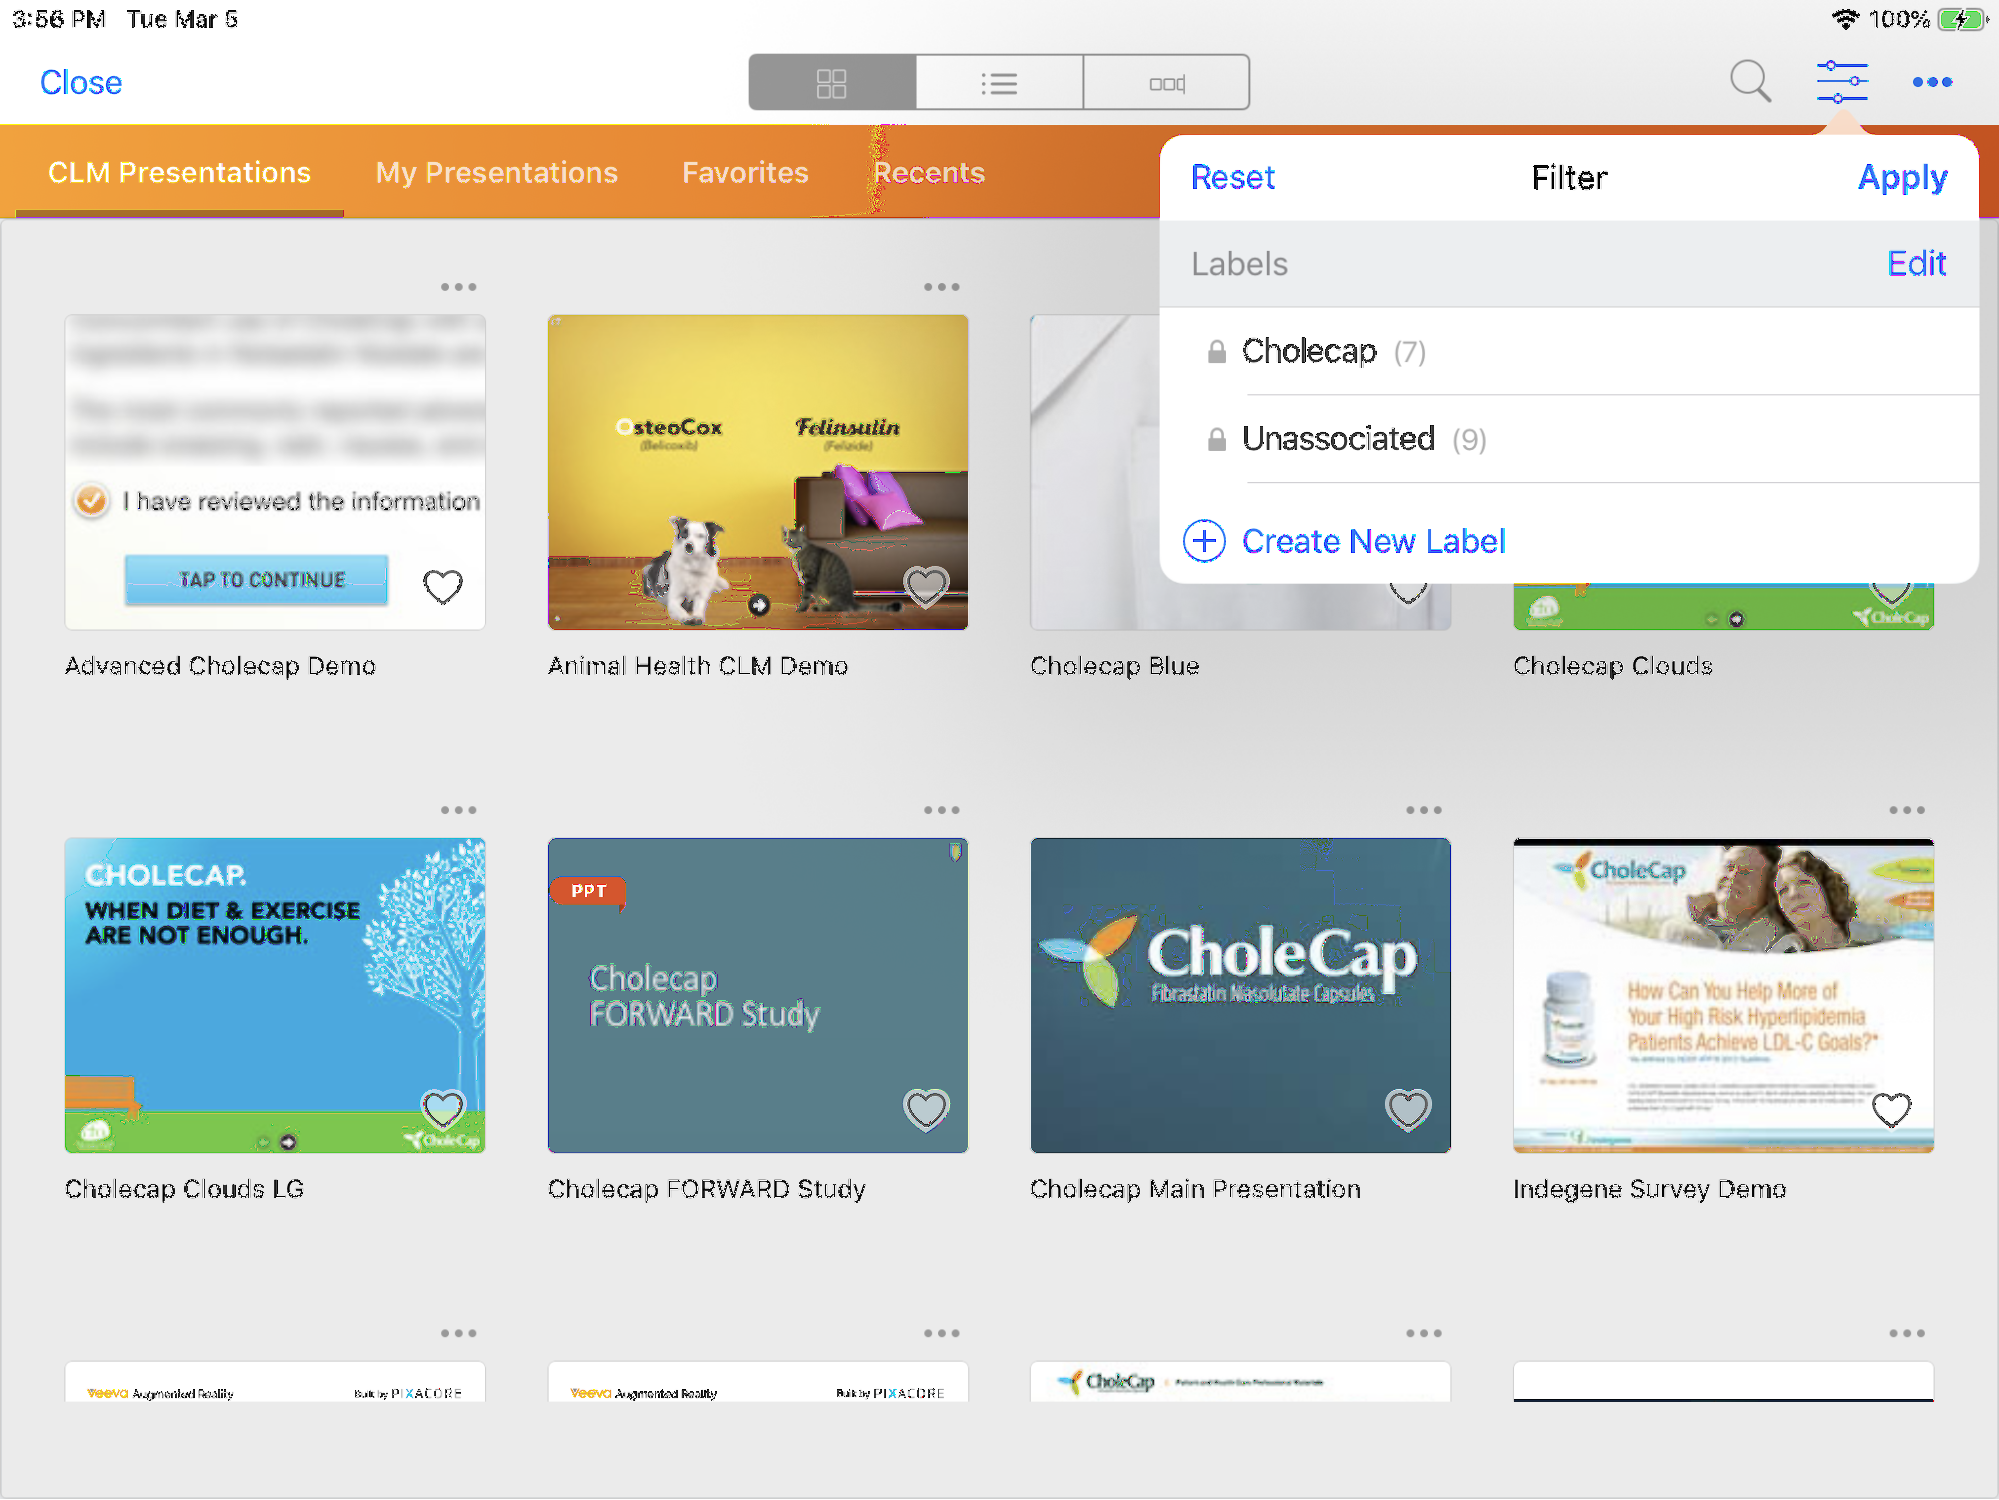
- Select the appropriate directory. Directories are indicated by a lock icon. If there are presentations without a specified directory, an Unassociated option displays.
- Select Apply.
Applying a directory displays only the presentations assigned to that directory.

After applying a directory, the next time a user navigates to the media library, the directory is still applied.
The default directory overrides directory stickiness.
To reset the media library to display all presentations:
- Select the Filters button.
- Select Reset.
When presentation thumbnails are disabled, presentations do not display in the CLM Presentations and Training tabs in the media library. Users can apply directories or labels to view the assigned presentations. To create and apply labels, see Labeling Presentations for more information.
Thumbnails continue to display in customer-managed directories, the Unassociated directory, and the My Presentations tab (if applicable).


