Labeling CLM Presentations
- Document Model
Users can organize presentations by creating and adding labels. If users have large libraries of presentations, using labels helps to quickly identify the appropriate presentation to use.
Who can use this feature?
- End Users - iPad, iPhone
- Use custom labels
- Users do not require an additional license
Configuring Presentation Labels for
To configure this feature, ensure Configuring CLM as Document Model is complete.
Using Presentation Labels as
To create and apply a label:
- Navigate to the Media tab.
- Select the All Actions button for the appropriate presentation.
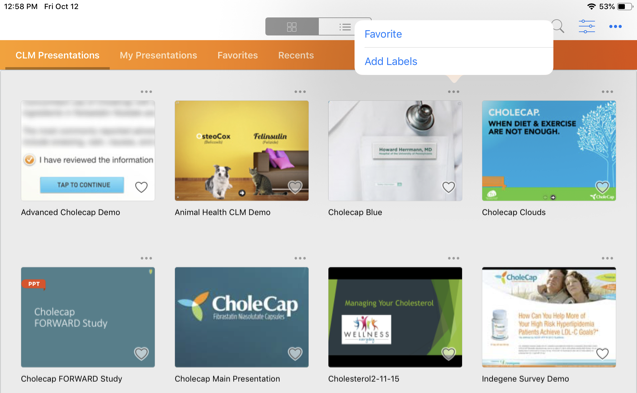
- Select Add Labels.
- Create a label or select from the list of existing custom labels. Presentations can have multiple labels and a label can be applied to multiple presentations.
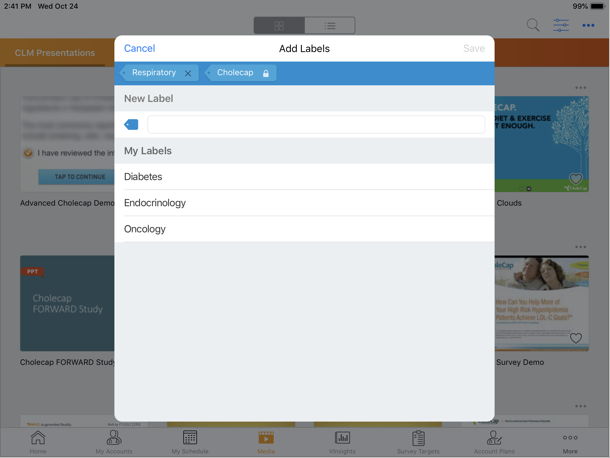
- Select Save.
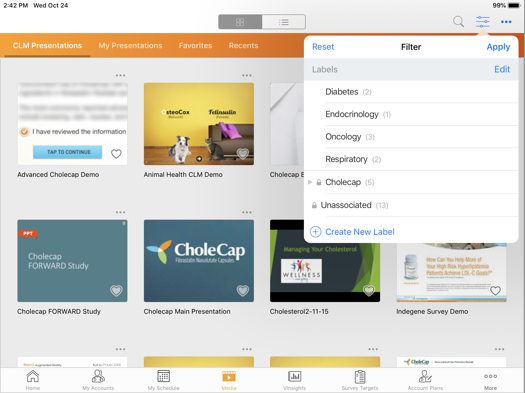
Users can also create labels from the Filter menu by selecting the Create New Label button.
Selecting the Edit button from the Filter menu enables users to edit or delete existing labels:
- To delete a label, select the red circle button, then select Delete
- To rename a label, select the pencil button
When a user creates a label, a Content Preference record with the CLM Presentation Label record type is created, and the Preference Document field on the record references the appropriate Presentation binder.
When the label is removed, the corresponding Content Preference record is deleted.
All Content Preference records related to a presentation are deleted when the presentation is deleted.
Filtering by Labels
To filter by labels:
- Select the Filter button.
- Select all appropriate labels to display. The number of presentations using the label displays next to the label name.
- Select Apply.
Labels cannot be filtered if there is already an applied directory. See Using Directories in the Media Library for more information.
Considerations
- Labels are unique to individual users and cannot be shared with other users
- Labels are not case sensitive
- Labels and directories cannot be applied at the same time

