Creating and Managing Fax Templates
Fax admins can create fax templates, enabling end users to send approved and personalized fax documents.
Who can use this feature?
- Fax Admins — Browser
- Creating Fax Templates
- Uploading and Processing Fax Templates
- Users require an Approved Email license
Configuring Fax Template Management for
To configure this feature, ensure Configuring Send to Fax is complete.
Creating Fax Templates as
Fax admins can download a sample fax template including a token mapping file. After making any desired updates according to the guidelines below, fax admins can upload the sample template .zip file for testing in Vault CRM.
Formatting Guidelines for Fax Templates
Character Encoding and Page Layout
-
Character encoding must be UTF-8
-
Page size and margins:
-
Ensure the page size is the standard for the country of the recipient
-
Margins of at least 0.5 inches on all sides are recommended
Fax admins should verify the document renders properly across common fax hardware and does not result in clipping, misalignment, or unreadable content
-
Layout best practices:
-
Use tables to structure content wherever possible. Tables provide consistent layout and spacing during the conversion from .docx to Fax.
-
Avoid using floating text boxes, wrapped images, or embedded objects
Fonts and Styling
The following fonts are recommended, with a font size of 12pt or larger:
-
Arial
-
Calibri
-
Courier New
-
Times New Roman
Fax admins may use fonts outside the recommended list if the .docx file embeds the font and the font is fully licensed for Microsoft Word embedding.
Before publishing, Veeva recommends fax admins confirm that:
-
The embedded font is preserved during document conversion
-
All text remains readable in fax output, including small and bold text
-
Layout, spacing, and line wrapping are not affected by fallback font substitution
Creating a Fax Template
To create a fax template, fax admins provide a template as a .docx file in Microsoft Word with a .txt file to map merge fields in the Microsoft Word document to tokens in Vault CRM.
To create a .docx file for a fax template:
-
Create the template as a .docx file in Microsoft Word.
Send to Fax does not support documents longer than three pages.
For guidelines, see Formatting Guidelines for Fax Templates.
-
Use Mail Merge to insert merge fields for tokens in the .docx file.
Merge field labels must meet the following requirements:
- Alphanumeric and underscores only (no spaces or special characters)
- No more than 40 characters in length
- Exactly match the merge_field_label values in the token mapping file
After creating a template, Veeva recommends fax admins test documents end-to-end, including fax preview, before selecting Publish to Veeva CRM (Fax).
Creating Token Mapping Files as
Formatting Requirements for Token Mapping Files
-
The file must be a tab-delimited text file (.txt or .tsv)
-
The file must include exactly two rows:
-
merge_field_label - Column headers representing merge fields in the .docx file (for example, Account_First_Name, Greeting)
-
token - Corresponding Vault CRM token values (for example, {{accFname}}, {{customText}})
Each column maps one merge field in the .docx file to a supported token
-
Each merge_field_label must exactly match a merge field in the .docx file
-
The file must not contain duplicate merge_field_label entries
-
The file must not contain empty fields
-
Merge field labels must not contain spaces or special characters
-
The file must include valid tokens
Creating a Token Mapping File
Fax templates rely on a token mapping file to map the merge field labels in the .docx file to corresponding Vault CRM tokens. The merge fields are populated with token values from Vault CRM when the faxed document is published.
To create a token mapping file:
-
Create a tab-delimited text file (.txt or .tsv) containing two rows to map the merge field labels to corresponding Vault CRM tokens.
-
Enter the merge field labels from the .docx file in the first row.
-
Enter the corresponding CRM token for each merge field in the second row.
Uploading and Publishing Fax Templates as
To upload and publish a new fax template:
-
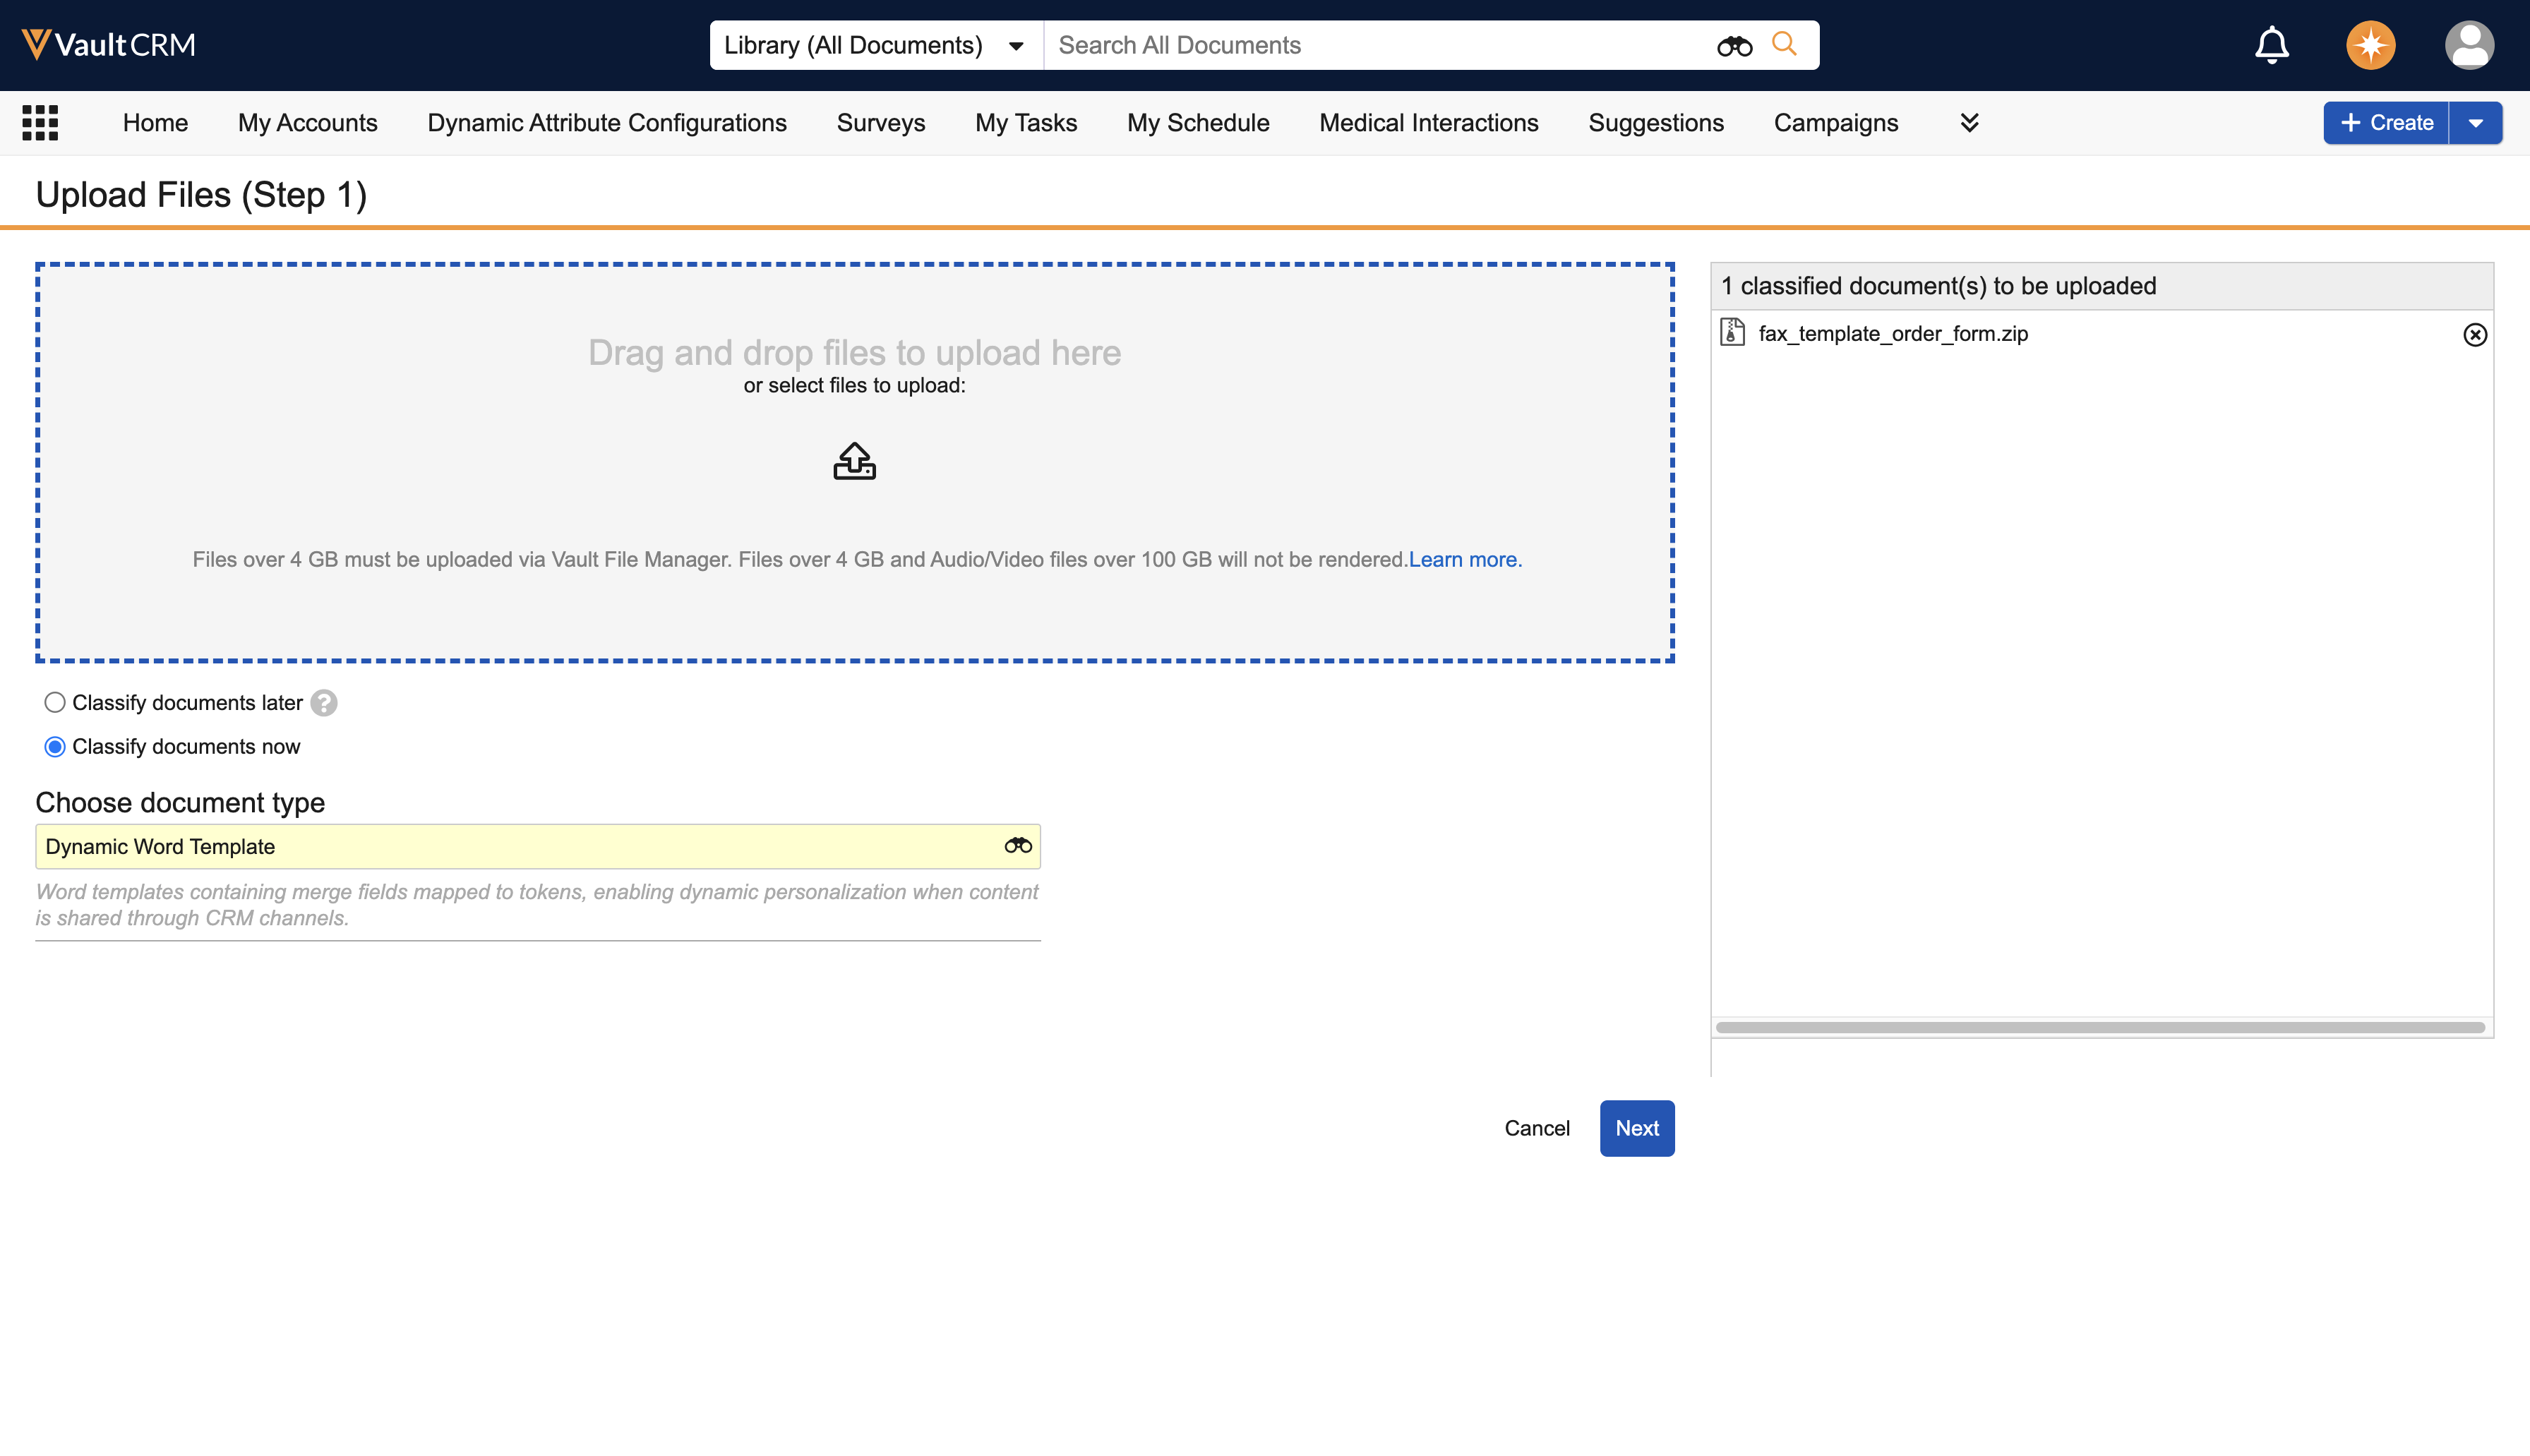
Create a .zip file that contains both the .docx template file and, if tokens are used, the token-mapping .txt file. Place both files at the root level of the .zip.
Non-UTF8 characters are not supported in the .zip filename.
-
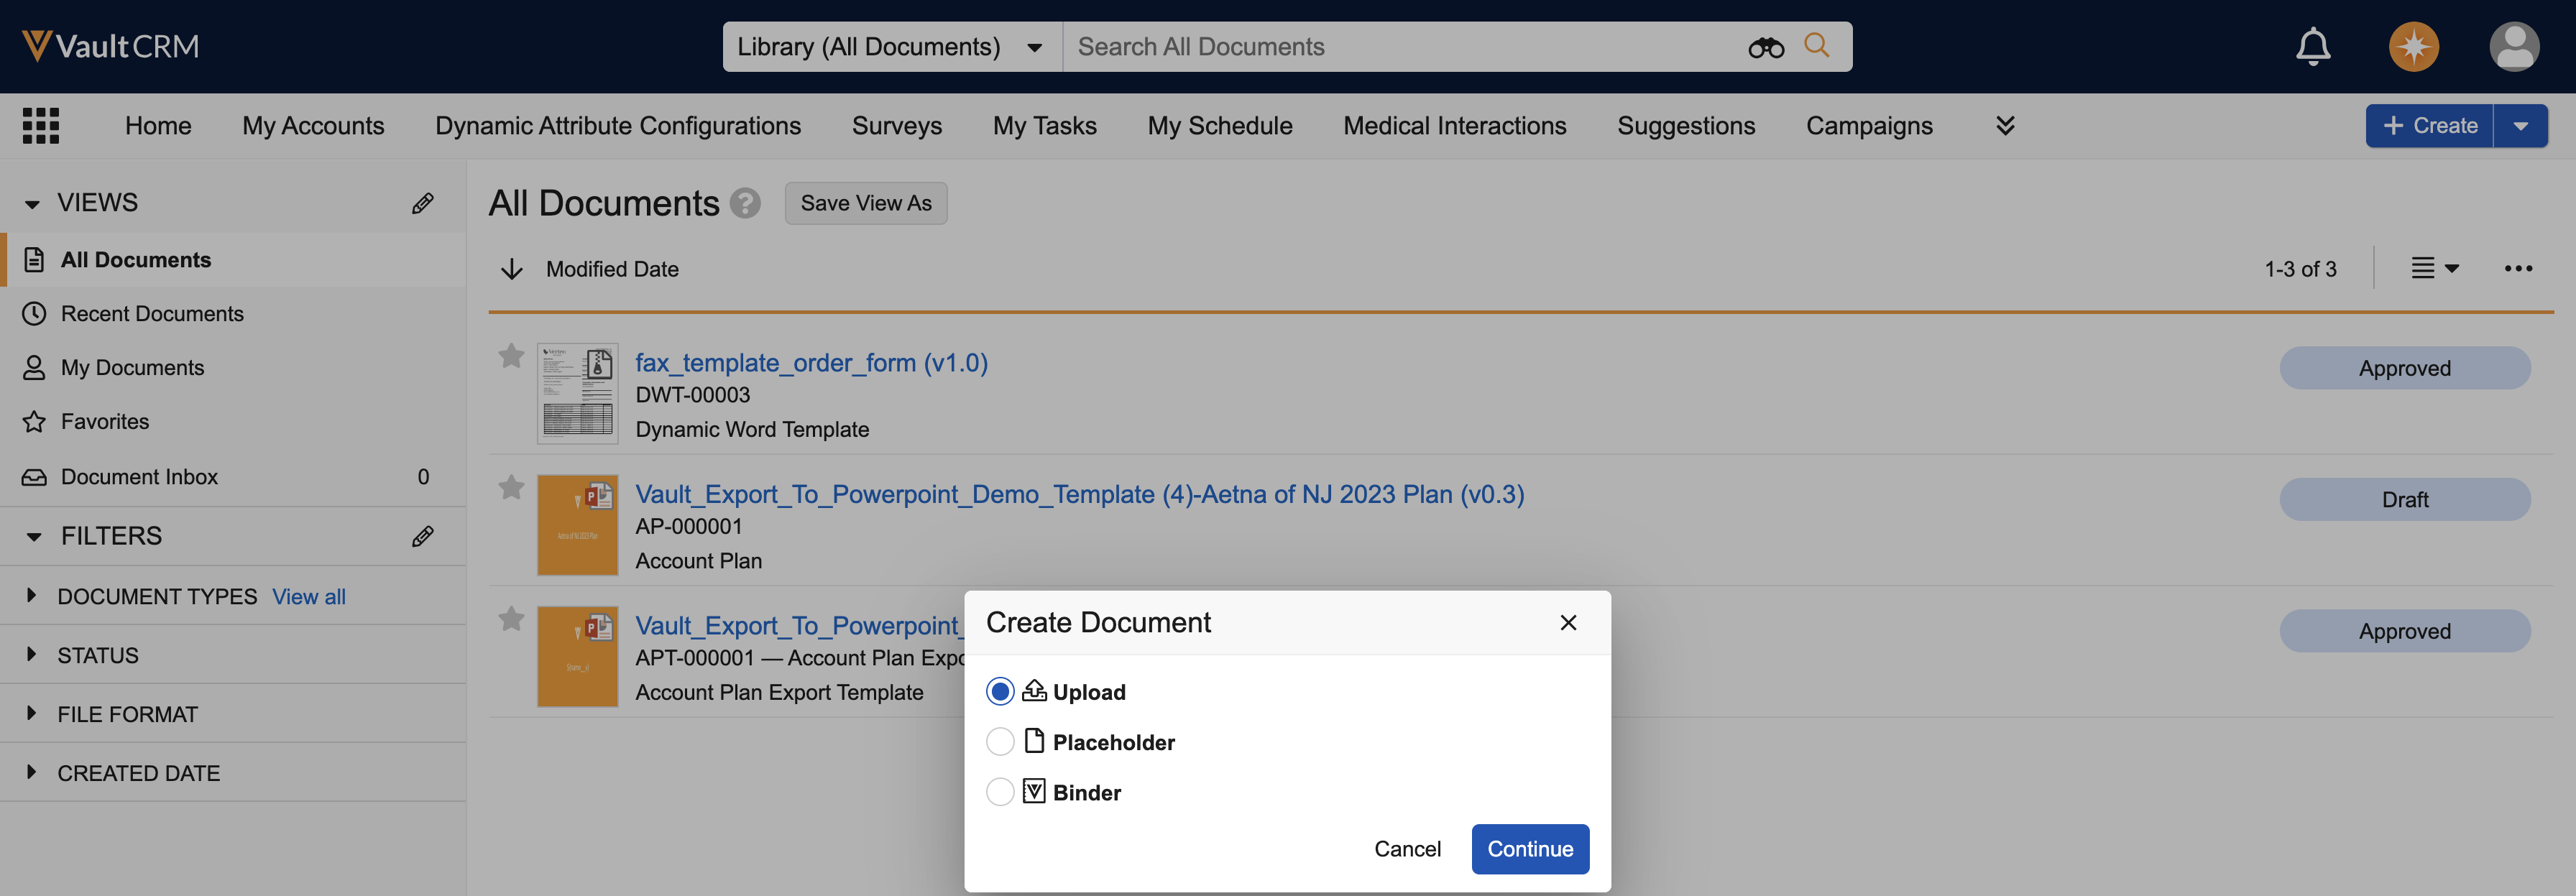
Navigate to the Library tab.
-
Select Create Document.
-
Select Upload.
-
Select Dynamic Word Template as the document type.
-
Upload the .zip file containing the .docx file and the token mapping text file.
-
Select the Product Information section in the Information tab.
-
Select a Detail Product.
-
Select a Content Group. This step is optional.
-
Select the Channel Details section in the Information tab.
-
Enter a From Fax Number. This number displays as the sender’s number.
-
Enter Fax Header Text. This text displays at the top of each page of the fax. The text is limited to 50 characters and does not support tokens. This step is optional.
-
Select the Display Fax Header Page Numbers option to display page numbers in the header of the fax. This step is optional.
-
Select the Process Content document action. This action validates the content of the zip file and makes it available for sending faxes.
-
Select the Publish for Veeva CRM (Fax) checkbox.
-
Select Save.
To create a fax template that is not tied to a specific product, leave the Product field blank. The fax template is available to all users if no Product is specified.

