Defining HCP Display Names
To ensure HCPs are accurately identified, business admins can add credentials, for example, Doctor or MD, to HCP names displayed in the following areas:
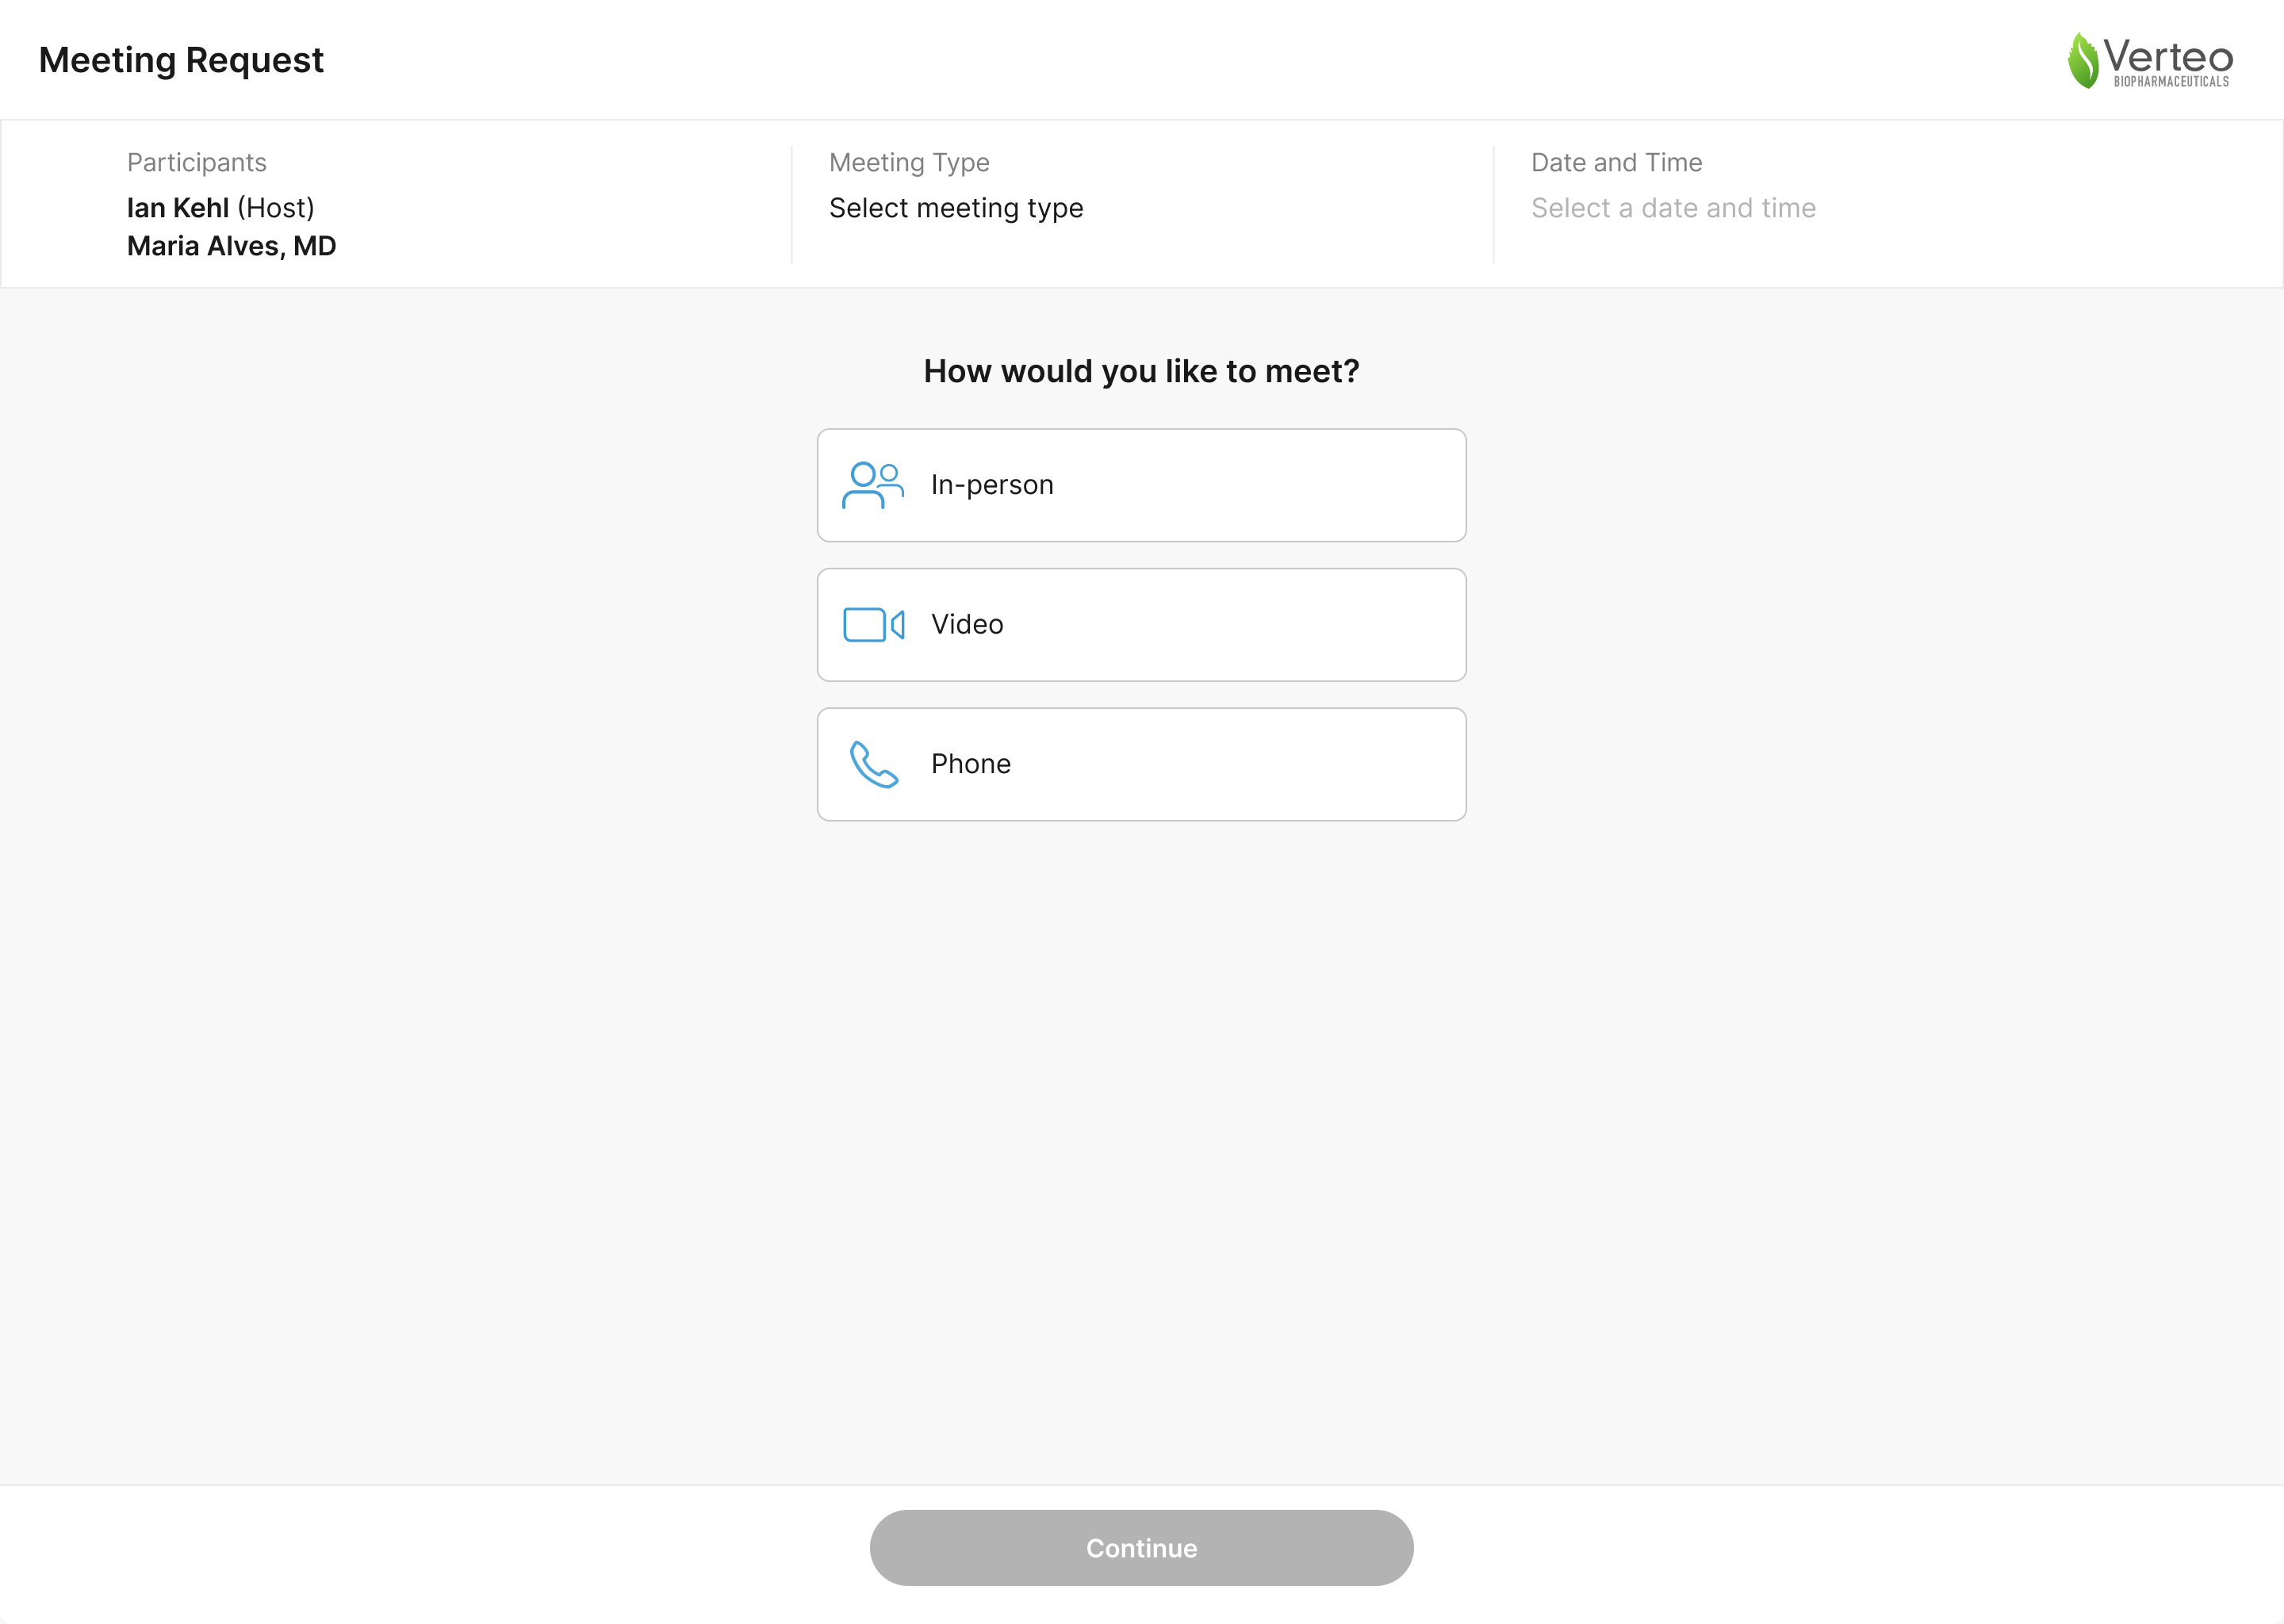
- Engage Scheduling Site
- Confirmation emails for accepted meeting requests
- Consent Capture screen
Who can use this feature?
- Business Admin Users — Browser
- Defining the HCP Display Name
- HCPs — iPad, iPhone
- Viewing Formatted HCP Display Names
- Users do not require an additional license
Configuring Formatted HCP Display Names for
To configure this feature:
- Ensure the appropriate features are configured:
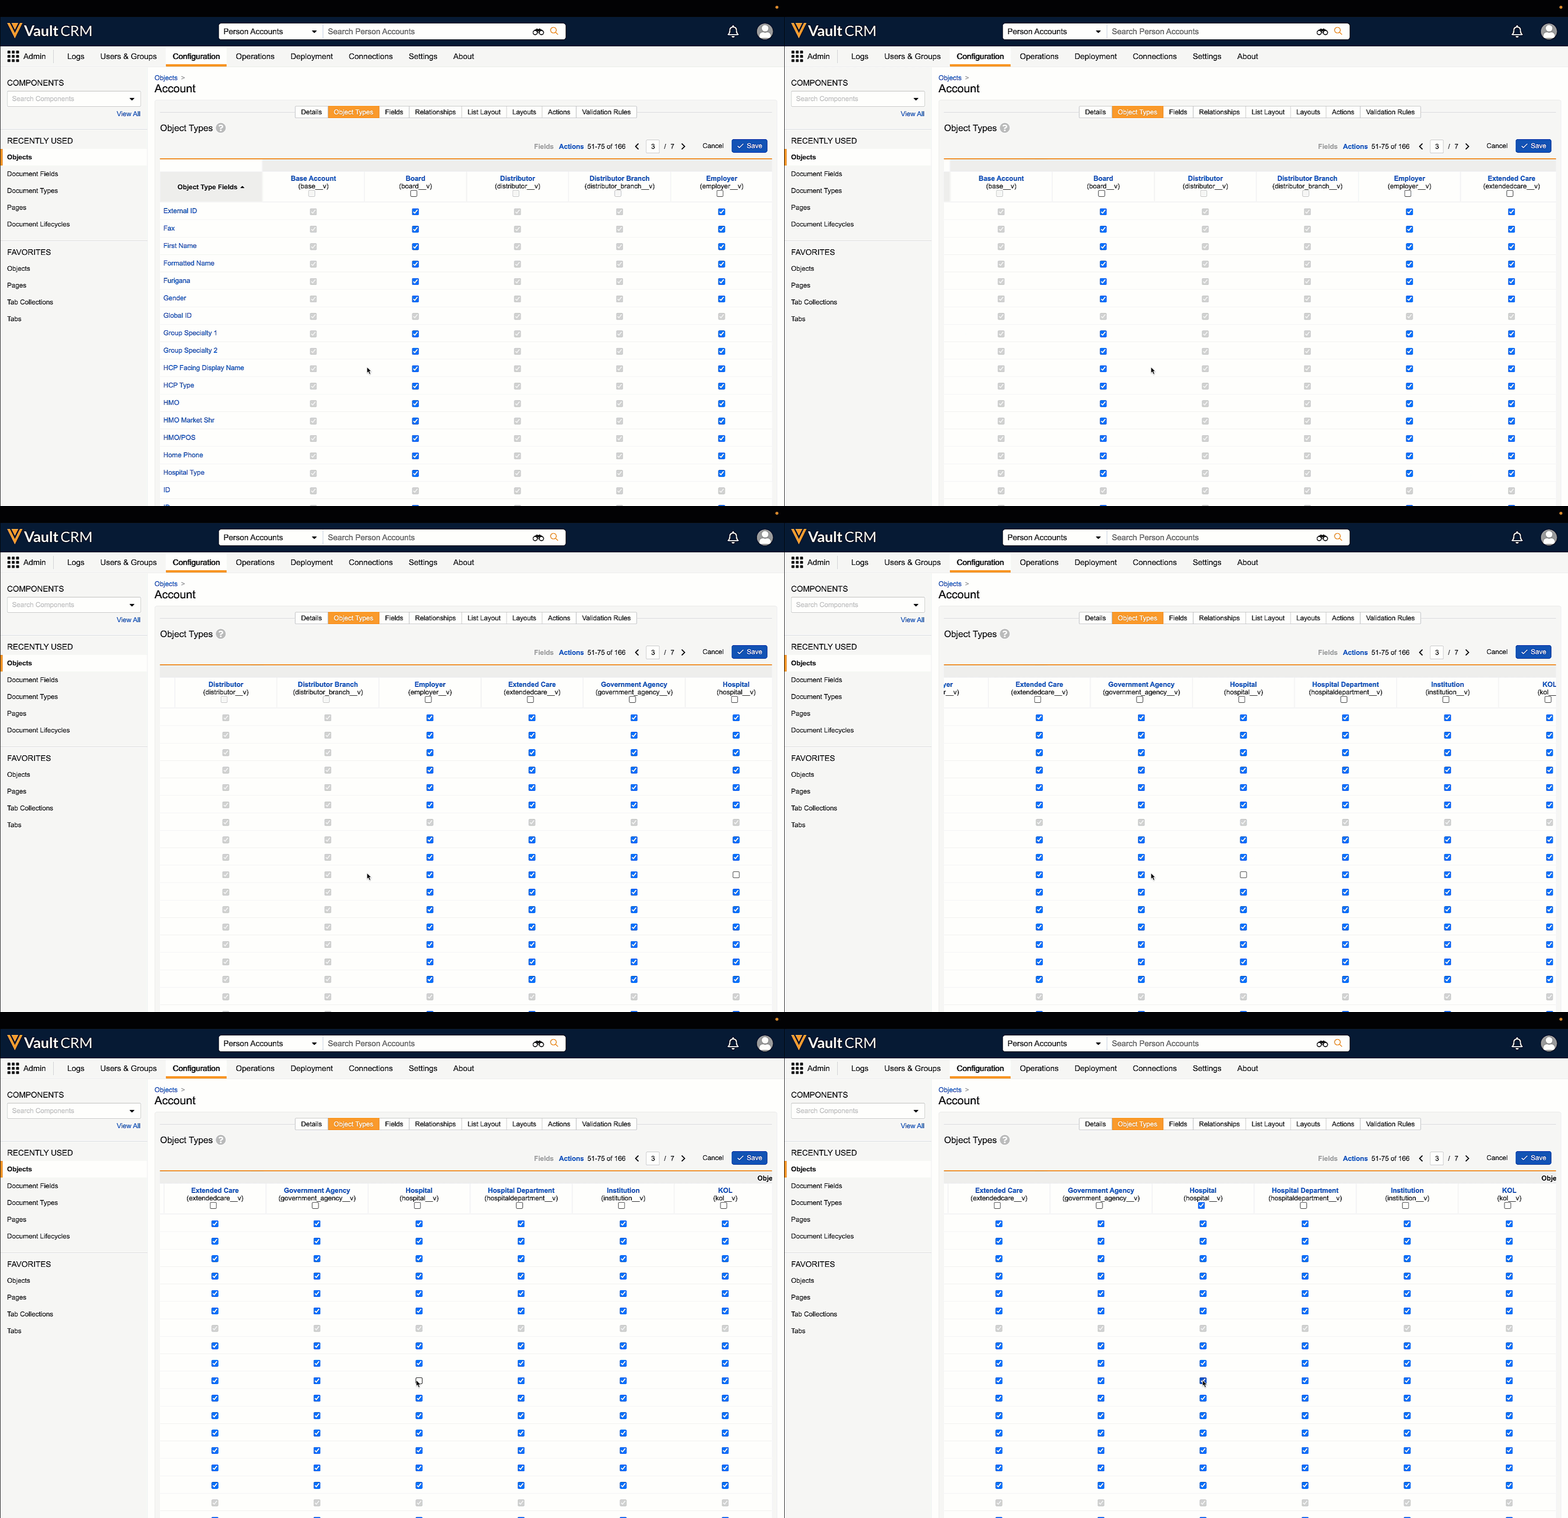
- Navigate to Admin > Configuration > Objects > Account > Object Types.
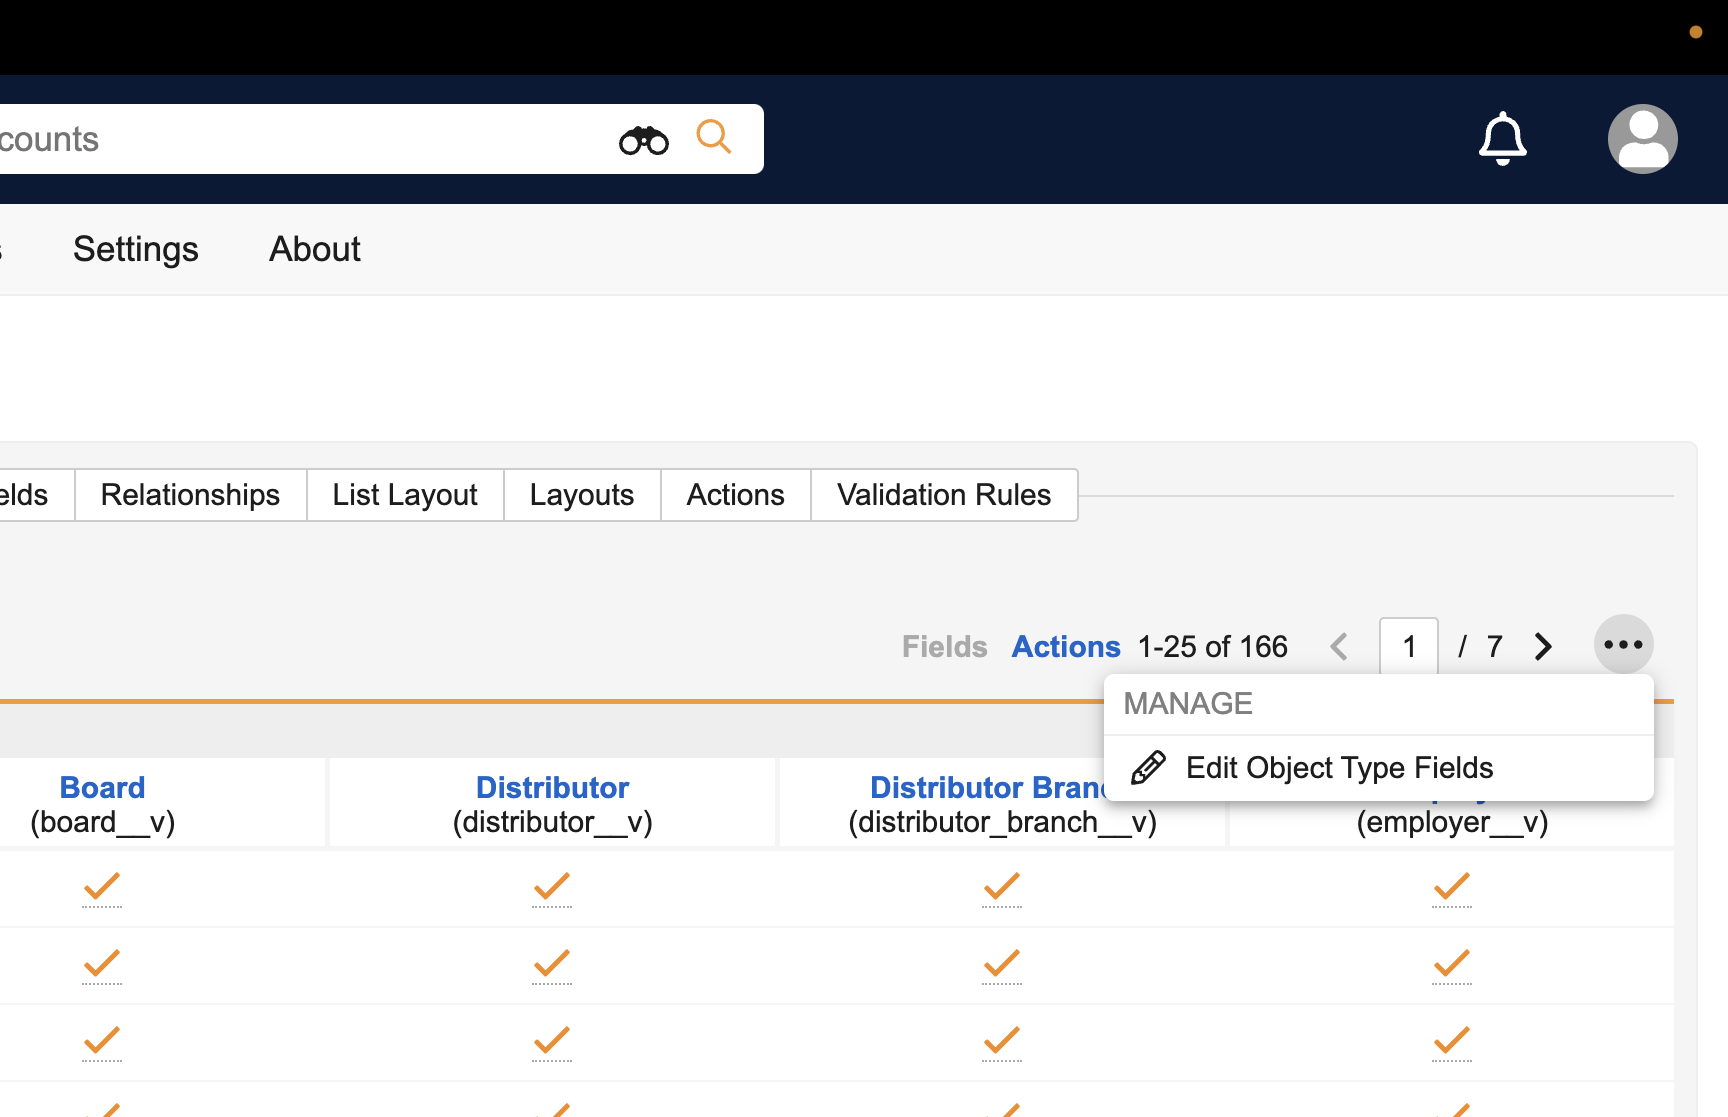
- Select the All Actions button.
- Select Edit Object Type Fields.
- Select the checkbox for the HCP Facing Display Name field under the appropriate object types. This activates the field for these selected object types.
- Navigate to Admin > Users & Groups > Permission Sets.
- Select the permission set for the appropriate user profile.
- Navigate to Objects > Account.
- Grant Read field permission to the hcp_facing_display_name__v field on the account__v object.
To configure this feature:
- Ensure the appropriate features are configured to display the HCP Facing Display Name:
- Navigate to Admin > Configuration > Objects > Account > Object Types.
- Select the All Actions button.

- Select Edit Object Type Fields.
- Select the checkbox for the HCP Facing Display Name field under the appropriate object types. This activates the field for these selected object types.

- Navigate to Admin > Users & Groups > Permission Sets.
- Select the permission set for the appropriate user profile.
- Navigate to Objects > Account.
- Grant Read permission to the hcp_facing_display_name__v field on the account__v object.
Defining the HCP Display Name as
To define the format for HCP names to display:
- Navigate to Admin > Configuration > Objects > Account > Fields.
- Select the hcp_facing_display_name__v field.
- Select Edit.
- Update the formula with the appropriate HCP name format, for example, [First name] [Last name], <credentials>.

- Select Save.
Viewing Formatted HCP Display Names as
The formatted name displays when HCPs perform one of the following actions:
-
Submit a meeting request on the Engage Scheduling Site – The HCP name displays in the Participants section of the page. See Appointment Booking: Sending Meeting Requests via Approved Email for more information.

- View a confirmation email for an accepted meeting request – The HCP name displays in the email. SeeAppointment Booking: Responding to Meeting Requests in My Schedule for more information.
- Grant consent on the Consent Capture screen – The HCP name displays in the header. See Granting Consent for more information.
On the Engage Scheduling Site and in confirmation emails, if the end user does not have Read field permission to the hcp_facing_display_name__v field on the account__v object, the account name displays and is formatted according to the HCP's device’s country:
- [Last name][First name] for HCPs in Japan, Korea, or Taiwan
- [First name] [Last name] for HCPs in any other country

