Requiring Sample Opt-In
In some countries, users must capture a one-time sample opt-in signature or paper consent from HCPs. Once users capture an HCP’s sample opt-in signature or consent, they do not need to capture signatures for individual sample disbursements to the HCP within an admin-defined period of time, unless the disbursement contains controlled substances.
Validation Disclaimer
Call Sampling features are released without validation. Call Sampling requires enablement and does not affect other Vault CRM functionality. Call Sampling features were extensively tested by our QA team during the development and release process and will go through validation at a later date.
Who can use this feature?
- Business Admin Users — Browser
- Setting Sample Opt-in Expiration Dates
- End Users — iPad, Windows (Beta) (Browser coming soon)
- Capturing Sample Opt-In Signatures
- Users do not require an additional license
Configuring Sample Opt-In for
To configure this feature:
- Ensure the following configuration is complete:
- Navigate to Admin > Users & Groups > Permission Sets.
- Select the appropriate permission set.
- Select the Objects tab.
- Grant the following permissions:
Object Object Permission Object Types Field Field Permission call2__v
CRED
All applicable object types
n/a
n/a
consent_template__v
CRED
sample_consent_template__v
- calendar_effective_date__v
- end_date__v
- expiration_threshold__v
- expiration_type__v
- start_date__v
Edit
multichannel_consent__v
CRED
sample_consent__v
- account__v
- capture_datetime__v
- consent_type__v
- default_consent_text_file__v
- disclaimer_text_file__v
- external_id__v (optional)
- mobile_id__v
- object_type__v
- opt_expiration_date__v
- opt_type__v
- sample_consent_template__v
- sample_consent_template_data__v
- signature__v
- signature_datetime__v
- signature_id__v
Edit
- Grant View permission to the sample_opt_in__v field control on the call2__v object.
- Navigate to Admin > Configuration > Tabs.
- Create a tab for the consent_template__v object and grant access to admins.
To configure this feature:
- Ensure the following configuration is complete:
- Navigate to Admin > Users & Groups > Permission Sets.
- Select the appropriate permission set.
- Select the Objects tab.
- Grant the following permissions:
Object Object Permission Object Types Field Field Permission call2__v
at least CRE
All applicable object types
n/a
n/a
consent_template__v
R
sample_consent_template__v
- calendar_effective_date__v
- end_date__v
- expiration_threshold__v
- expiration_type__v
- start_date__v
Read
multichannel_consent__v
CRE
sample_consent__v
- account__v
- capture_datetime__v
- consent_type__v
- default_consent_text_file__v
- disclaimer_text_file__v
- external_id__v
- mobile_id__v
- object_type__v
- opt_expiration_date__v
- opt_type__v
- sample_consent_template__v
- sample_consent_template_data__v
- signature__v
- signature_datetime__v
- signature_id__v
Edit
- Grant users Execute permission to the sample_opt_in__v action on the account__v object.
- Grant users View permission to the sample_opt_in__v field control on the call2__v object.
- Navigate to Admin > Configuration > Objects > account__v > Object Types > Actions.
- Ensure the sample_opt_in__v action is active for the appropriate account__v object types.
- Navigate to Admin > Configuration > Objects > call2__v.
- Select the Layouts tab.
- Place the sample_opt_in__v field control in the details__c section on the appropriate call2__v layouts.
-
Enable the No Sample License No Signature section attribute for the samples_section__v section control on the appropriate call2__v layouts (optional). The No Sample License No Signature section attribute disables the requirement to capture a signature for individual sample disbursements, in addition to disabling state and license validation checks.
- Navigate to Business Admin > Objects > vmobile_object_configuration__v.
- Enable the following VMOC for the appropriate platforms:
VMOC
Sync Type
WHERE clause
Lookup
multichannel_consent__v
Full Sync
n/a
account__v
Configuring a Marketing Banner
To promote a product or brand when HCPs sign for sample opt-in, a marketing banner can be displayed on the sample opt-in signature page. To configure the marketing banner:
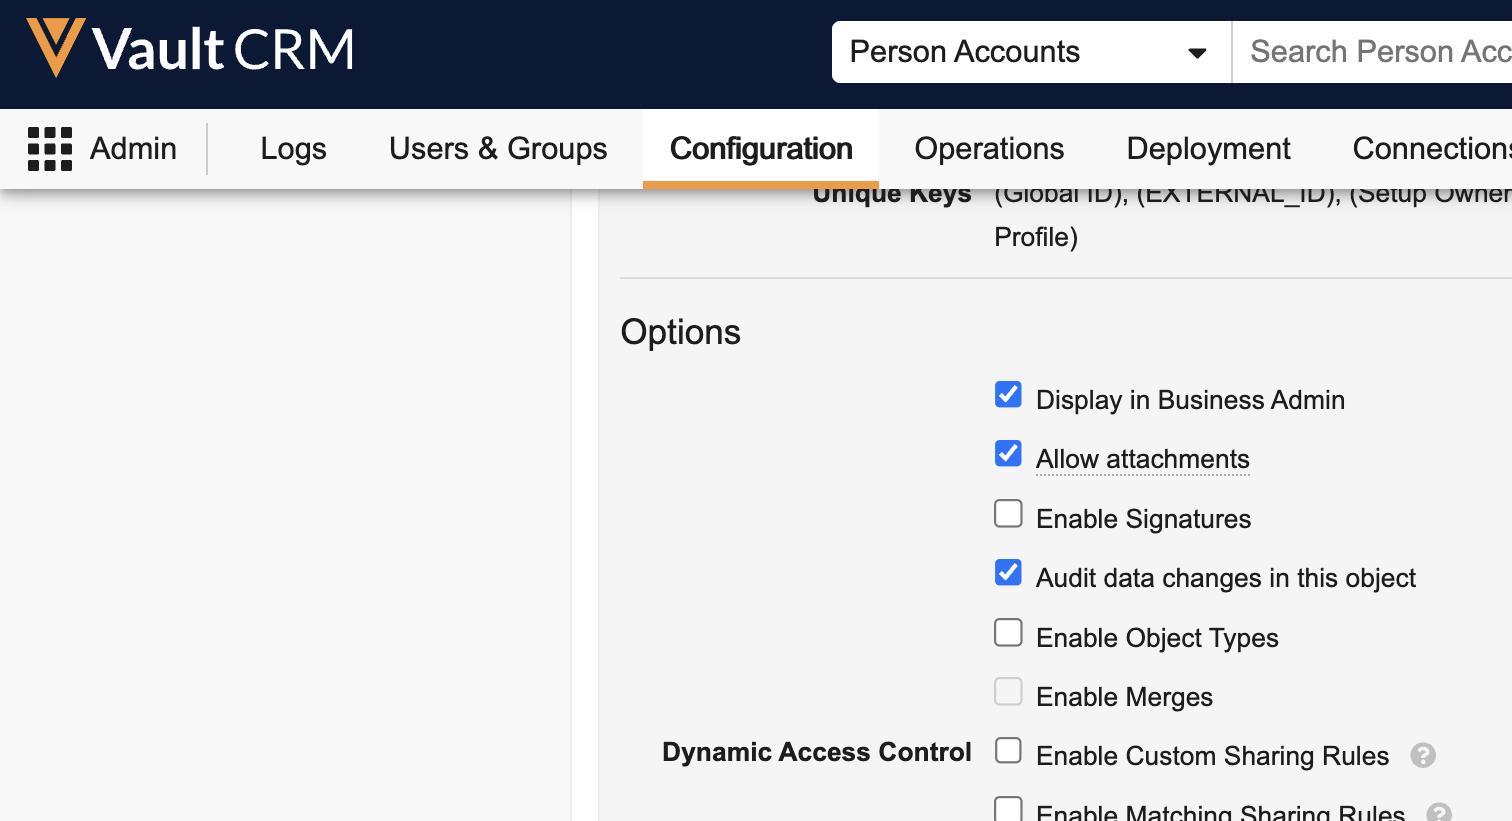
- Navigate to Admin > Configuration > Objects > veeva_settings__v > Details > Options.
- Ensure the Allow attachments checkbox is selected for the veeva_settings__v object.
- Navigate to Business Admin > Objects > veeva_settings__v.
- Select the appropriate veeva_settings__v record:
- To display the same marketing banner across all application profiles, select the global Veeva Settings record
- To display differing marketing banners by application profile, select a profile-specific Veeva Setting record
- Upload an image named consent_logo.xxx to the Attachments section of the Veeva Settings record, where .xxx represents the image file extension.
Supported file types are JPG, PNG and GIF. GIF files do not animate.

- Navigate to Business Admin > Objects > vmobile_object_configuration__v.
- Ensure a VMOC for the veeva_settings__v object is active for the appropriate platforms.
Images are not stretched to fit the screen; if the logo image is smaller than 290 pixels by 145 pixels, it displays at its original size.
Setting Sample Opt-in Expiration Dates as
To define how long sample opt-in signatures stay valid, admins create a record on the consent_template__v object. Depending on regulatory requirements and organization policies, expiration dates are based on either the date of the last signature (rolling) or a specific date range (calendar).
Setting a Rolling Expiration Date
By default, all signatures captured with rolling expiration dates expire two years from the date of the signature capture. To define rolling expiration dates for sample opt-in, based on the individual account’s last signature capture:
- Navigate to Business Admin > Objects > consent_template__v.
- Create a new consent_template__v record.
- Enter the appropriate Consent Template Name and Start Date.
- Select Rolling from the Expiration Type picklist.
- Enter the number of months past capture that signatures remain valid in the Expiration Threshold field. For example, if the Expiration Threshold is set to 12, then each sample opt-in signature expires 12 months after it is captured.
- Select Save.

Setting a Calendar-Based Expiration Date
To set a calendar-based expiration date for all sample opt-in signatures:
- Navigate to Business Admin > Objects > consent_template__v.
- Create a new consent_template__v record.
- Enter the appropriate Consent Template Name and Start Date.
- Select Calendar from the Expiration Type picklist.
- Enter the number of months past capture that signatures remain valid in the Expiration Threshold field.
- Select the Calendar Effective Date to set the starting date for the consent period. For example, if the Calendar Effective Date is set to 01-01-2024 and the Expiration Threshold is set to 12, all sample opt-in signatures expire on 12-31-2024 and every 12 months after.
- Select Save.

Capturing Sample Opt-In Signatures as
To disburse the following product types, end users must capture valid sample opt-in for accounts:
- Sample
- BRC
- Alternative Sample
Until a sample opt-in signature or paper consent is captured, users cannot capture the HCP’s signature for these product types, and the account's Sample Status indicator displays as invalid.
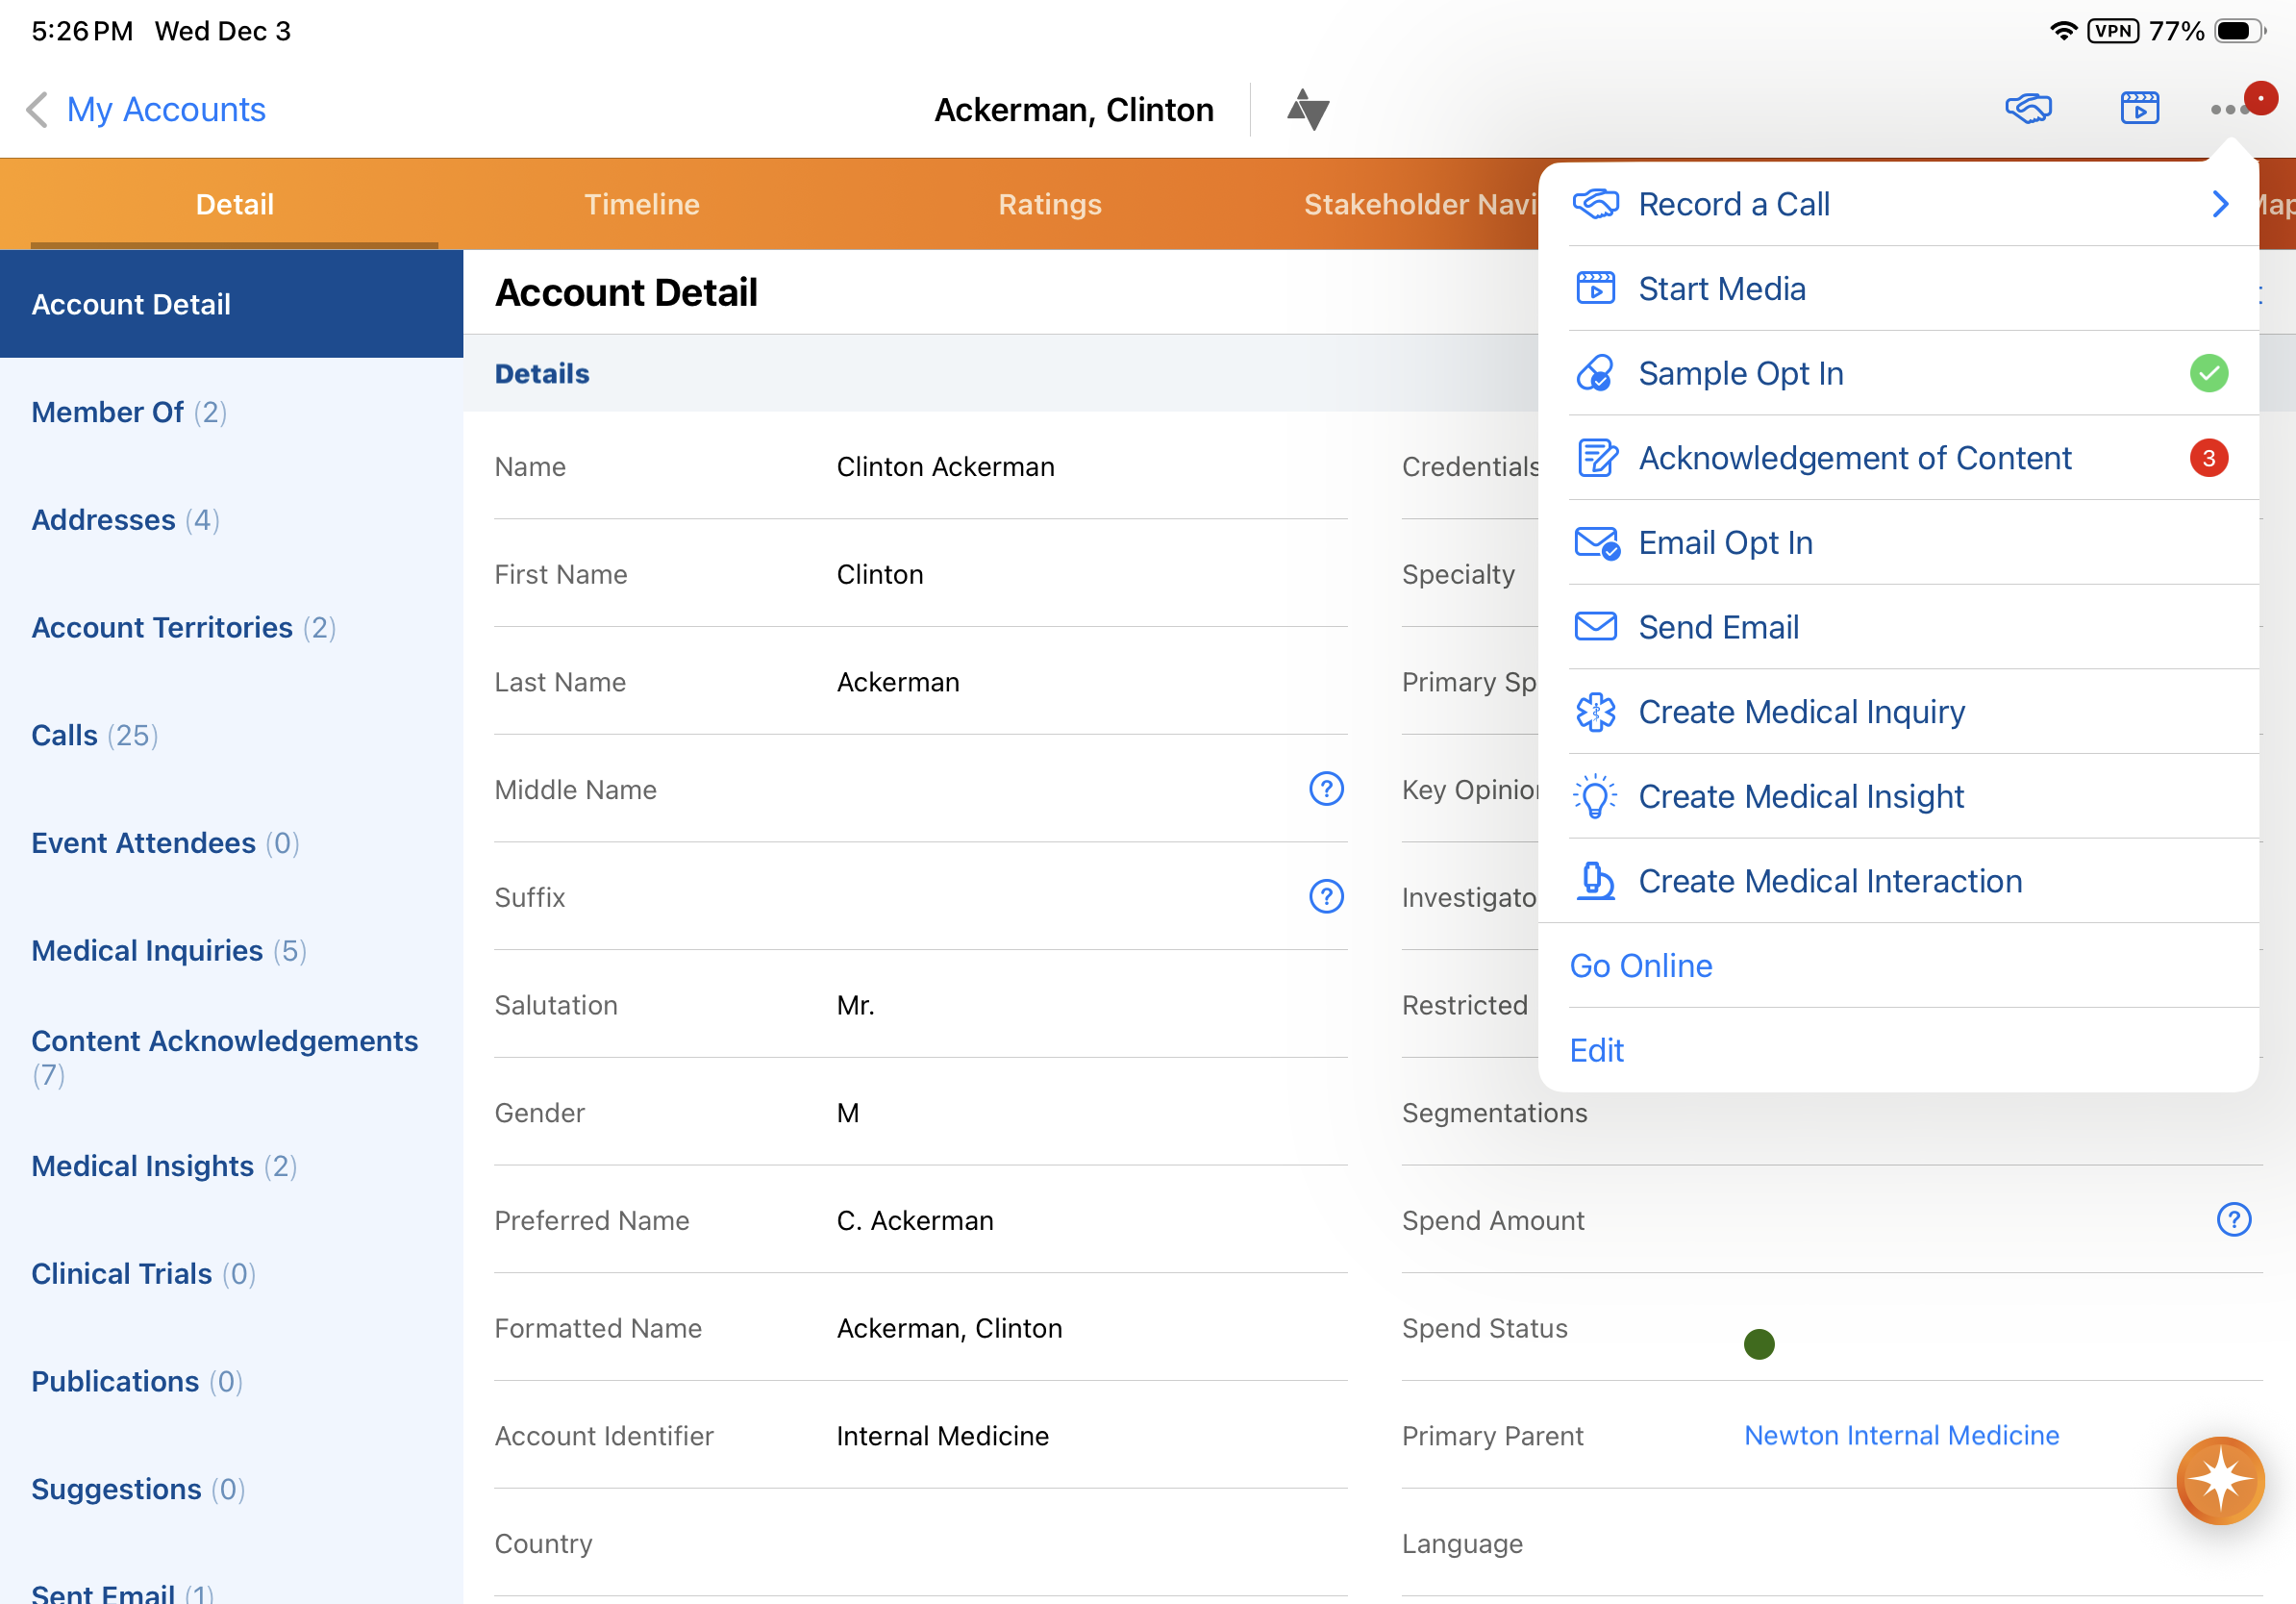
To capture an HCP’s signature for sample opt-in from the Account Detail page, select the All Actions menu on the Account Detail page, then select Sample Opt In.
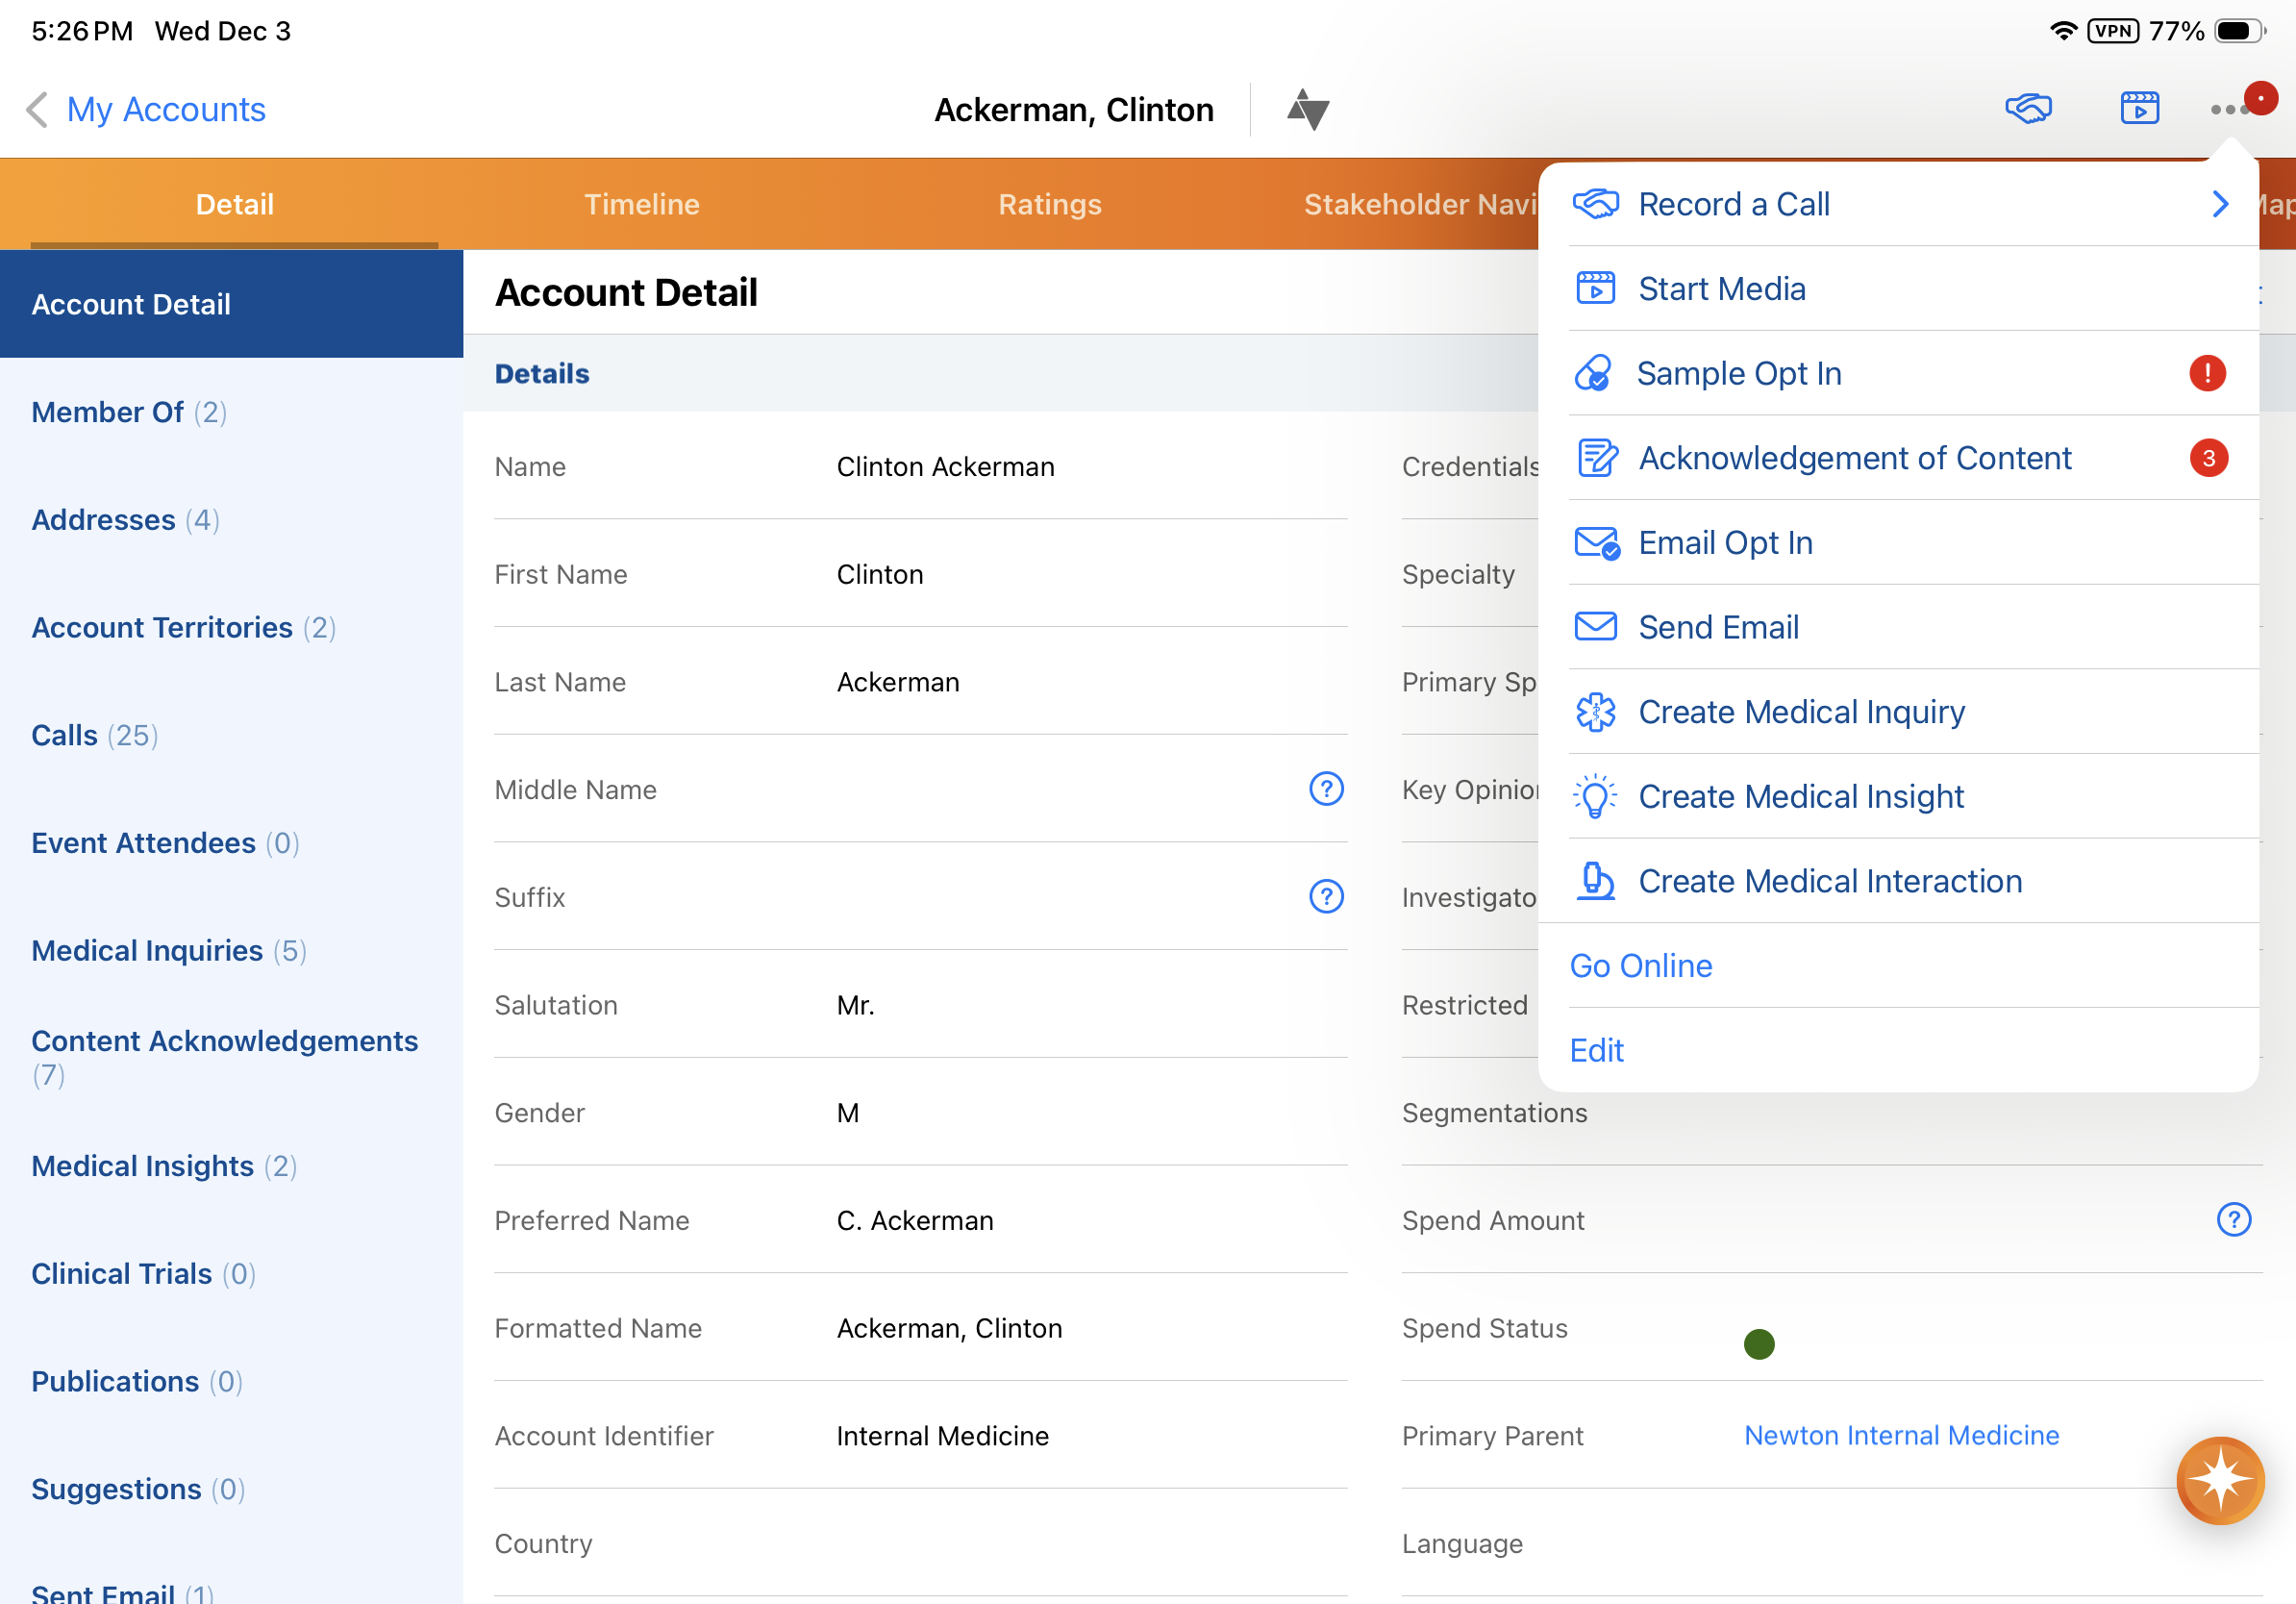
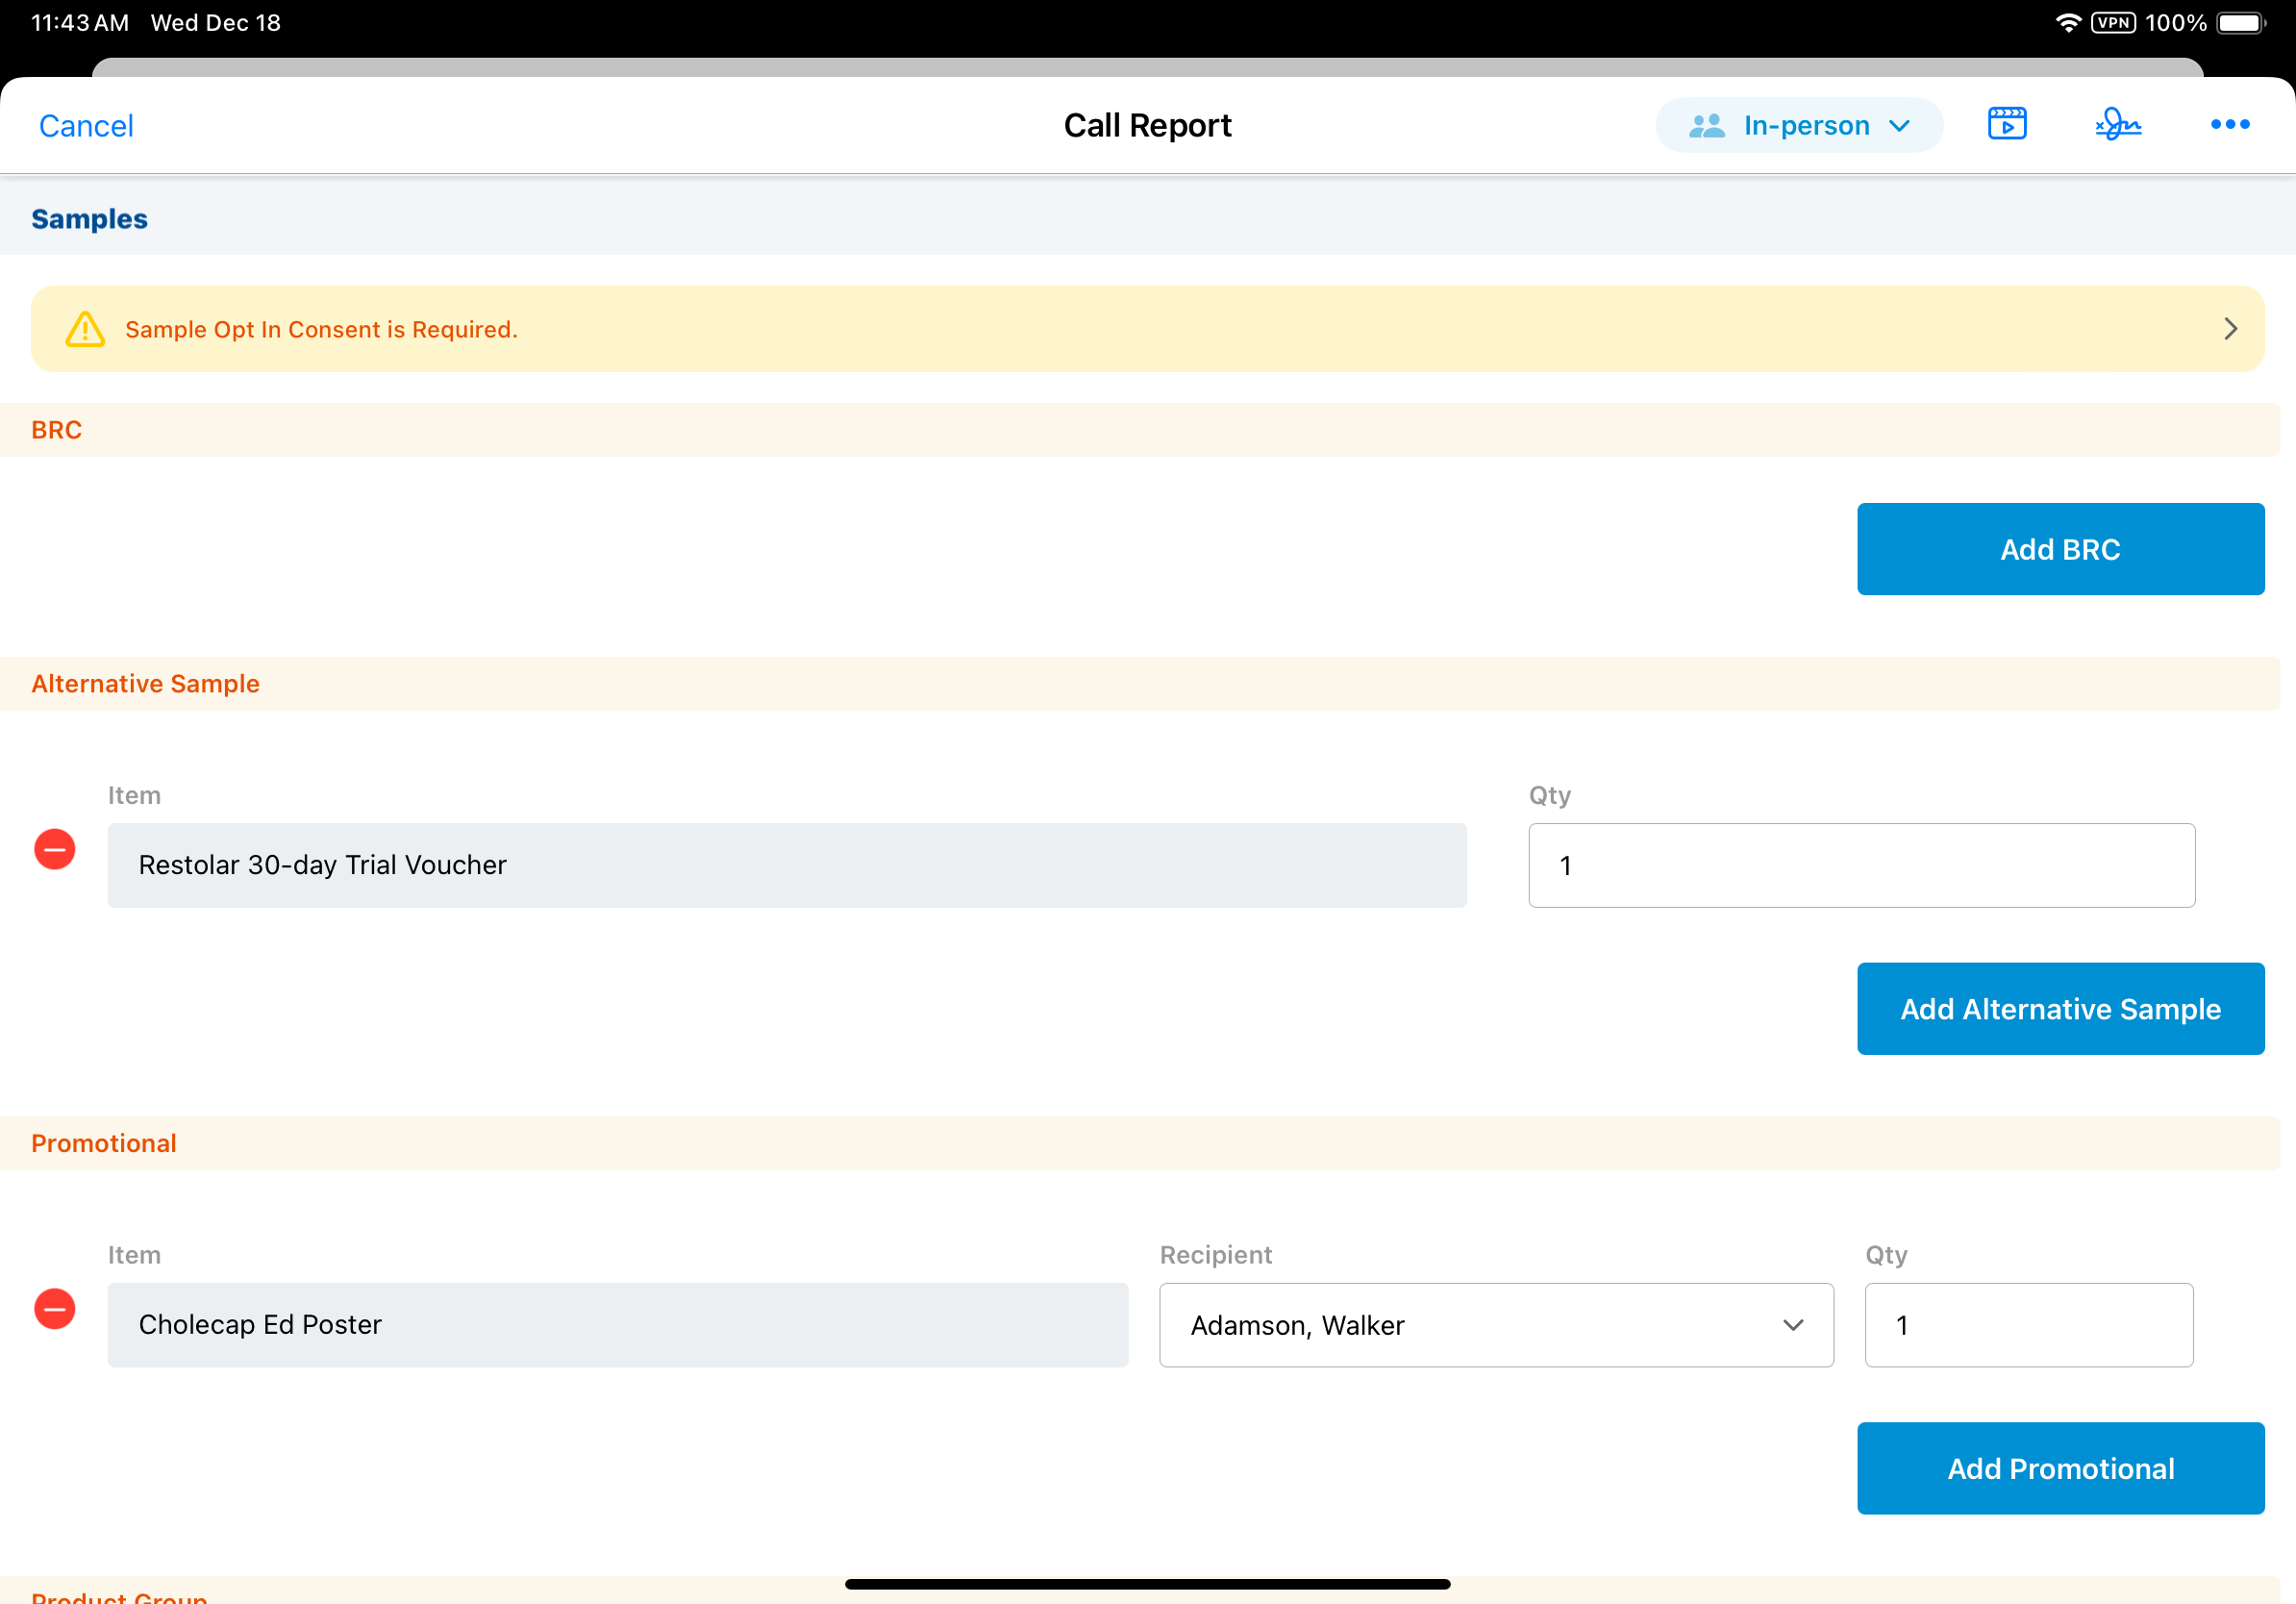
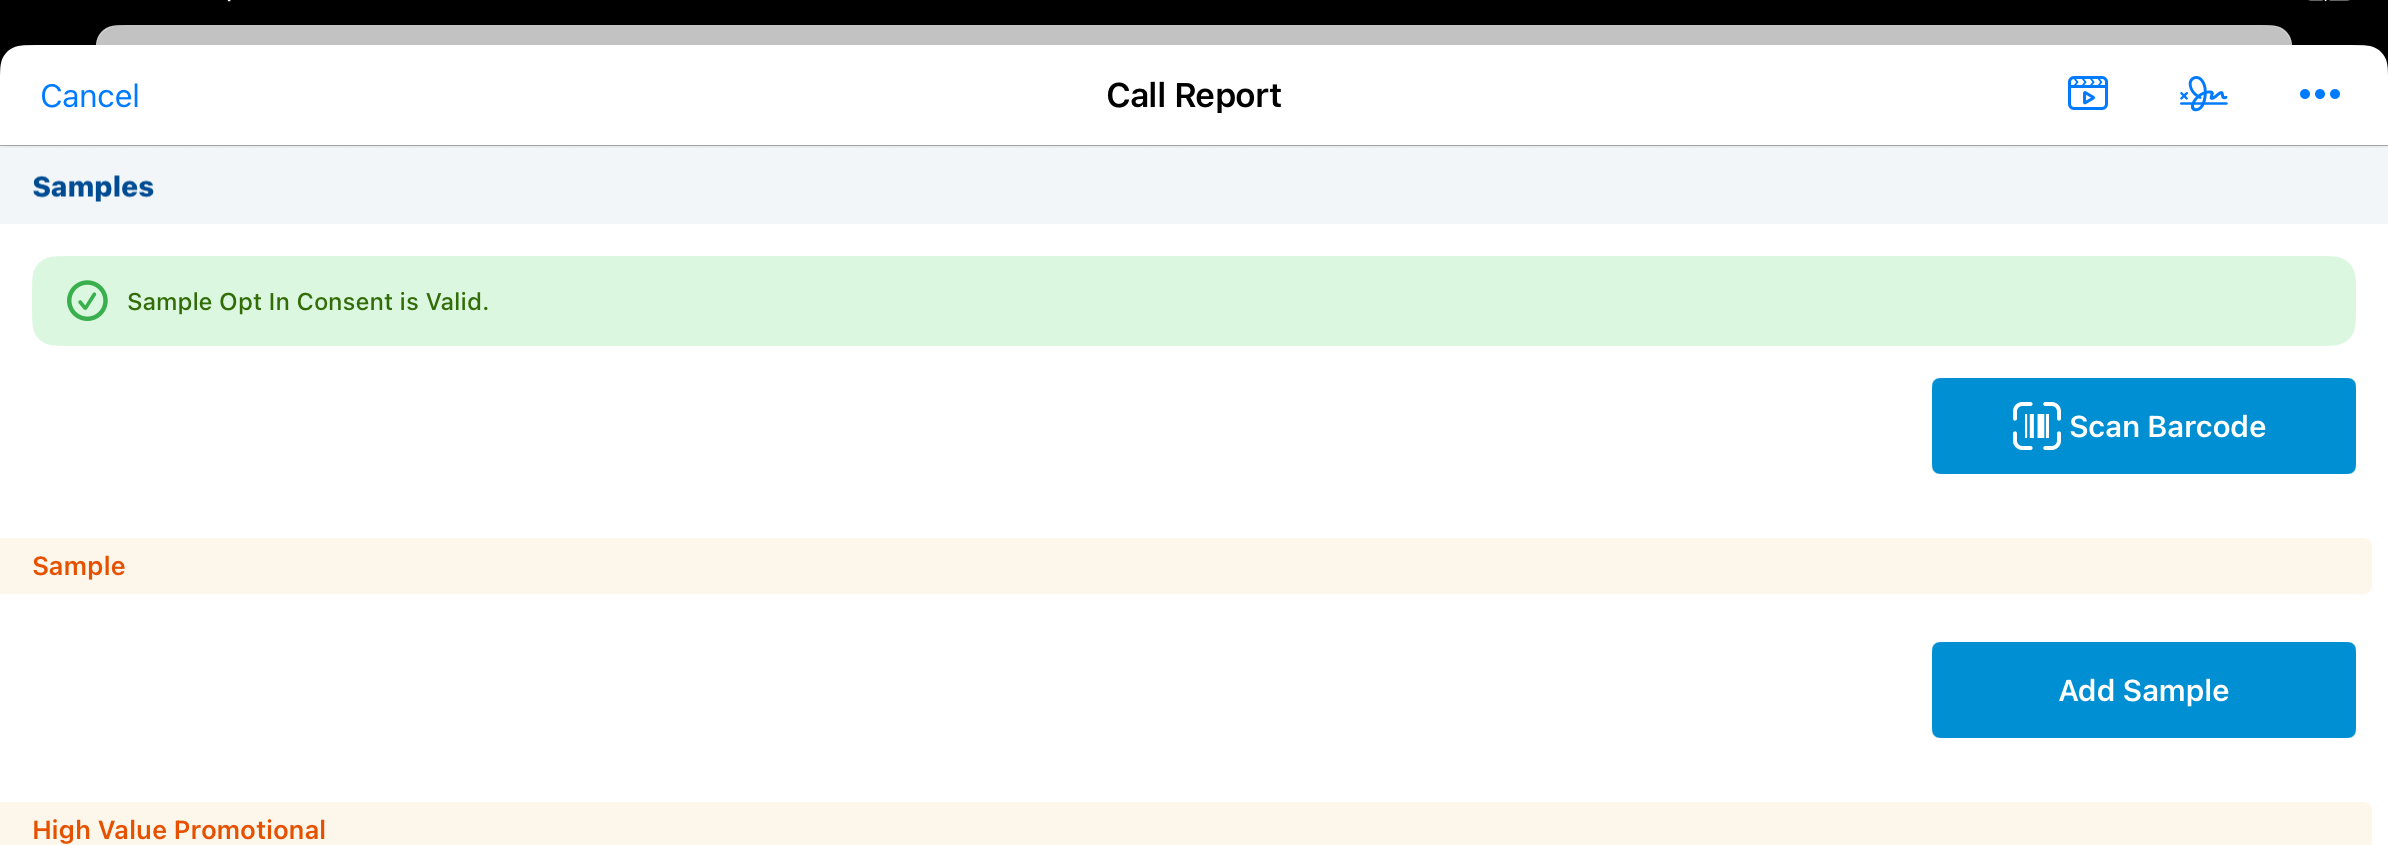
When an account does not have a valid sample opt-in signature on record, a warning also displays in the sample opt-in banner on the call report.
On standard group calls, sample opt-in displays for the selected sample recipient. On unique activity group calls, a warning icon displays on attendee cards, and the sample opt-in banner is accessible from the attendee’s child call report. Each unique activity group call attendee must have a valid sample opt-in signature in order to receive samples.
To capture an HCP’s signature for sample opt-in from the call report, select the sample opt-in banner on the call report.
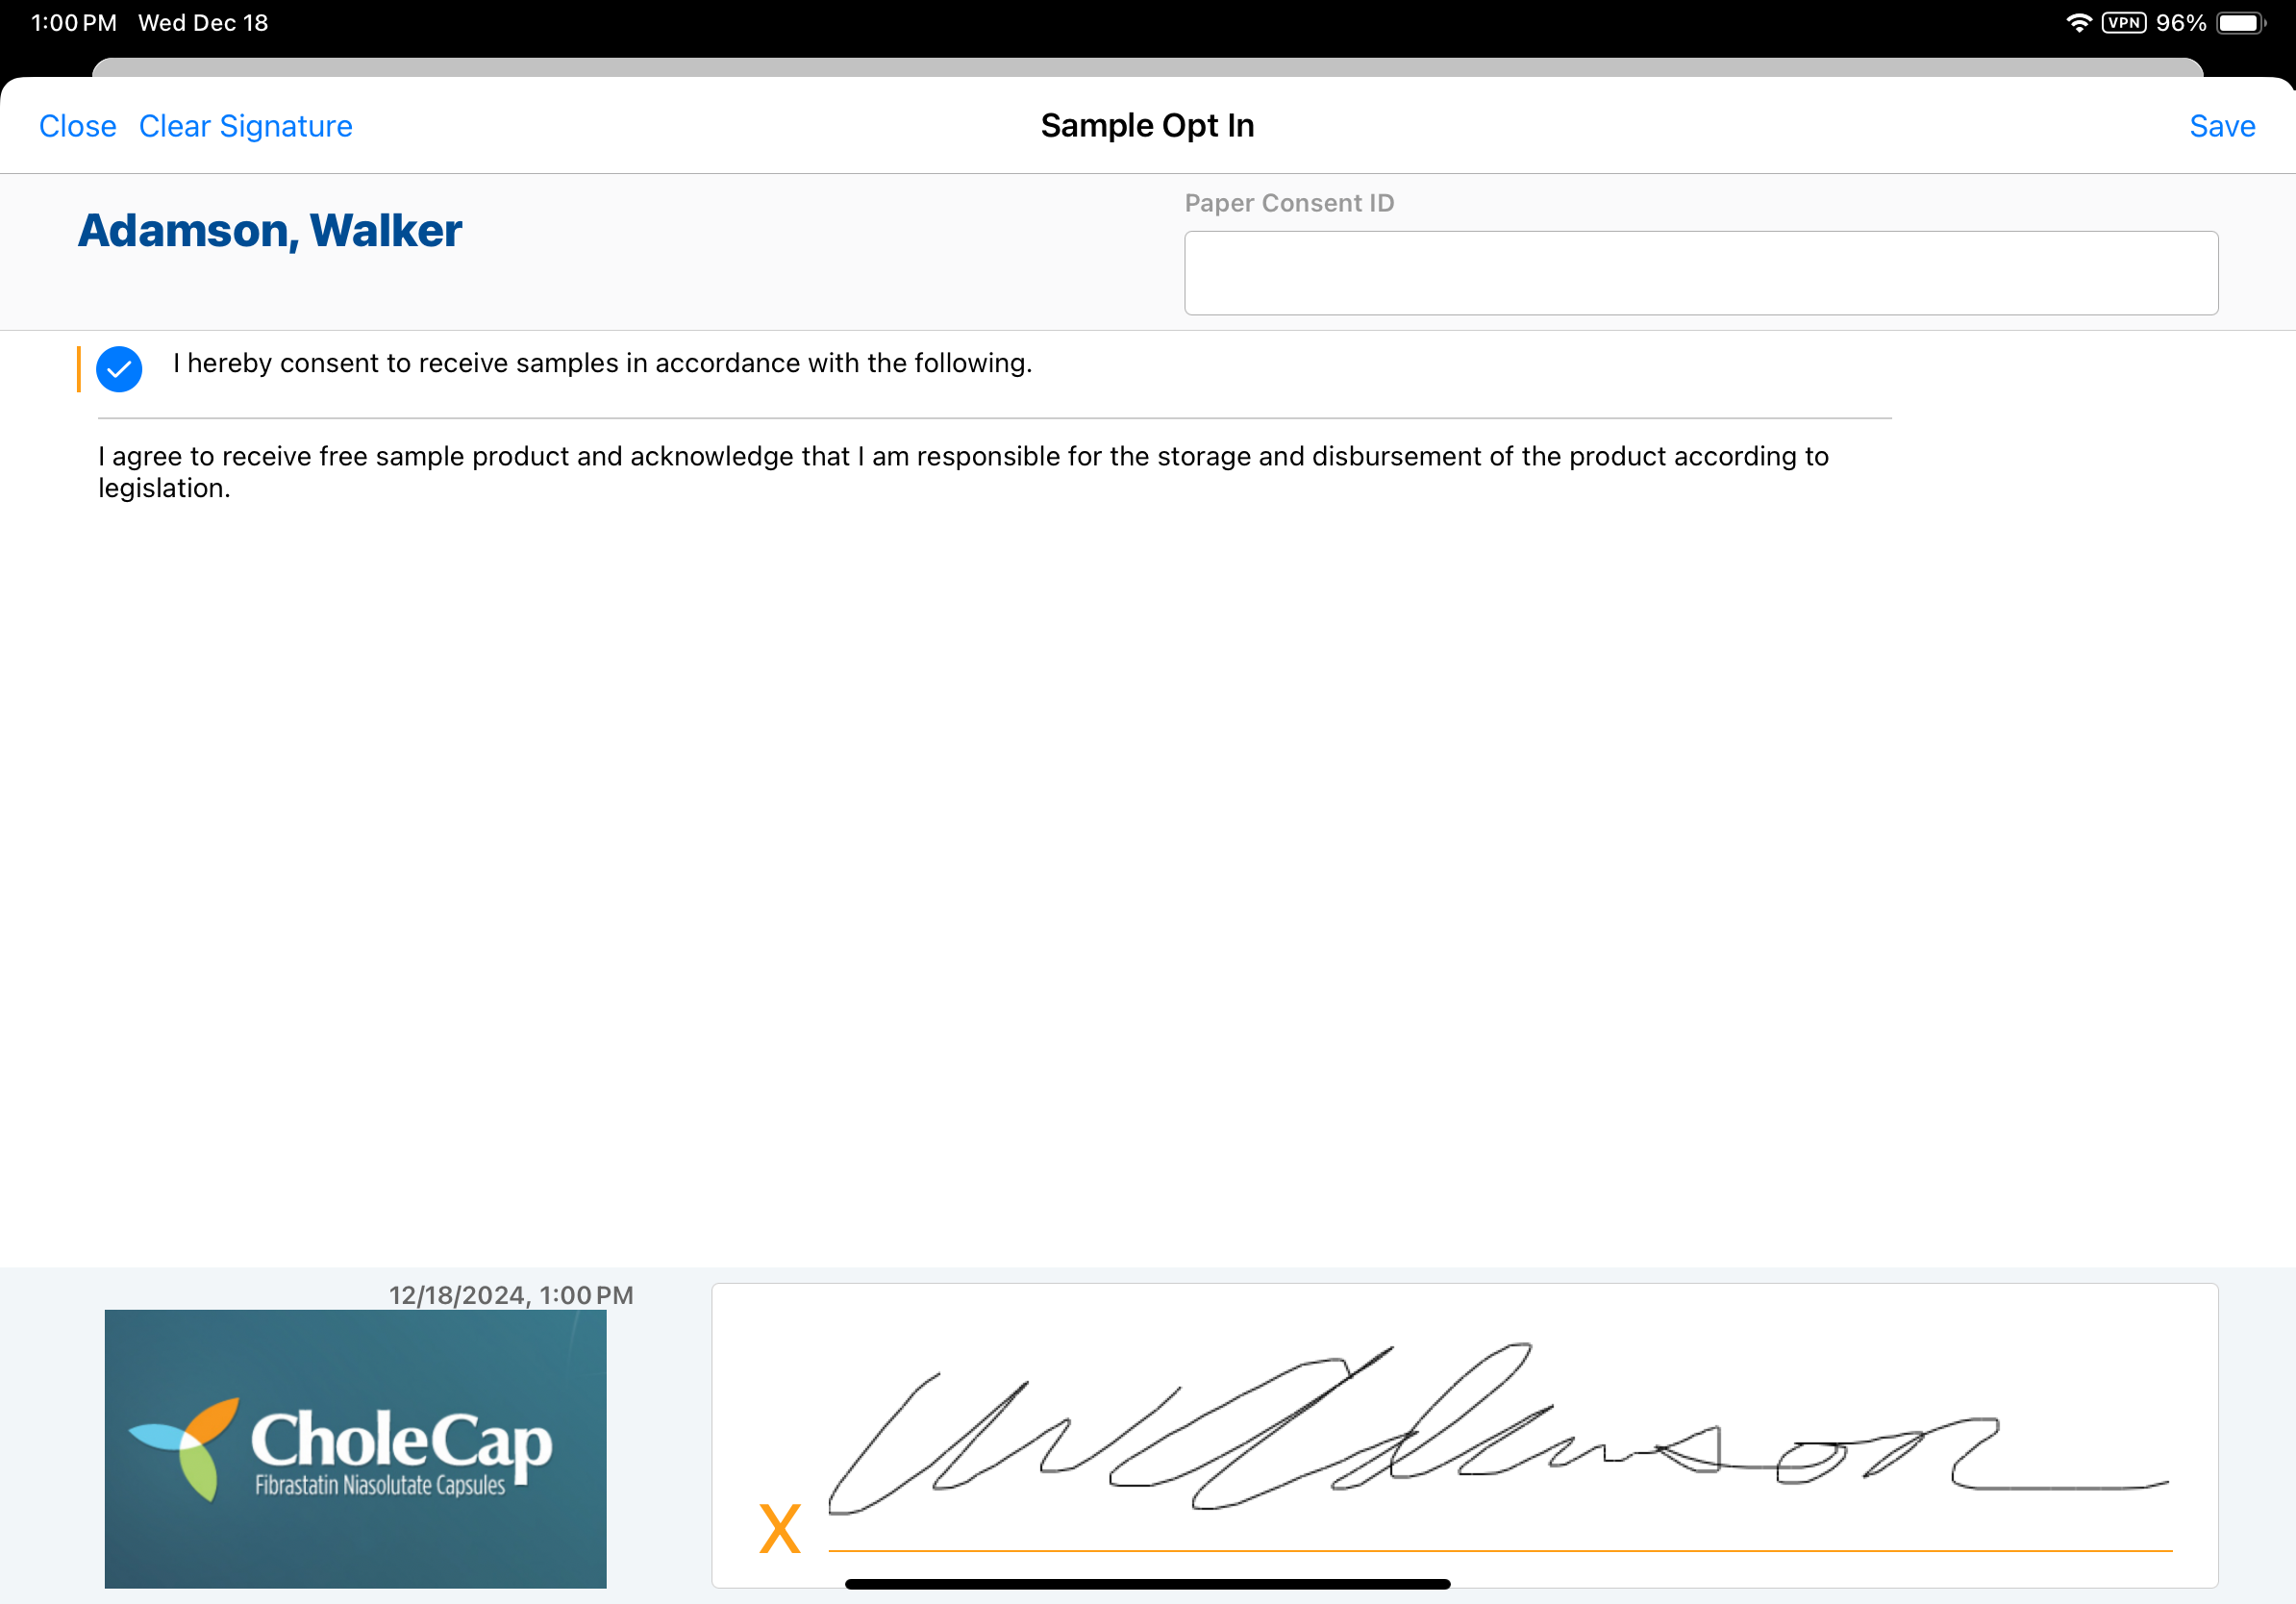
If a marketing banner is configured, it displays on the signature page. When users capture sample opt-in, key information is stamped on the following fields on the multichannel_consent__v object:
- account__v - The Account ID for the opt-in
- capture_datetime__v - Datetime the user enters a Paper Consent ID, if paper consent is in use
- consent_type__v - Set to sample_consent__v
- default_consent_text_file__v - Text displayed in the review panel on the sample opt-in signature page
- disclaimer_text_file__v - Disclaimer text displayed to the HCP
- opt_type__v - Set to opt_in__v
- opt_expiration_date__v - Date the opt-in expires, based on the active sample_consent_template__v record. If a sample_consent_template__v record is not available, the field is empty.
- signature_id__v - The Paper Consent ID value entered by the user
- sample_consent_template__v - References the relevant sample_consent_template__v record
- sample_consent_template_date__v - Expiration date for the relevant sample_consent_template__v record
After a valid opt-in is captured, a Valid Opt-In banner displays on the call report and users do not need to recapture signatures for future sampling unless the opt-in expires or they are disbursing controlled substances.
If controlled substances are on a call report for an account with a valid opt-in, users must still capture the HCP’s signature. The signature page displays the controlled substances along with all other samples, BRCs, and alternative samples selected on the call report.
After opt-in is captured, a valid indicator displays for the Sample Opt In action in the All Actions menu on Account Detail pages.
