Recording Audio and Generating Transcripts for Calls
End users can capture compliant audio recordings and generate transcripts of customer discussions directly from the call report. By generating a recording and transcript, end users are free to stay focused on HCP conversations, knowing every detail is captured in searchable records stored locally or synchronized to the cloud. These recordings and transcripts also provide data for Agentic Coaching, allowing AI models to analyze dialogue, evaluate customer responses, and deliver personalized feedback to help end users refine their skills.
Who can use this feature?
- End Users — iPad, iPhone
- Recording Audio and Generating Transcripts for Calls
- A Vault AI license is required to use Cloud Transcription
Configuring Audio Recording and Transcript Generation for Calls for
 End Users
To configure this feature:
-
Ensure the following configuration is complete:
- Configuring Call Reporting
- Configuring Vault AI in CRM
- Voice Dictionary Entries (when using on-device processing rather than cloud transcription)
- Navigate to Admin > Users & Groups > Permission Sets.
- Select the appropriate permission set.
- Select Objects.
-
Grant the following permissions:
Object
Object Permission
Object Types
Fields
Field Permission
ai_settings__v
R
None
call_audio_recording_transcript_mode__v Read
- Navigate to Business Admin > Objects > Veeva Settings.
-
Populate the call_audio_recording__v Veeva Setting with the following:
- local_storage__v - Enables audio recording with local device storage
Configuring the Local Recording Retention Period
To define the maximum days audio and transcript files remain on mobile devices, populate the local_recording_retention_period__v Veeva Setting with a number from 1 to 120.
The audio files are automatically deleted during sync once the number of days configured in the user's Local Recording Retention Period Veeva Setting is reached (calculated from the record's Created Date). The retention period defaults to 120 days if the user lacks permission to the Veeva Setting.
The files are deleted without user notification.
Configuring Cloud Transcription
Organizations can choose to configure cloud transcription to enable speaker diarization and timestamps. If left unconfigured or set to device_transcription__v, transcripts do not include speaker diarization or timestamps.
To configure AI Settings for cloud transcription:
- Navigate to Business Admin > Objects > AI Settings.
- Populate the call_audio_recording_transcript_mode__v AI Setting with cloud_transcription__v.
Configuring the Maximum Recording Duration
Vaults enforce a maximum recording duration of 180 minutes. Recordings automatically conclude when this duration threshold is reached. Customers can submit a report ticket to request a different value for the maximum duration.
Recording Audio and Generating Transcripts for Calls as
End Users
End users can record audio for planned or saved calls, review transcripts, and manage recorded files directly on mobile devices.
The Record option displays on the call report under the following conditions:
- The call status is Planned or Saved (planned__v or saved__v)
- The current user owns the call report
- The call is not an Engage call
- The call does not include User Attendees or Other Attendees
Starting an Audio Recording
To start recording call audio:
- Navigate to the call report.
-
Select Record. The Record option displays in the following location:
- iPad - In the top bar to the left of All Actions
- iPhone - In the All Actions menu
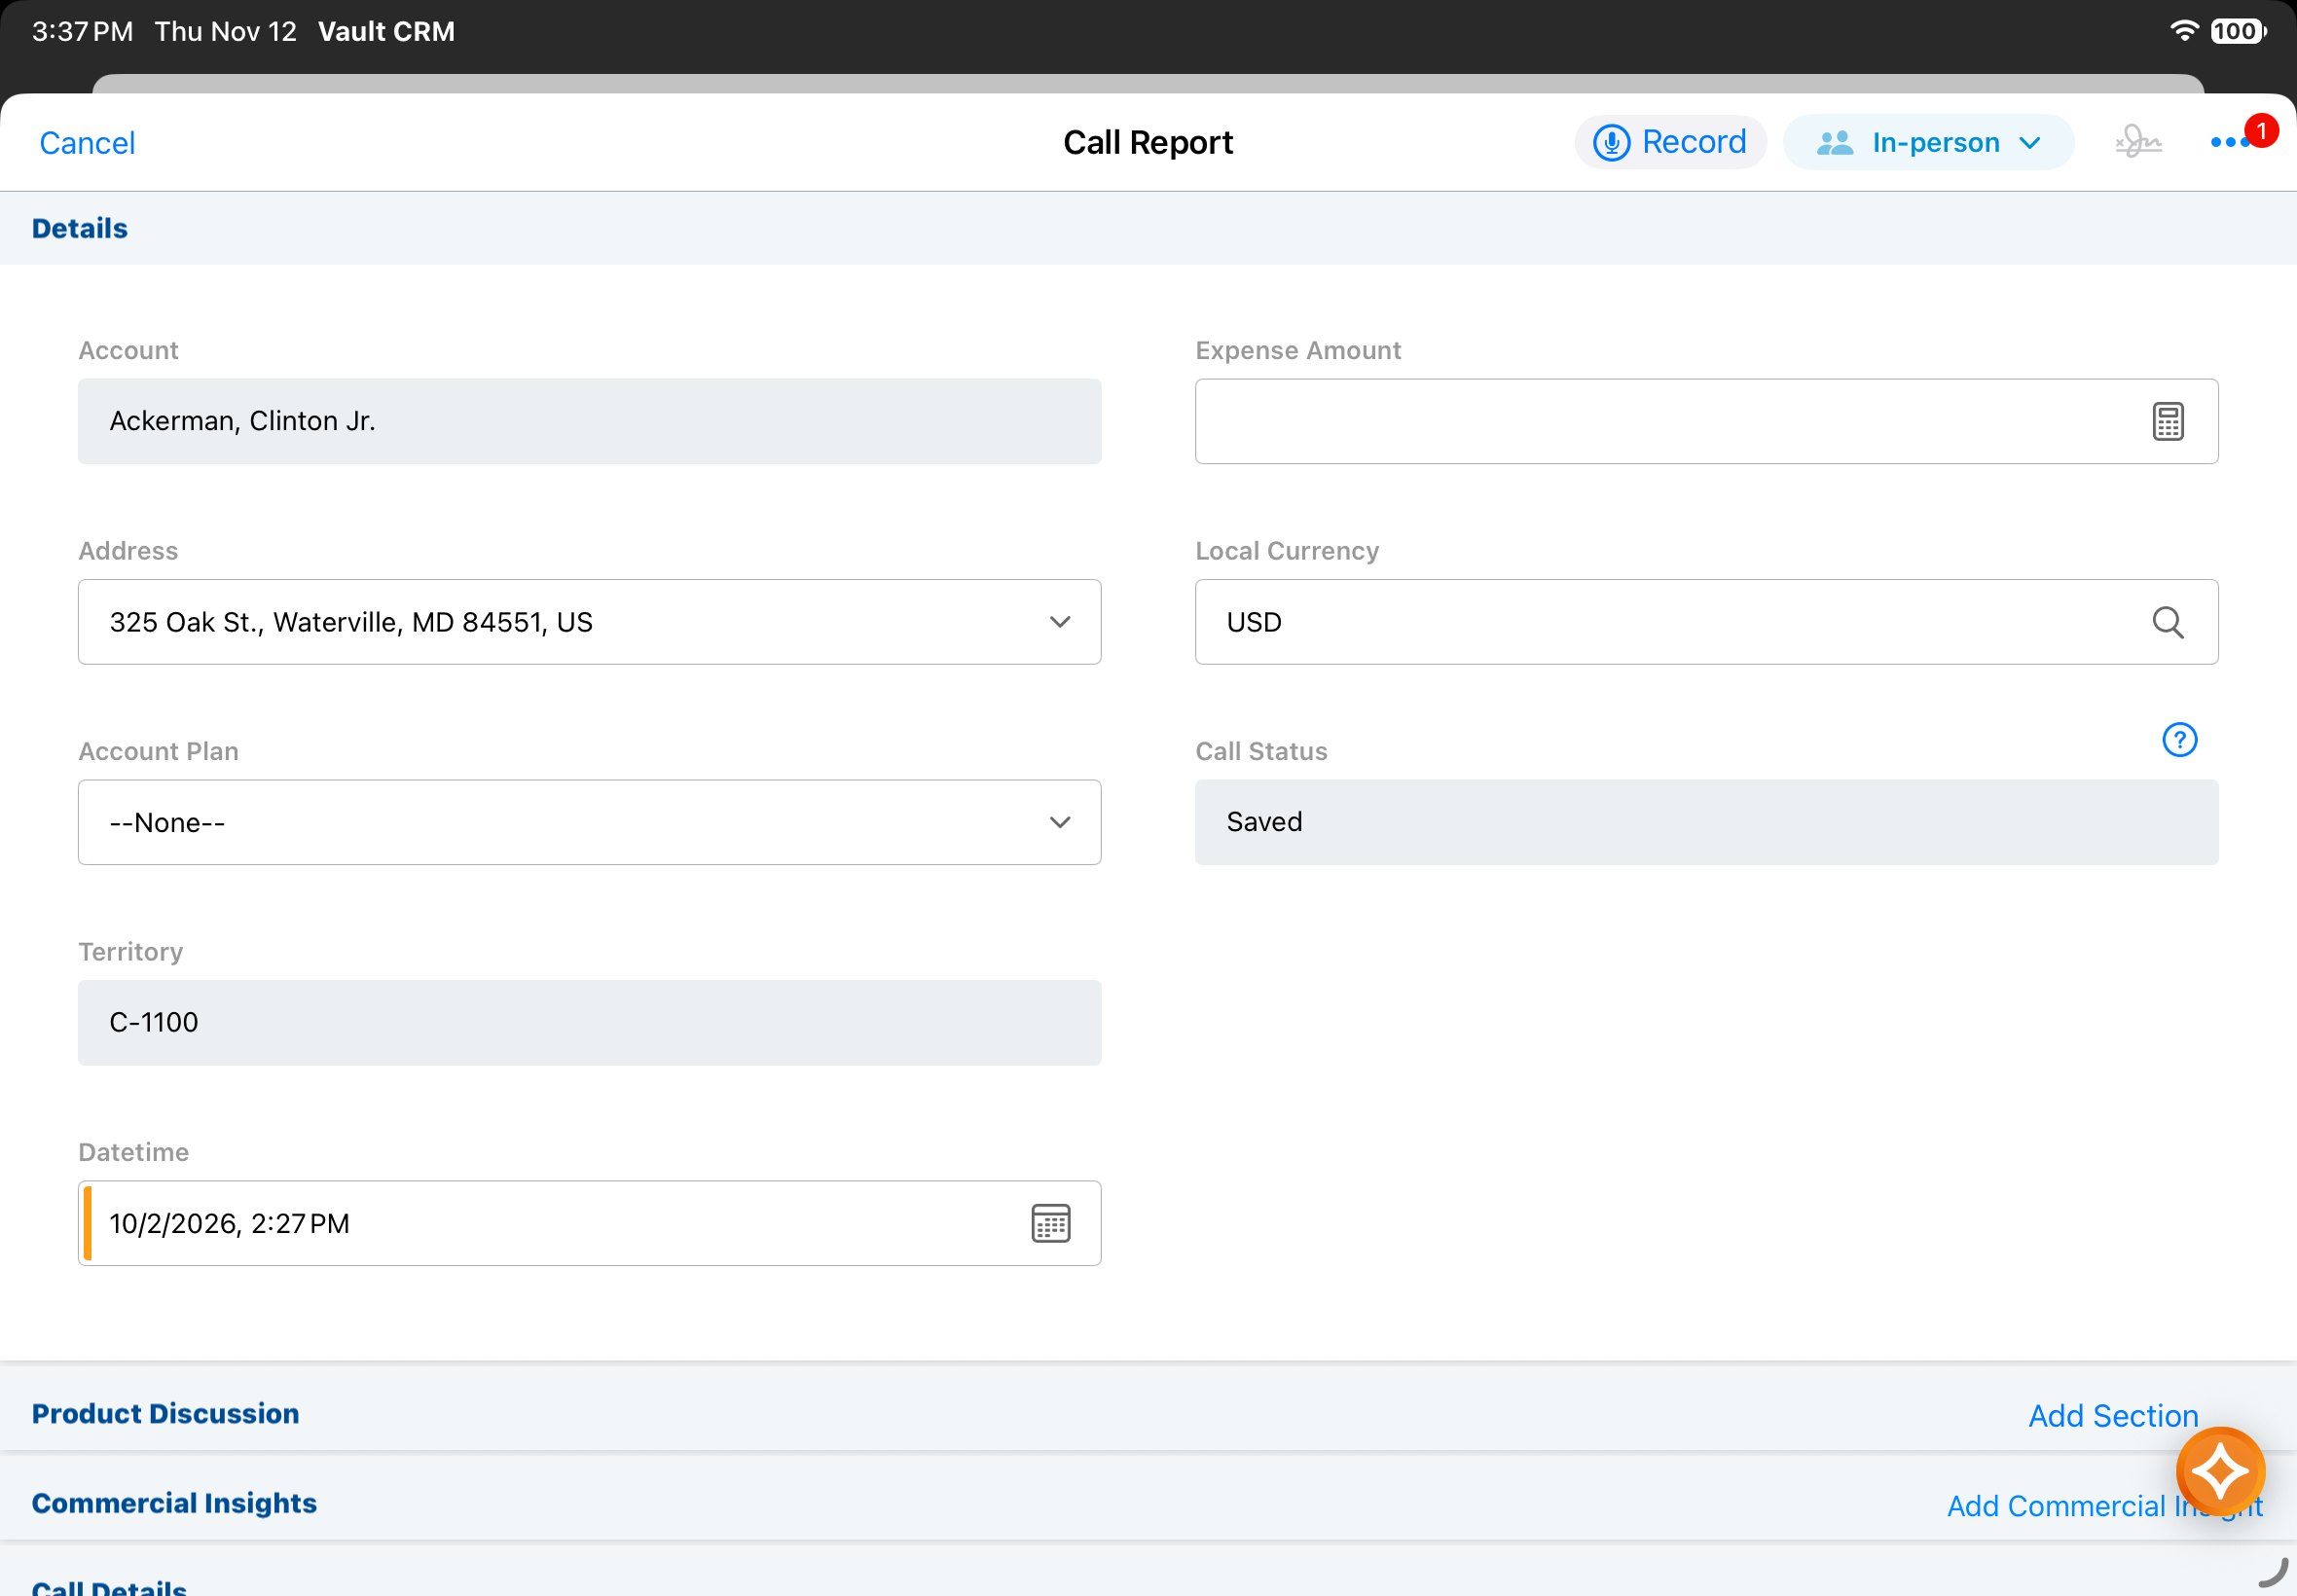
The recording starts immediately.
An alert stating "Add at least one attendee to capture audio recording" displays if the call lacks a Person Account.
Unique Activity group calls display the recording indicator on both parent and child calls. End users can initiate recording from the parent call or any child call.
The Audio Recording Max Length setting enforces a default maximum recording duration of 180 minutes. Recordings automatically conclude when this duration threshold is reached.
Managing Active Recordings
To pause, resume, or end an active recording, select the recording indicator and select one of the following controls:
- Pause Recording - Pauses audio capture and changes the top bar indicator to blue
- Resume Recording - Resumes an active paused recording session
- End Recording - Concludes the recording session and generates the local audio file and transcript
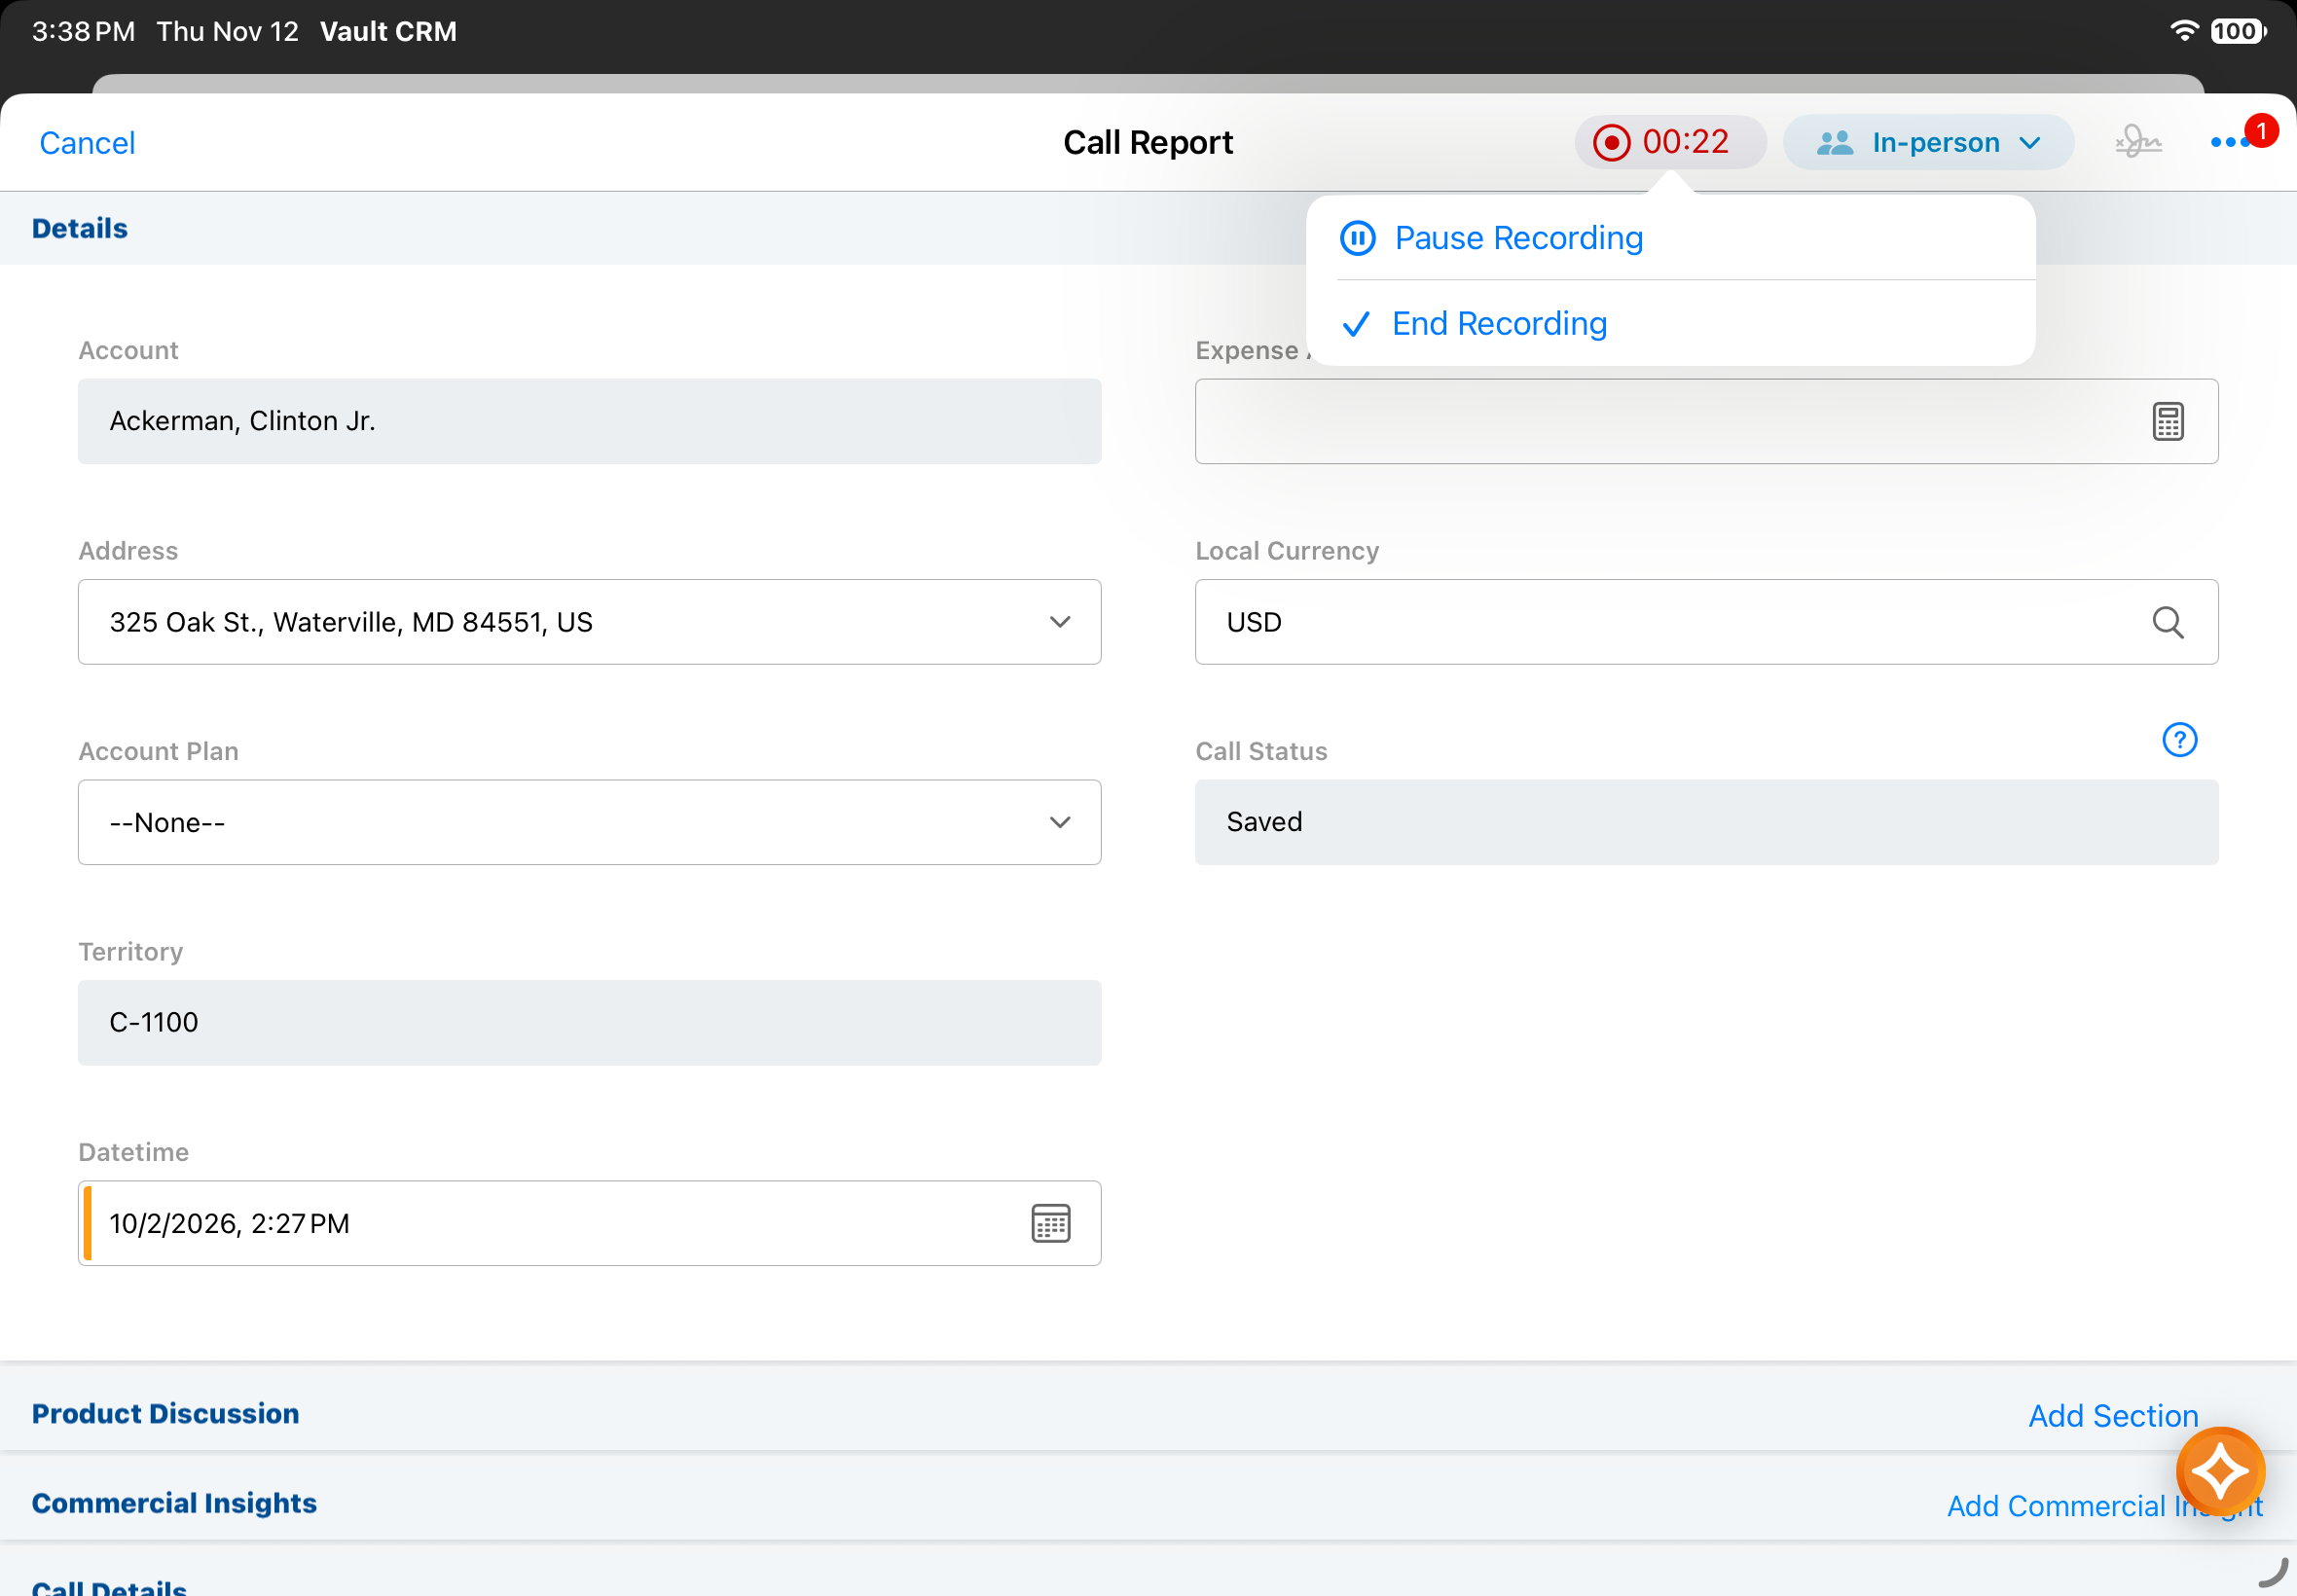
Audio recording continues in the background if the user switches apps or moves Vault CRM to the background. The recording pauses automatically if another application accesses the microphone in an exclusive manner.
Recordings automatically stop when reaching the configured maximum Vault recording duration. The system displays a dialog stating "You've reached the maximum recording length. Your recording has been saved." End users can select Close to dismiss the dialog or Start New to begin a new recording session immediately.
Saving or submitting a call report while recording is active triggers a confirmation prompt. Selecting OK ends the recording and saves or submits the call report.
Recording Audio During CLM Presentations
To control call audio recording while presenting CLM content, select one of the following actions from the All Actions menu in the CLM media player:
- Start Recording
- Pause Recording
- Resume Recording
- End Recording
Audio capture continues uninterrupted while CLM media plays sound.
Viewing and Playing Recordings
The left side panel displays on the call report when call audio file records exist. The panel is closed by default.
To view and play recordings:
-
Select the Call Recording panel header.
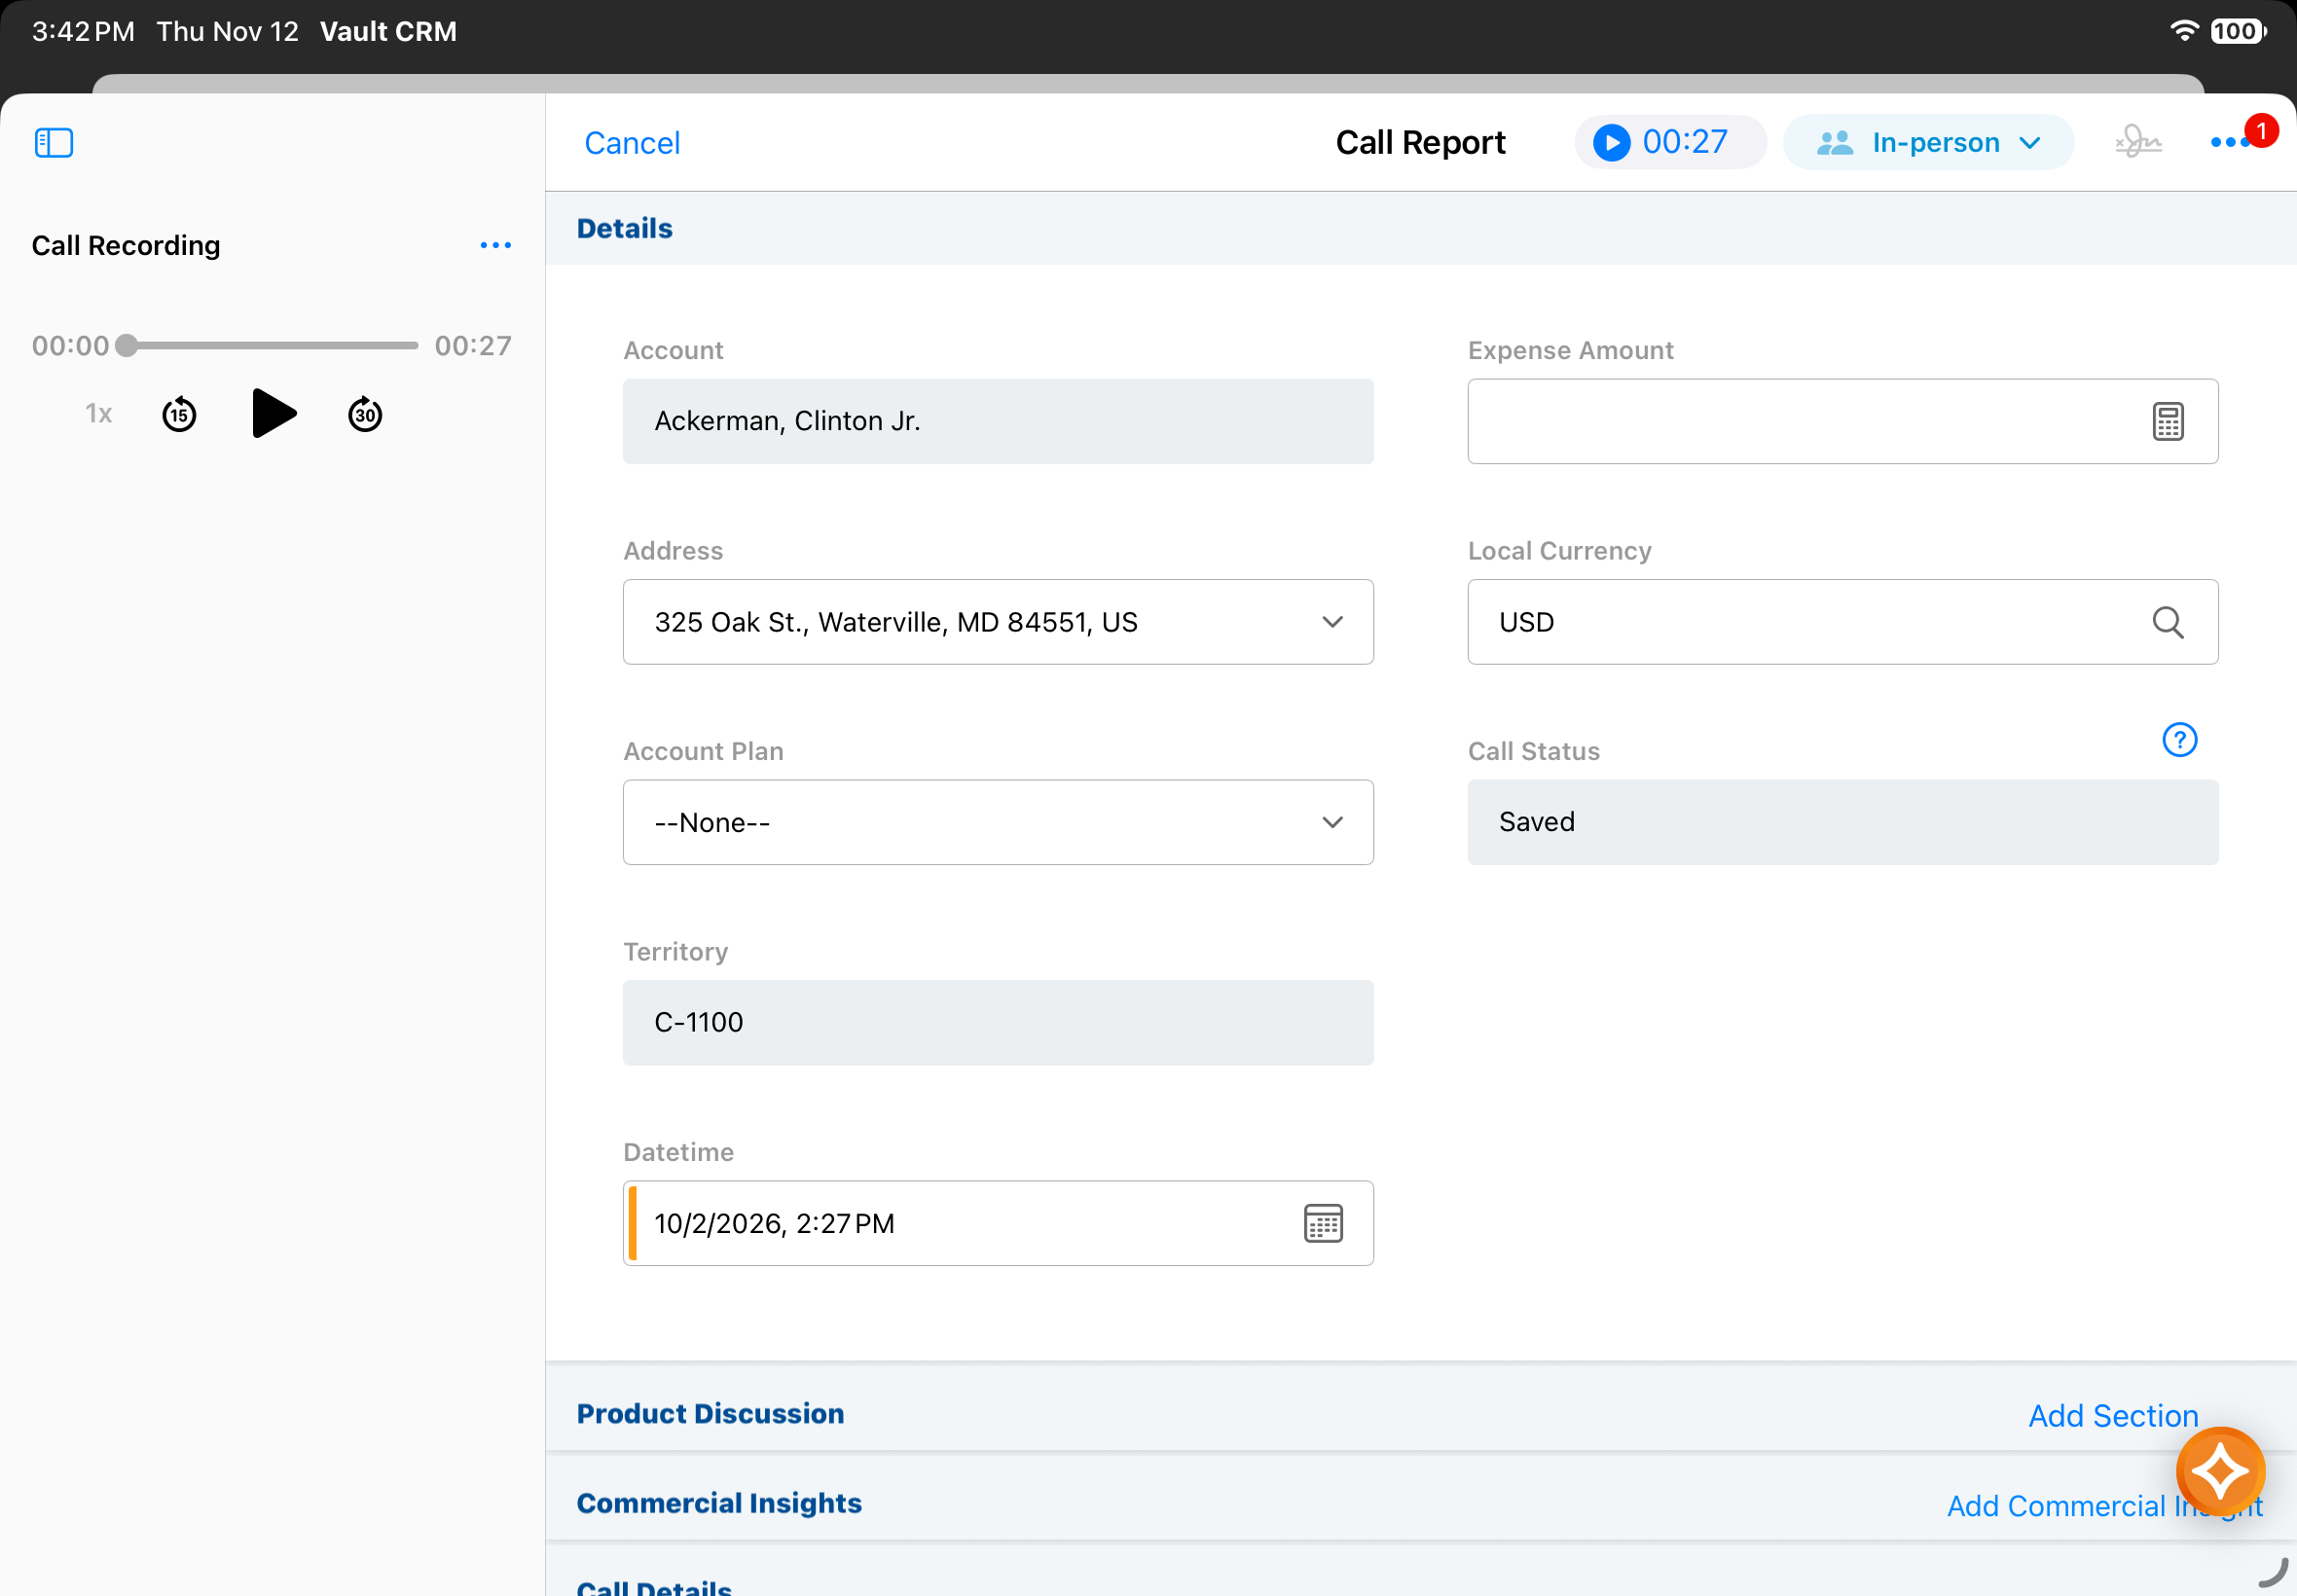
- Select the desired recording from the dropdown menu if the call contains multiple recordings. Each entry displays the start time and end time.
- Use the controls in the embedded audio player to play, pause, rewind, fast forward, or scrub through playback.
-
Review the generated transcript text below the audio player.
Cloud AI transcripts display speaker tags and timestamps.
Native device transcripts display continuous transcription text without speaker labels. Configured Voice Dictionary entries automatically replace matching phonemes with designated phrases when using device transcription.
Users can also select Play Recording from the recording indicator menu. This opens the sidebar and starts playing the recording.
Calls with recorded audio display a play circle icon in My Schedule within Agenda View, Week View, and Map View.
Deleting Audio Recordings
To delete a recording manually:
- Open the Call Recording side panel on the call report.
- Select the actions menu on the desired recording.
- Select Delete Selected Recording.
- Select Delete on the confirmation dialog. The audio file and transcript delete permanently from the local device.
Local files delete automatically when the configured retention period elapses. All local file deletions log directly to the Activity Log with timestamps, filenames, file types, and deletion reasons.