Configuring Engage Connect Groups
Functionality within Engage Connect can be enabled or disabled for groups of users depending on the assigned group.
To configure Engage Connect groups:
- Navigate to Admin > Users & Groups > Permission Sets.
- Select the permission set for the appropriate user profile.
- Navigate to Objects.
- Grant FLS edit permission to the following fields on the user__sys object:
- engage_connect_group__v
- engage_connect_group_status__v
- engage_connect_group_request__v
- Navigate to Admin > Configuration > Tabs.
- Grant access to the CRM Setup tab collection.
- Navigate to Admin > Configuration > Pages.
- Grant access to the following Pages:
- Engage Connect Administration
- CRM PL3 Generic Page
- Navigate to Admin > Configuration > Objects > Users > Layouts.
- Add the following fields to the appropriate user__sys layout:
- engage_connect_group__v
- engage_connect_group_status__v
- engage_connect_group_request__v
Managing Users in Engage Connect Groups
To configure managing users for Engage Connect groups, grant Edit field permission to the following fields on the user__sys object:
- first_name__sys
- last_name__sys
- email__sys
- country_code__v
- user_type__v
These fields are required.
The user__sys records for users in Engage Connect Groups must be marked active. See About the Vault Membership Lifecycle for more information.

Defining Vault-Wide Default Settings
Engage Connect group settings have a Vault-wide default that applies to all licensed Engage users unless they are assigned to a specific Engage Connect group with an overriding value. Once Vault-wide settings are enabled, HCPs can view the contact information of connected users, for example, their email address or phone number.
To set Vault-wide default settings:
- Navigate to CRM Setup > Engage Setup > Engage Connect Administration.
- Navigate to the Organization Settings section.
-
Edit the appropriate Engage Connect Group Settings.
- Select Save.
Managing Engage Connect Groups
To create an Engage Connect group and add a user to the group:
- Navigate to CRM Setup > Engage Setup > Engage Connect Administration.
- Select Create New Group.
- Define the group name and all applicable Engage Connect group settings. The group settings for new Engage Connect groups are automatically populated according to the Vault-wide default settings. Edit the auto-populated values to override the defined Vault-wide default settings for the group.
- Select the appropriate Brands for the group.
- Select Save.
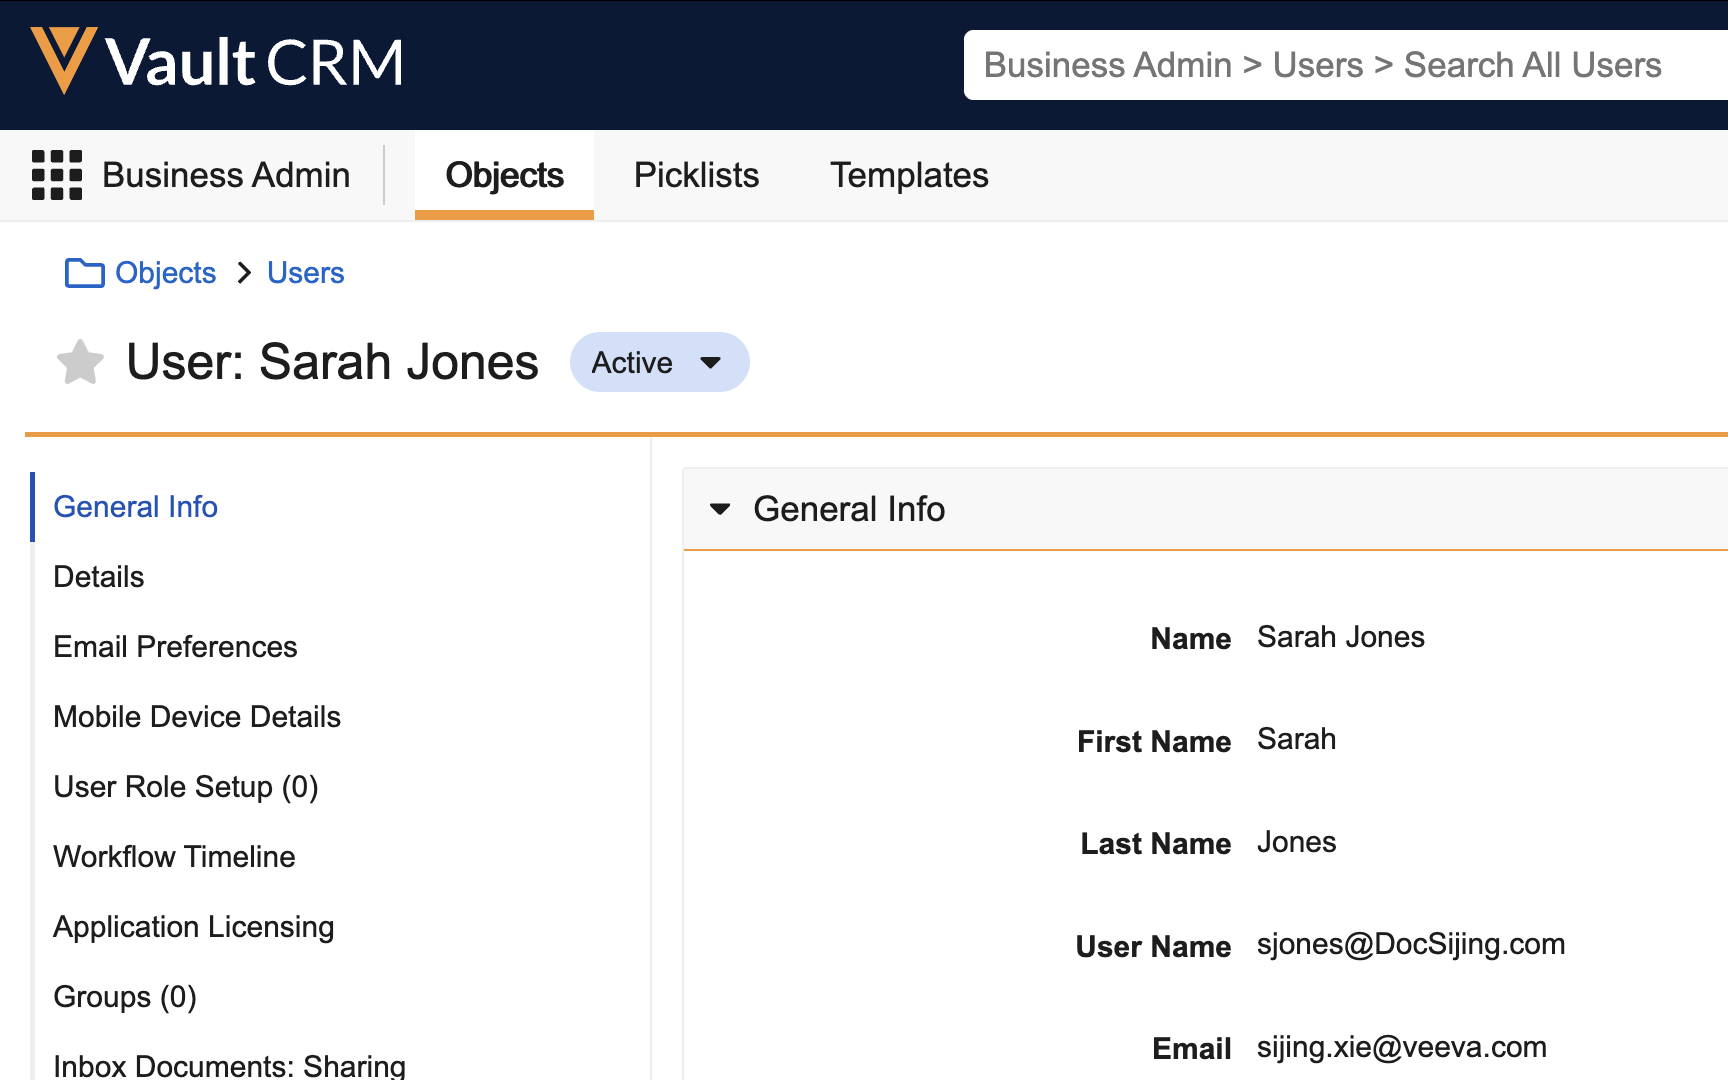
- Navigate to Business Admin > Objects > Users.
- Select the appropriate user__sys record.
-
Populate the engage_connect_group_request__v field with the name of the appropriate Engage Group. The engage_connect_group_status__v field indicates the status of the request.
A user can only belong to one Engage Connect group. A user cannot be added to an Engage Connect group if their email address ends in .invalid.

