Microsoft Teams Channels for Service Center
Integrating Service Center with Microsoft Teams enables Service Center Representatives (SCRs) to collaborate with other members of the organization to address cases.
Who can use this feature?
- SCRs - Browser
- Signing in to Microsoft
- Using Microsoft Teams Channels
- Users require a Service Center license
Configuring Microsoft Teams Channels Integration for
Before Vault CRM admins configure this functionality, Microsoft Global Administrators must grant tenant wide consent to the Vault CRM App in the Azure tenant from the Vault CRM-hosted webpage.
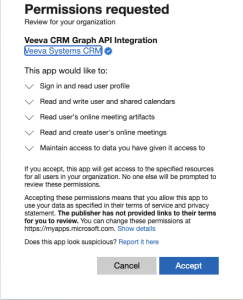
This allows the app to do the following:
- Create, read, update and delete events in all calendars the user has permission to access. This includes delegate and shared calendars. Required for Integrating My Schedule and Microsoft Outlook Calendars.
- Read users’ primary email addresses
- Read and create online meetings on behalf of the signed-in user. Required for Microsoft Teams Channels for Service Center.
- Read online meeting artifacts on behalf of the signed-in user. Required for Microsoft Teams Channels for Service Center.
- Create groups and read all group properties and memberships on behalf of the signed-in user. Required for Microsoft Teams Channels for Service Center and Microsoft OneNote for Service Center.
- Read, share, and modify OneNote notebooks the signed-in user has access to in the organization. Required for Microsoft OneNote for Service Center.
- Create, read, update, and delete mail a user has permission to access, including their own and shared mail
- See and update the data you gave it access to, even when users are not currently using the app
- See basic user profile information when the user signs in with their work or another account
- Read the full set of profile properties, reports, and managers of other users in the organization, on behalf of the signed-in user
Ensure the Vault CRM Graph API integration is granted the following permissions:
- User.Read
- Calendars.ReadWrite
- Calendars.ReadWrite.Shared
- OnlineMeetingArtifact.Read.All
- OnlineMeetings.ReadWrite
- Group.ReadWrite.All
- Notes.ReadWrite.All
- Mail.ReadWrite.Shared
- offline_access
- openid
- profile
Multiple Vault CRM Vaults can connect to the same Microsoft tenant.
Granting tenant wide consent enables Vault CRM to request information through the Microsoft Graph API, but it does not provide access to Microsoft Office 365 information. The Vault CRM Microsoft Integration uses Microsoft's best practices for authorization (authZ), authentication (OpenId Connect over OAuth 2), data in transit (HTTPS and TLS 1.2+ encryption) and data at rest. Only Microsoft has access to user credentials.
For more control over the integration from the Microsoft side, admins can assign the application to specific users or groups of users, instead of granting access to all users. For more information on assigning applications to Microsoft groups, see Microsoft's Manage users and groups assignment documentation.
To configure this feature:
- Ensure Configuring Service Center is complete.
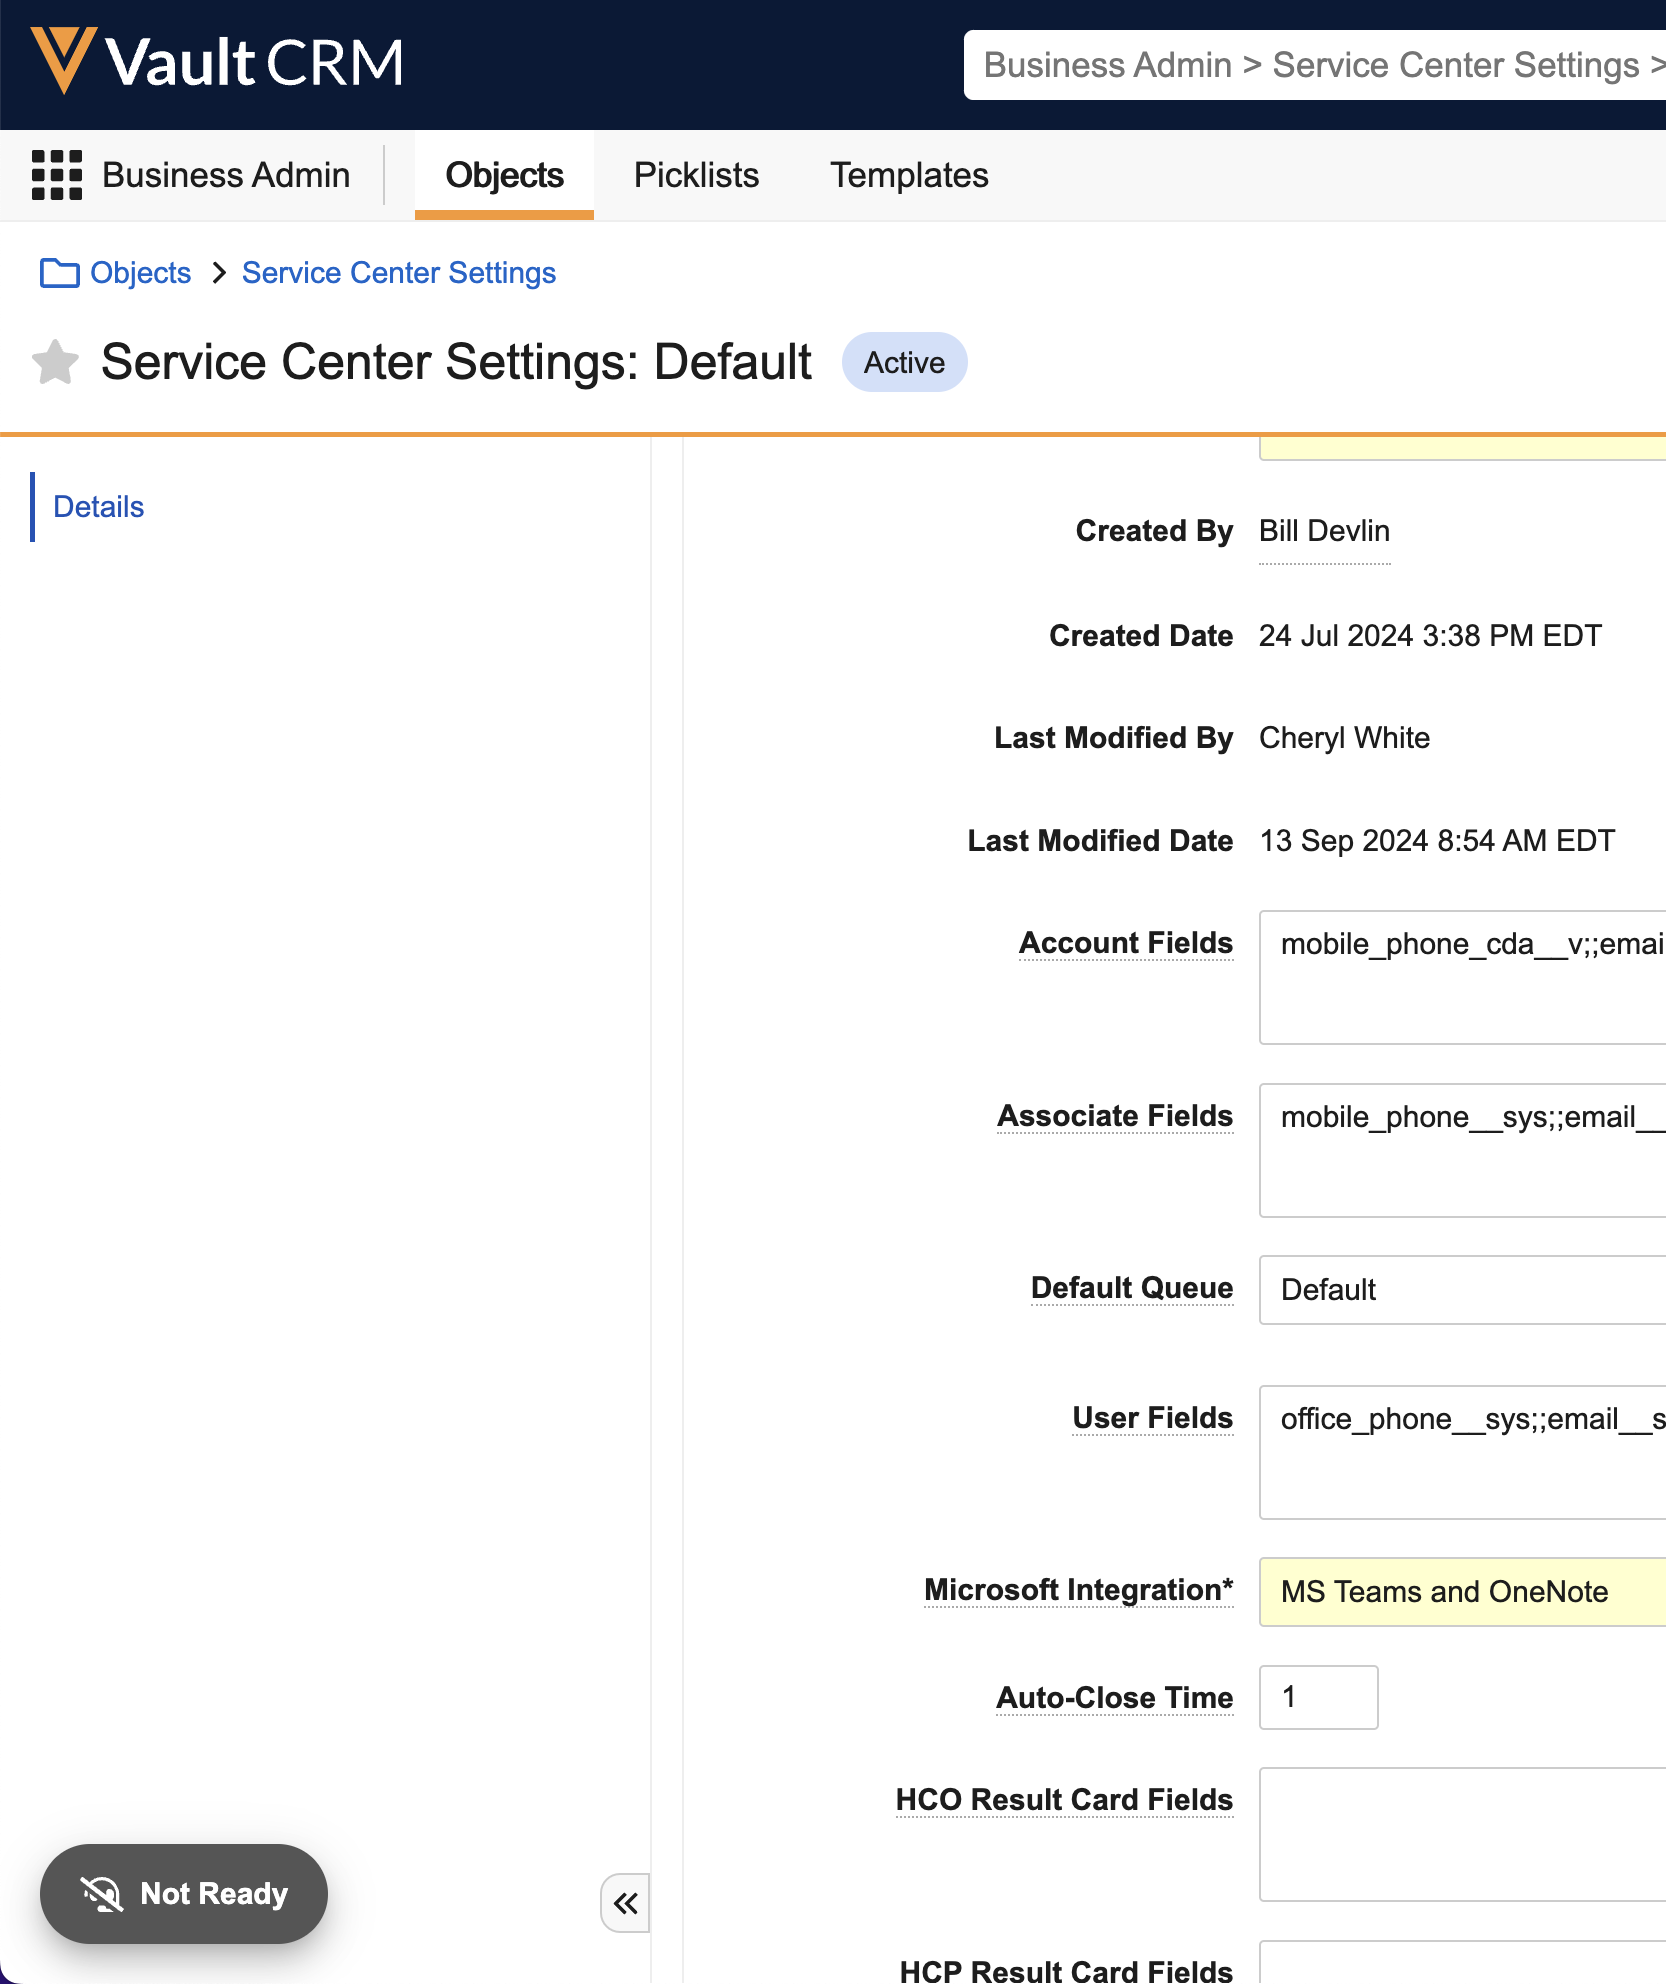
- Navigate to Business Admin > Objects.
- Select the Console Application Settings object.
-
Select the Default object record.
-
Select the Edit icon.
-
Select the type of Microsoft Integration.
Settings for Microsoft integrations apply globally to all cases in the Vault.
- None - Uses Service Center's standard Case Note capabilities
- Microsoft integrations are not available in this option
- MS Teams - Adds Microsoft Teams integration
- Enables integrated collaboration through MS Teams
- Standard application Case Note
- MS OneNote - Enables Case Notes to be stored in Microsoft OneNote
- Changes the Case Note experience
- Administrators should determine the desired case note experience before deploying the Service Center application
- Toggling the Service Center application between Microsoft OneNote and Case Note is not recommended
- MS Teams and OneNote - Enables both Microsoft Teams and Microsoft OneNote
-
Select Save.
Signing in to Microsoft as
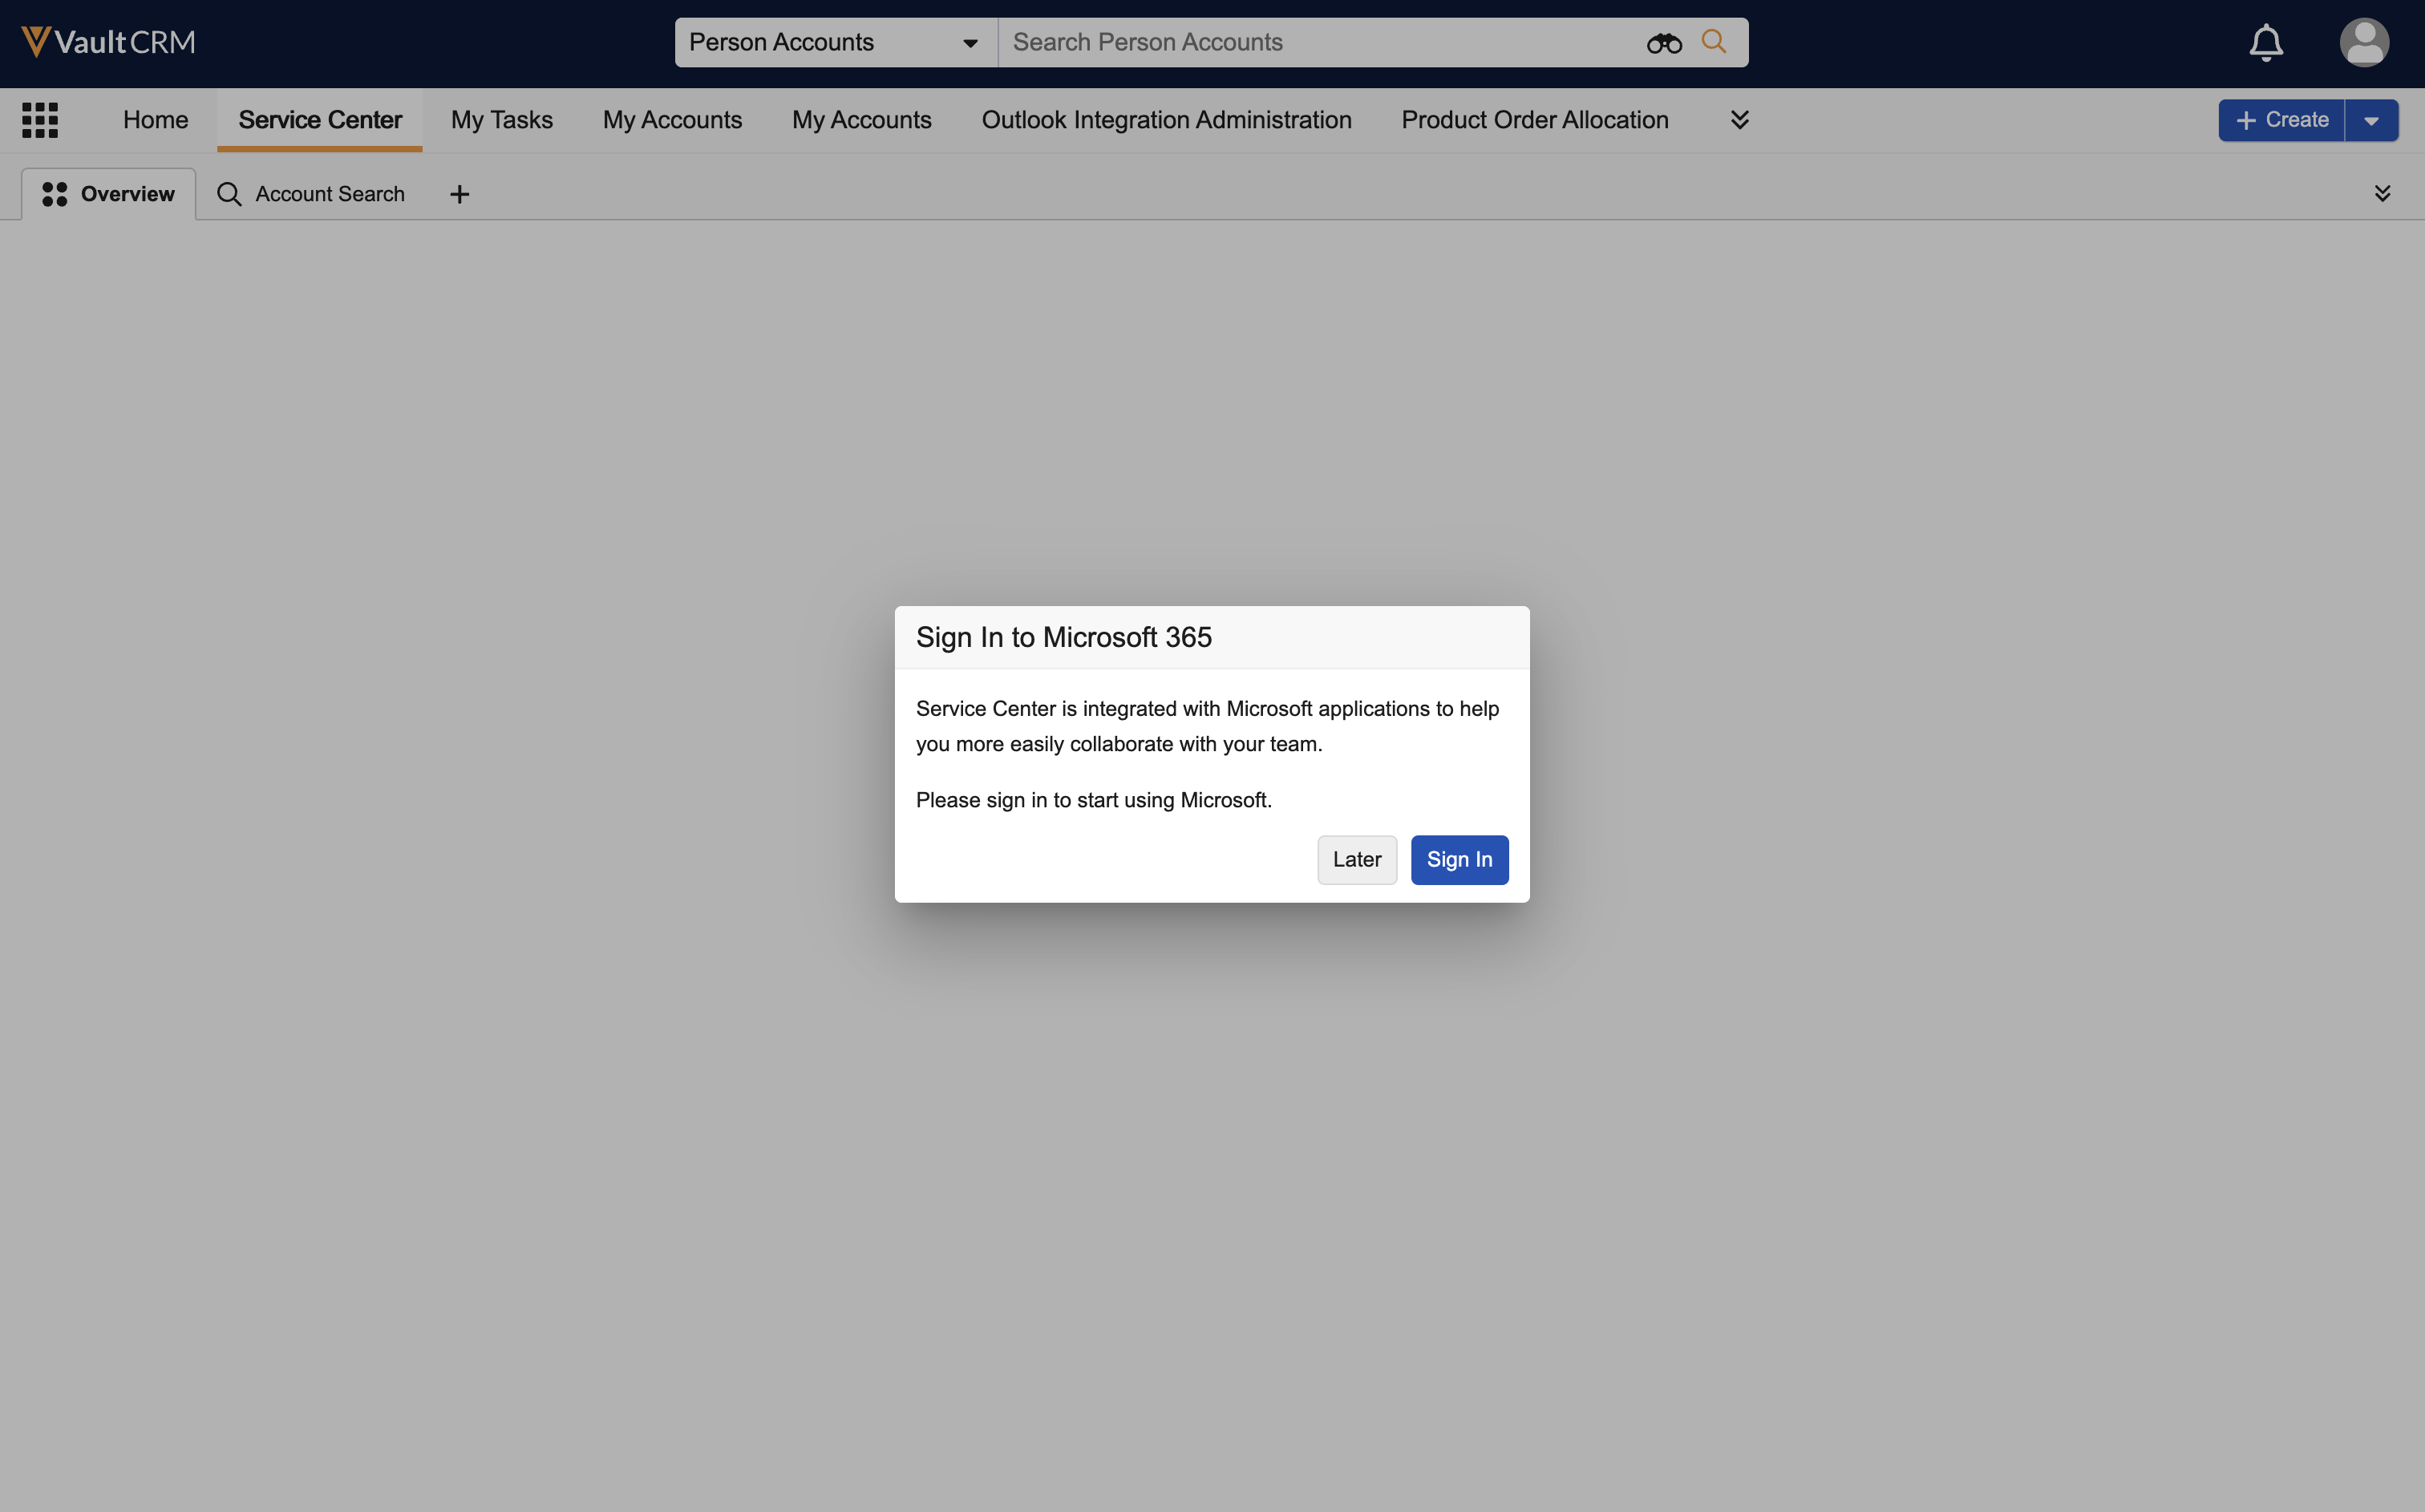
The first time you sign in to Vault CRM after the Microsoft integration is enabled for Service Center, you are prompted to sign in to Microsoft.
-
Select the Sign In button. The Microsoft Sign in page displays.

-
Enter your Microsoft credentials.
OR
Select Sign-in options if you are using Single Sign On.- If the "Successfully logged in to Microsoft" message displays, close the Microsoft window
- If the “Unable to log in to Microsoft” message displays, contact your internal help desk for assistance
Reauthenticating Microsoft Credentials
When Microsoft requires users to reauthenticate their credentials, they are notified in Vault CRM. For example, users may need to reauthenticate their credentials when Microsoft's security policies change, or when their Microsoft password or email address changes.
When users with invalid credentials navigate to Service Center, a Sign In to Microsoft pop-up displays.
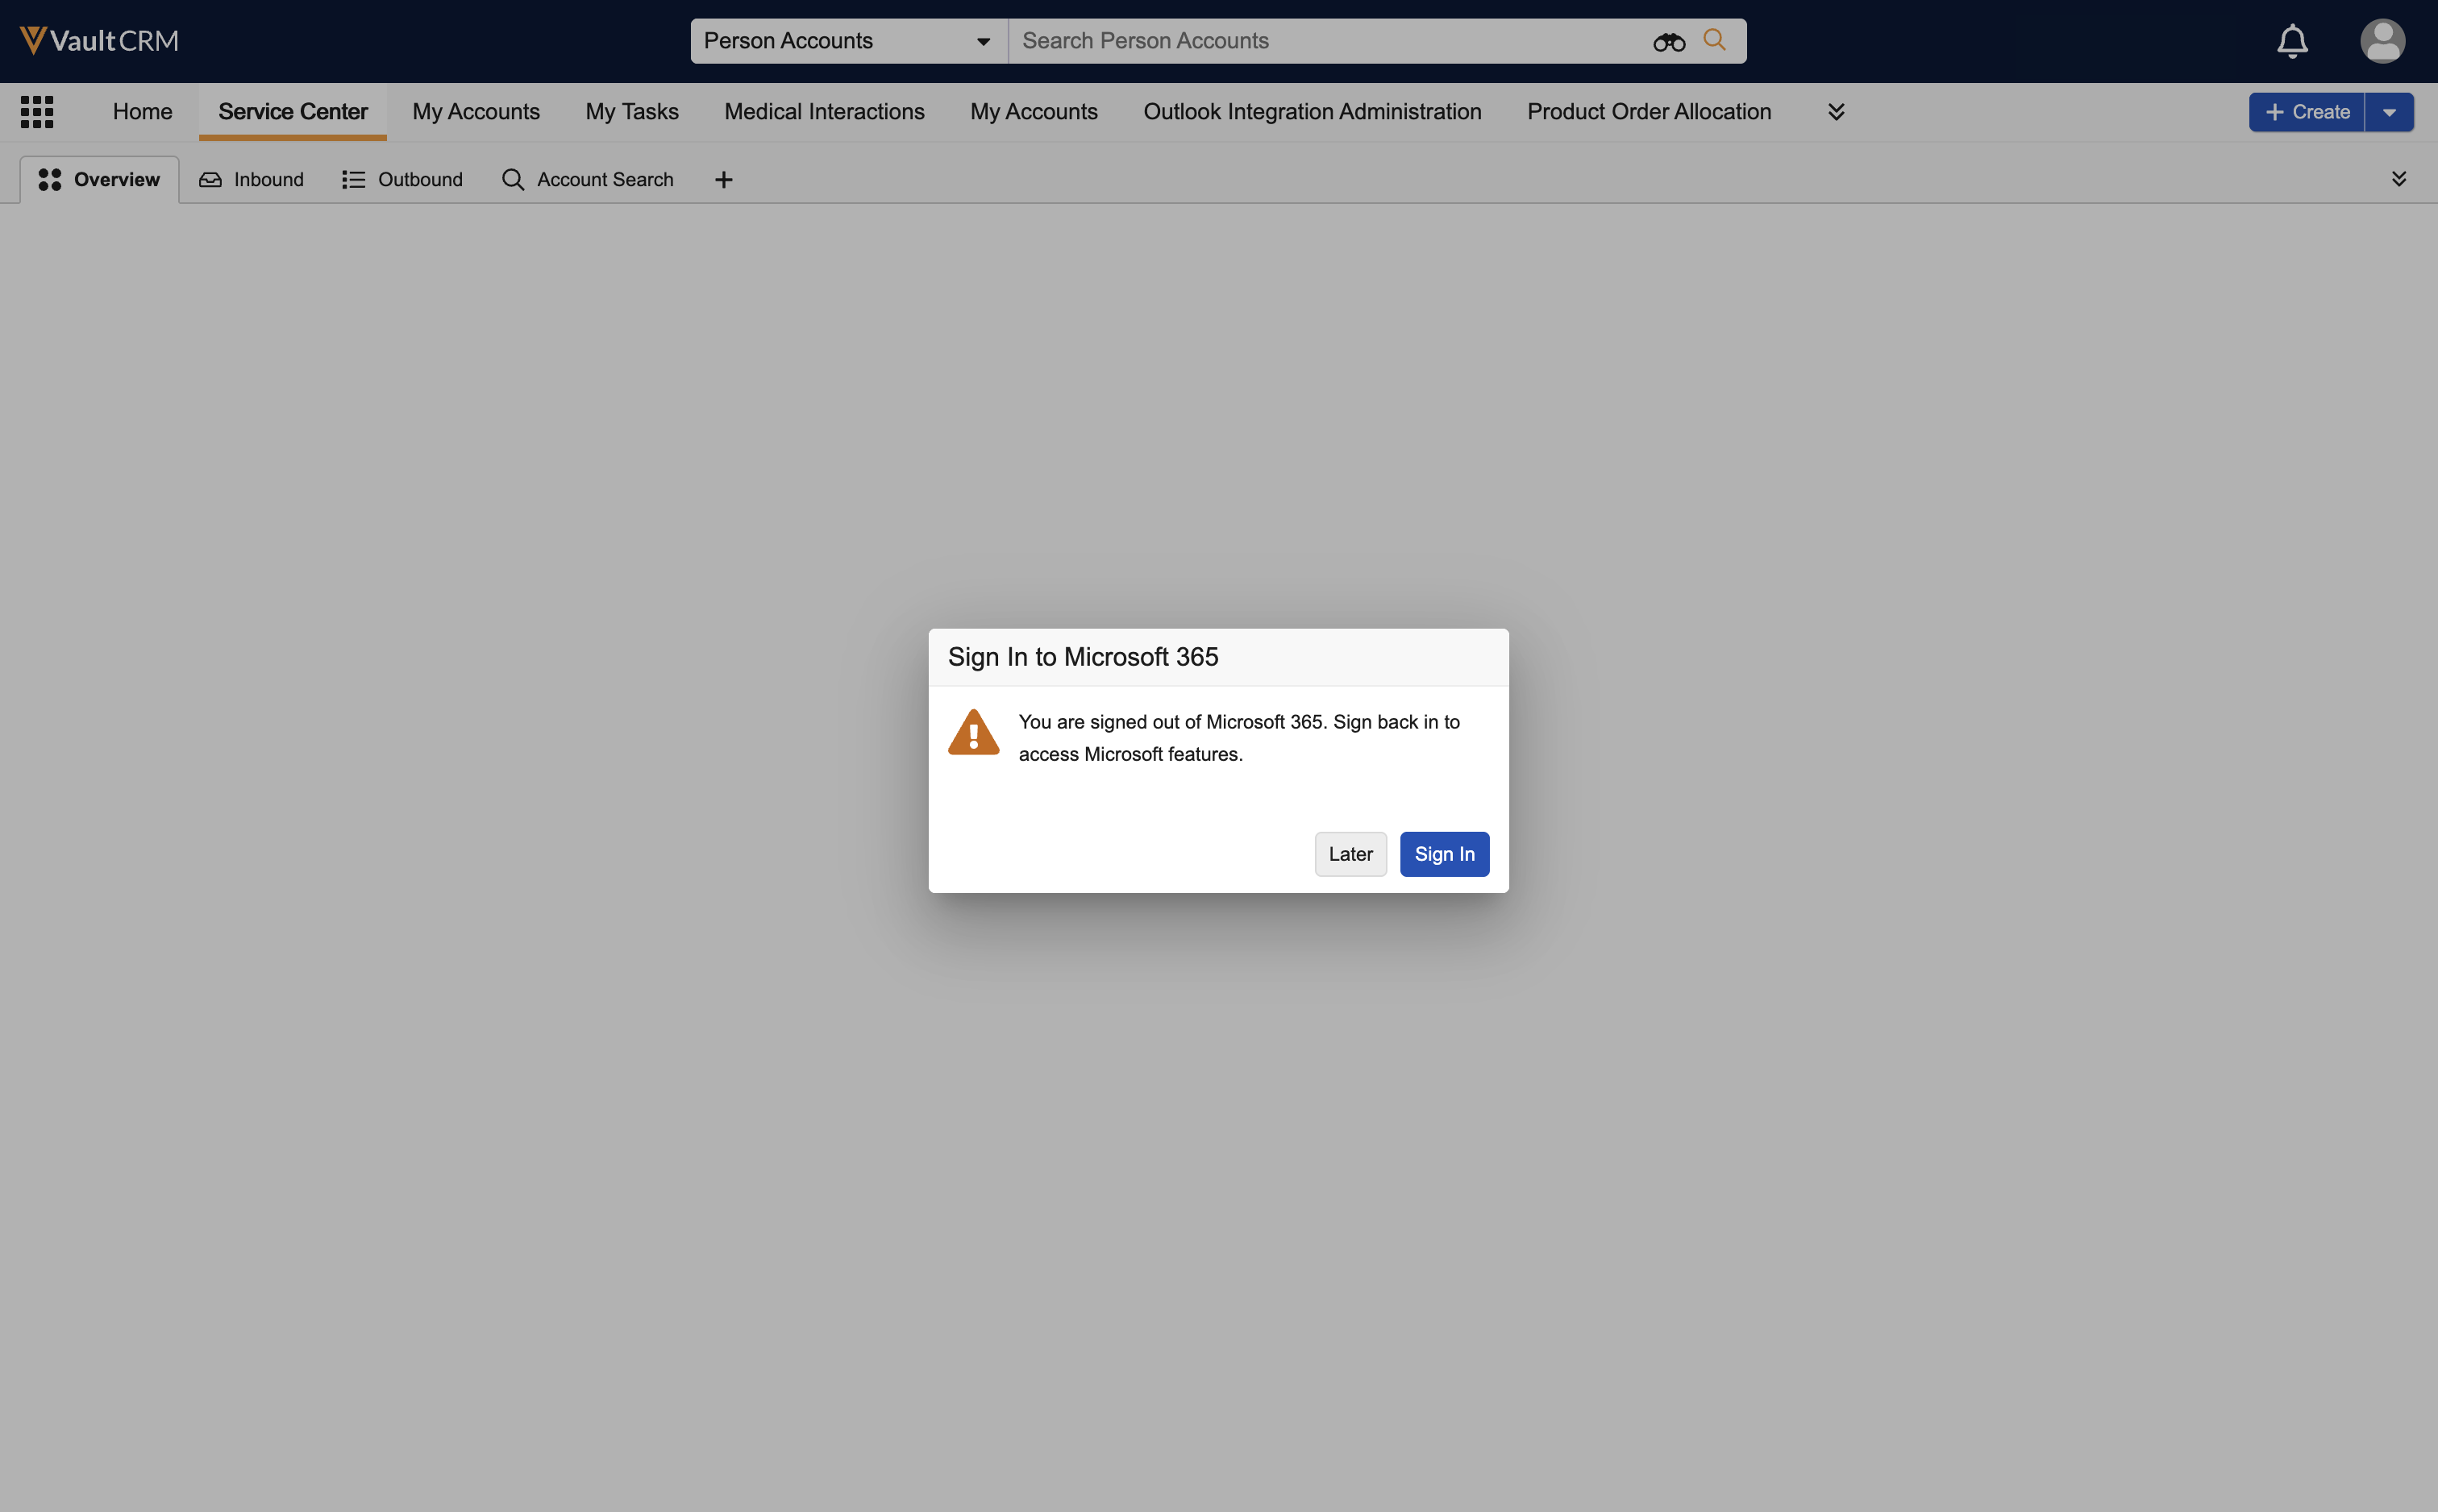
To reauthenticate, select Sign In and complete the Microsoft sign in process. After successful authentication, the user's Microsoft integrations resume. To defer the action, select Later. The pop-up closes and users can continue with Service Center tasks not related to Microsoft integrations. If a user defers reauthentication from the main Service Center page, they are prompted again when trying to use integrated features.
When users select Create Channel from the Microsoft Teams side panel in Service Center, the Microsoft sign in page displays automatically. Complete the Microsoft sign in process to reauthenticate.
Reauthentication is only available for users with an active internet connection.
Using Microsoft Teams Channels as
The Microsoft Teams integration allows you to create a Teams Channel to collaborate with colleagues to address a case. You can create a channel for every case if needed, but Service Center does not automatically create a channel for you.
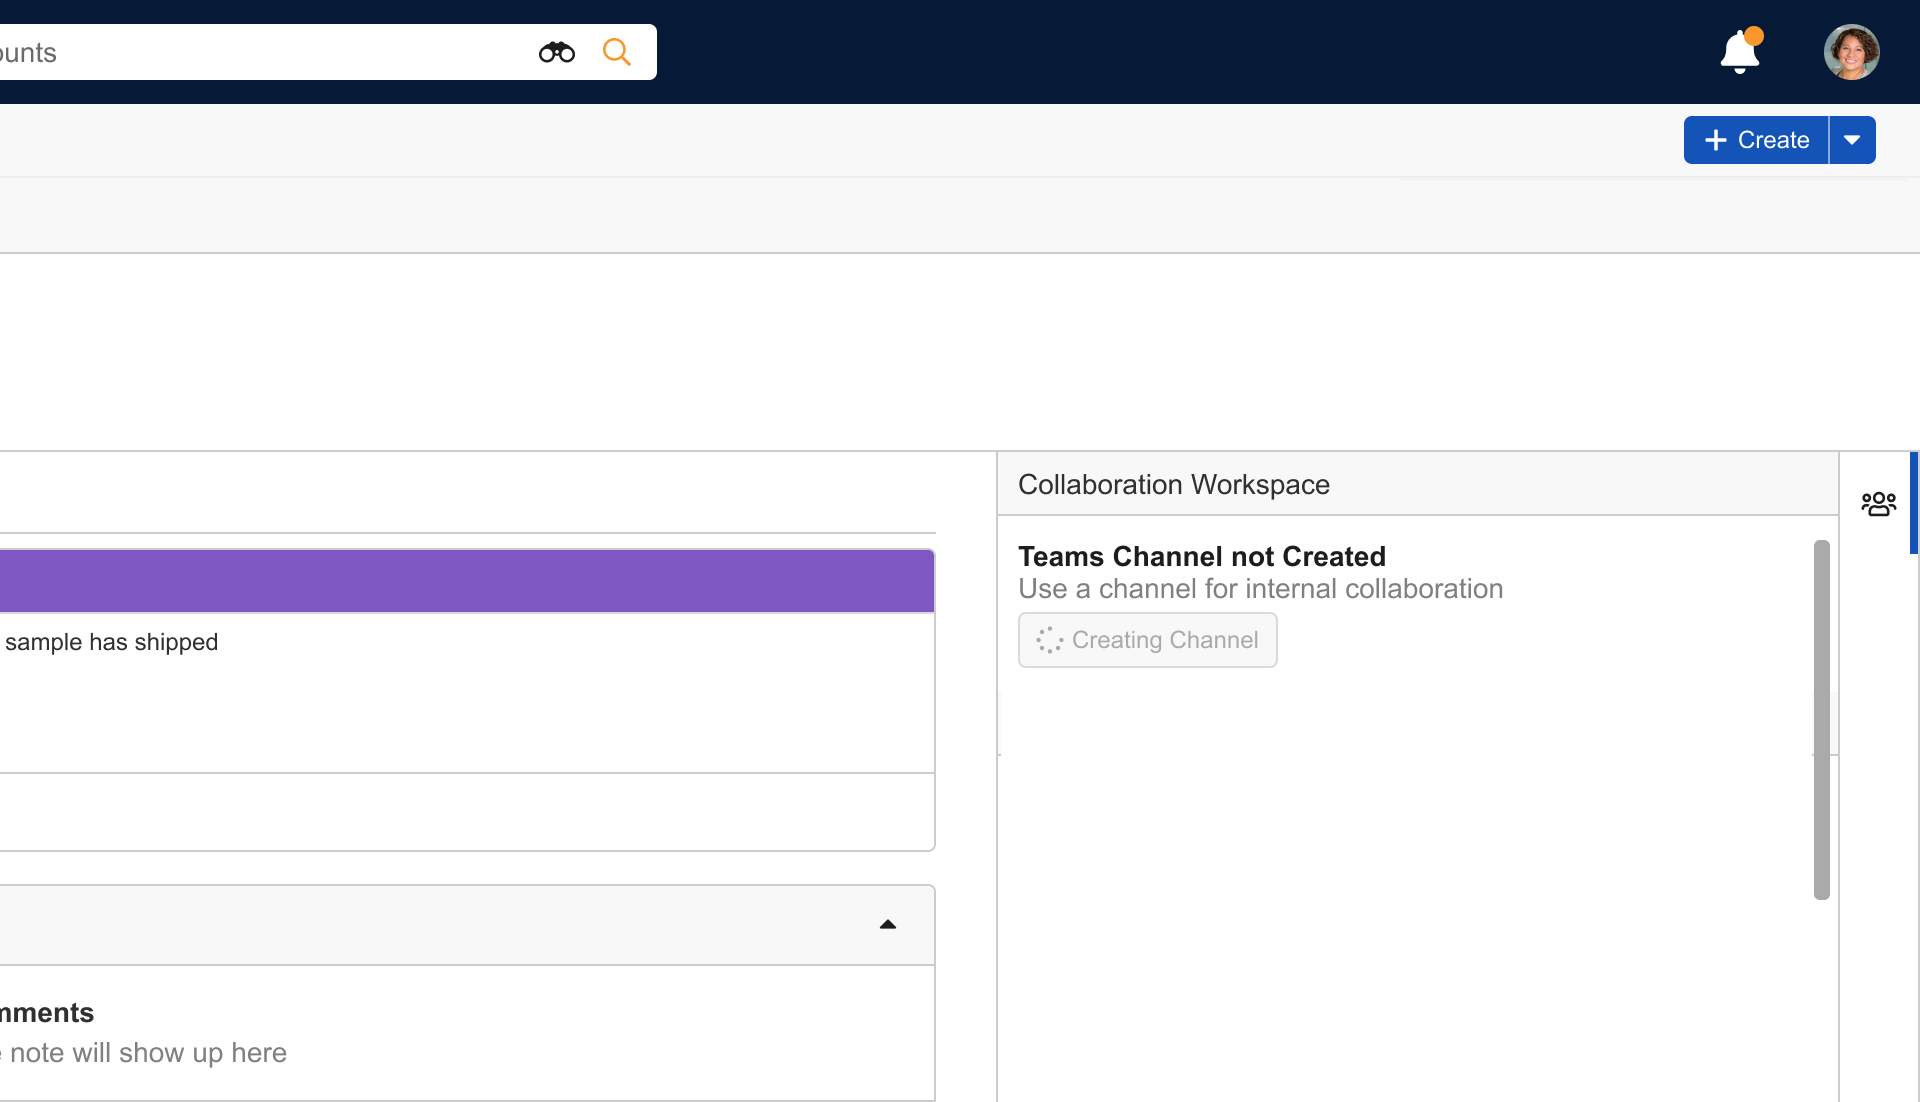
To create a Teams Channel, select the Create Channel button in the Collaboration Workspace in the right panel.

The button label changes from Create Channel to Creating Channel with a spinner to indicate the channel is being loaded. Channel creation may take up to five seconds.
If the channel is created successfully:
- The Timeline updates to display a “Conversation Started: MS Teams Channel” entry with a link to the channel
A link to the channel displays. Select the link to open the channel and start working with your team.
If a message displays saying the request for Teams is taking longer than expected, select the Check Again button.

