Managing Target Lists
After creating a campaign, marketing users can create a list of up to one million specific individuals or groups targeted by the campaign. When the campaign is executed, these targets receive the email associated with the campaign.
Who can use this feature?
- Browser Users
- Users require a Campaign Manager license
- Marketing Users
Configuring Creating Campaigns for
To configure this feature, ensure Configuring Campaign Manager is complete.
Viewing the Target List
When a campaign has at least one active target in the target list, the Target List Summary section displays instead of the Create Target List section. See Copying Target Lists and Importing Target Lists Using the Data Grid Loader for more information on adding targets to the target list.
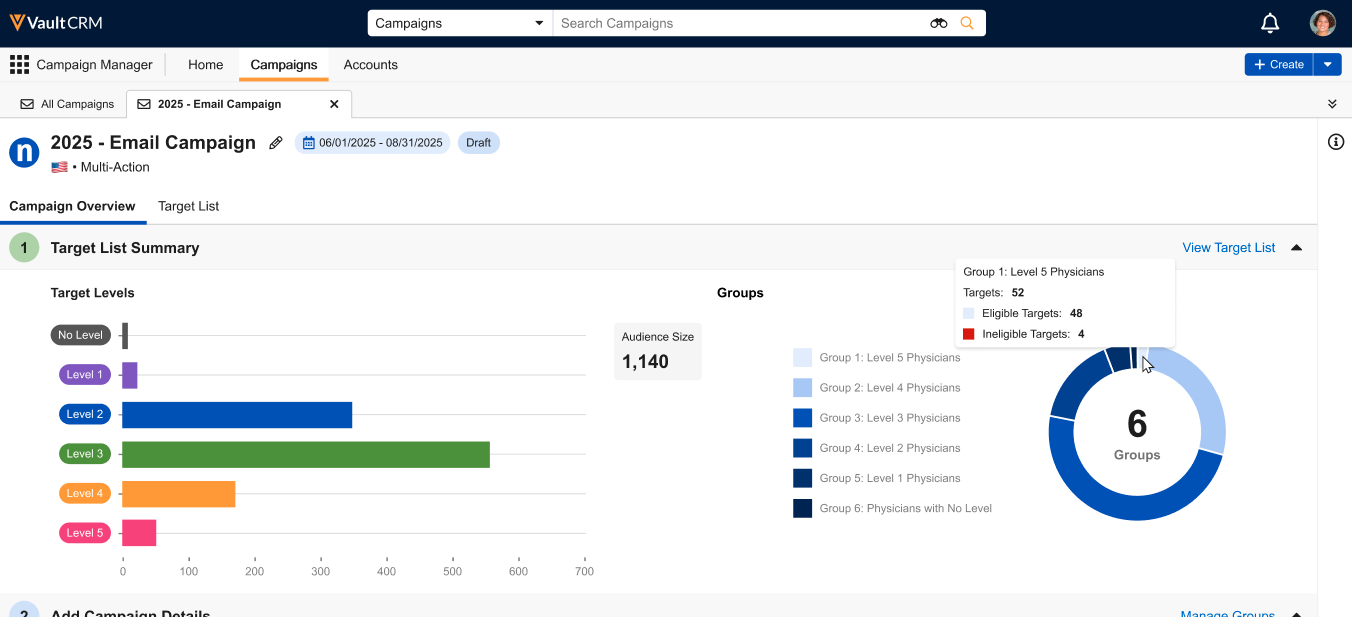
The Target Levels bar graph displays the distribution of levels for the active targets for the campaign as defined by the level_cda__v field of the associated account__v records.
Select the Target List tab or the View Target List link to display the Target List tab and view all of the targets in the list.
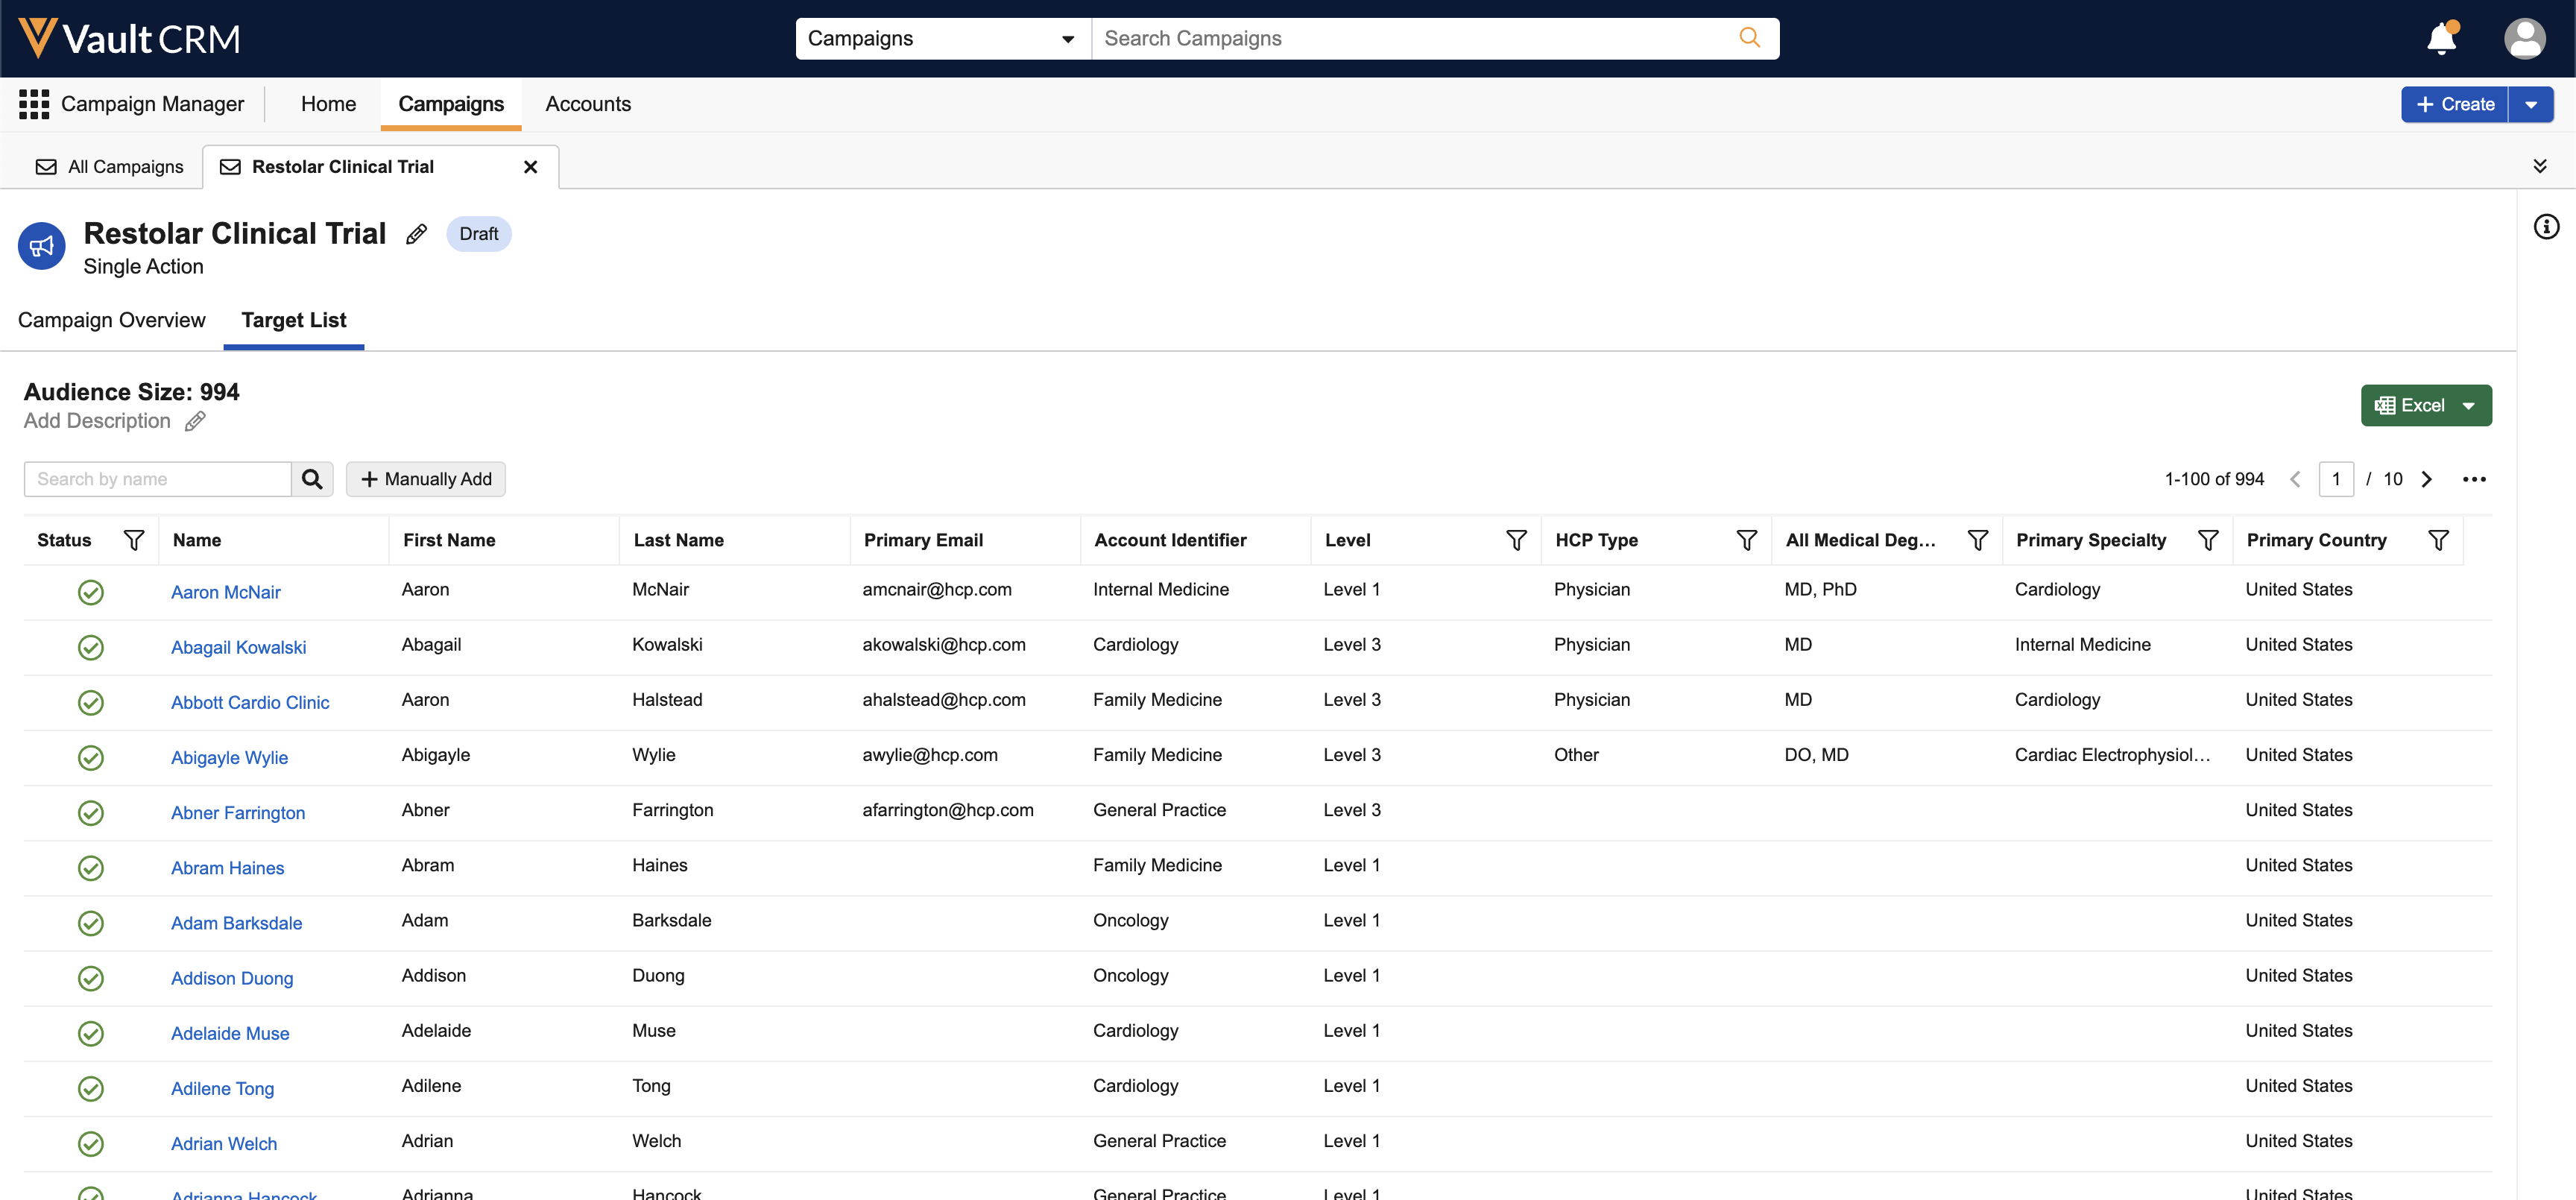
100 targets display per page. To move to a different page, use the forward and back arrows or enter a page number. Users can utilize the following functionality in the modal to identify individual targets:
- Search – The following columns can be searched on:
- Name
- First Name
- Last Name
- Select one of the following column headers to sort the list of results based on that column
- Status
- Name
- Filter the following columns:
- Status
- Level
- HCP Type
- All Medical Degrees
- Primary Specialty
- Primary Country
If you leave the Target List tab and then return, the page refreshes to display any targets added since you left the tab.
To add a description to the target list:
-
Navigate to the Target List tab.
-
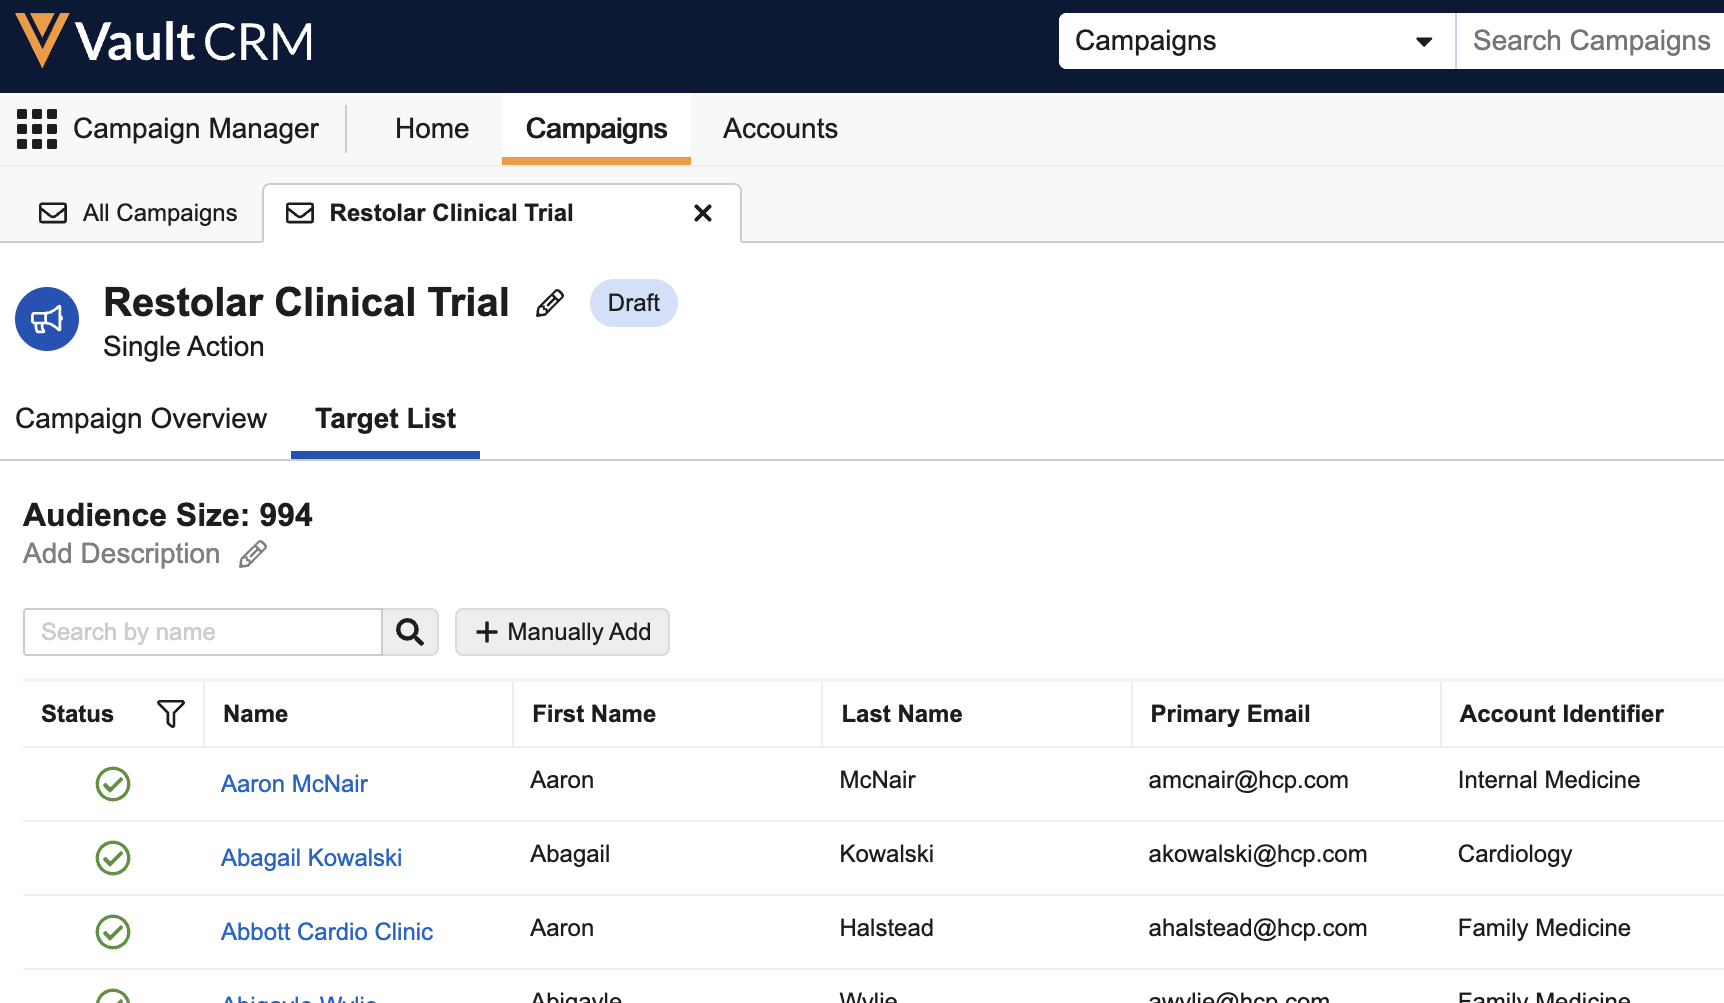
Select the Pencil icon next to the Add Description placeholder.
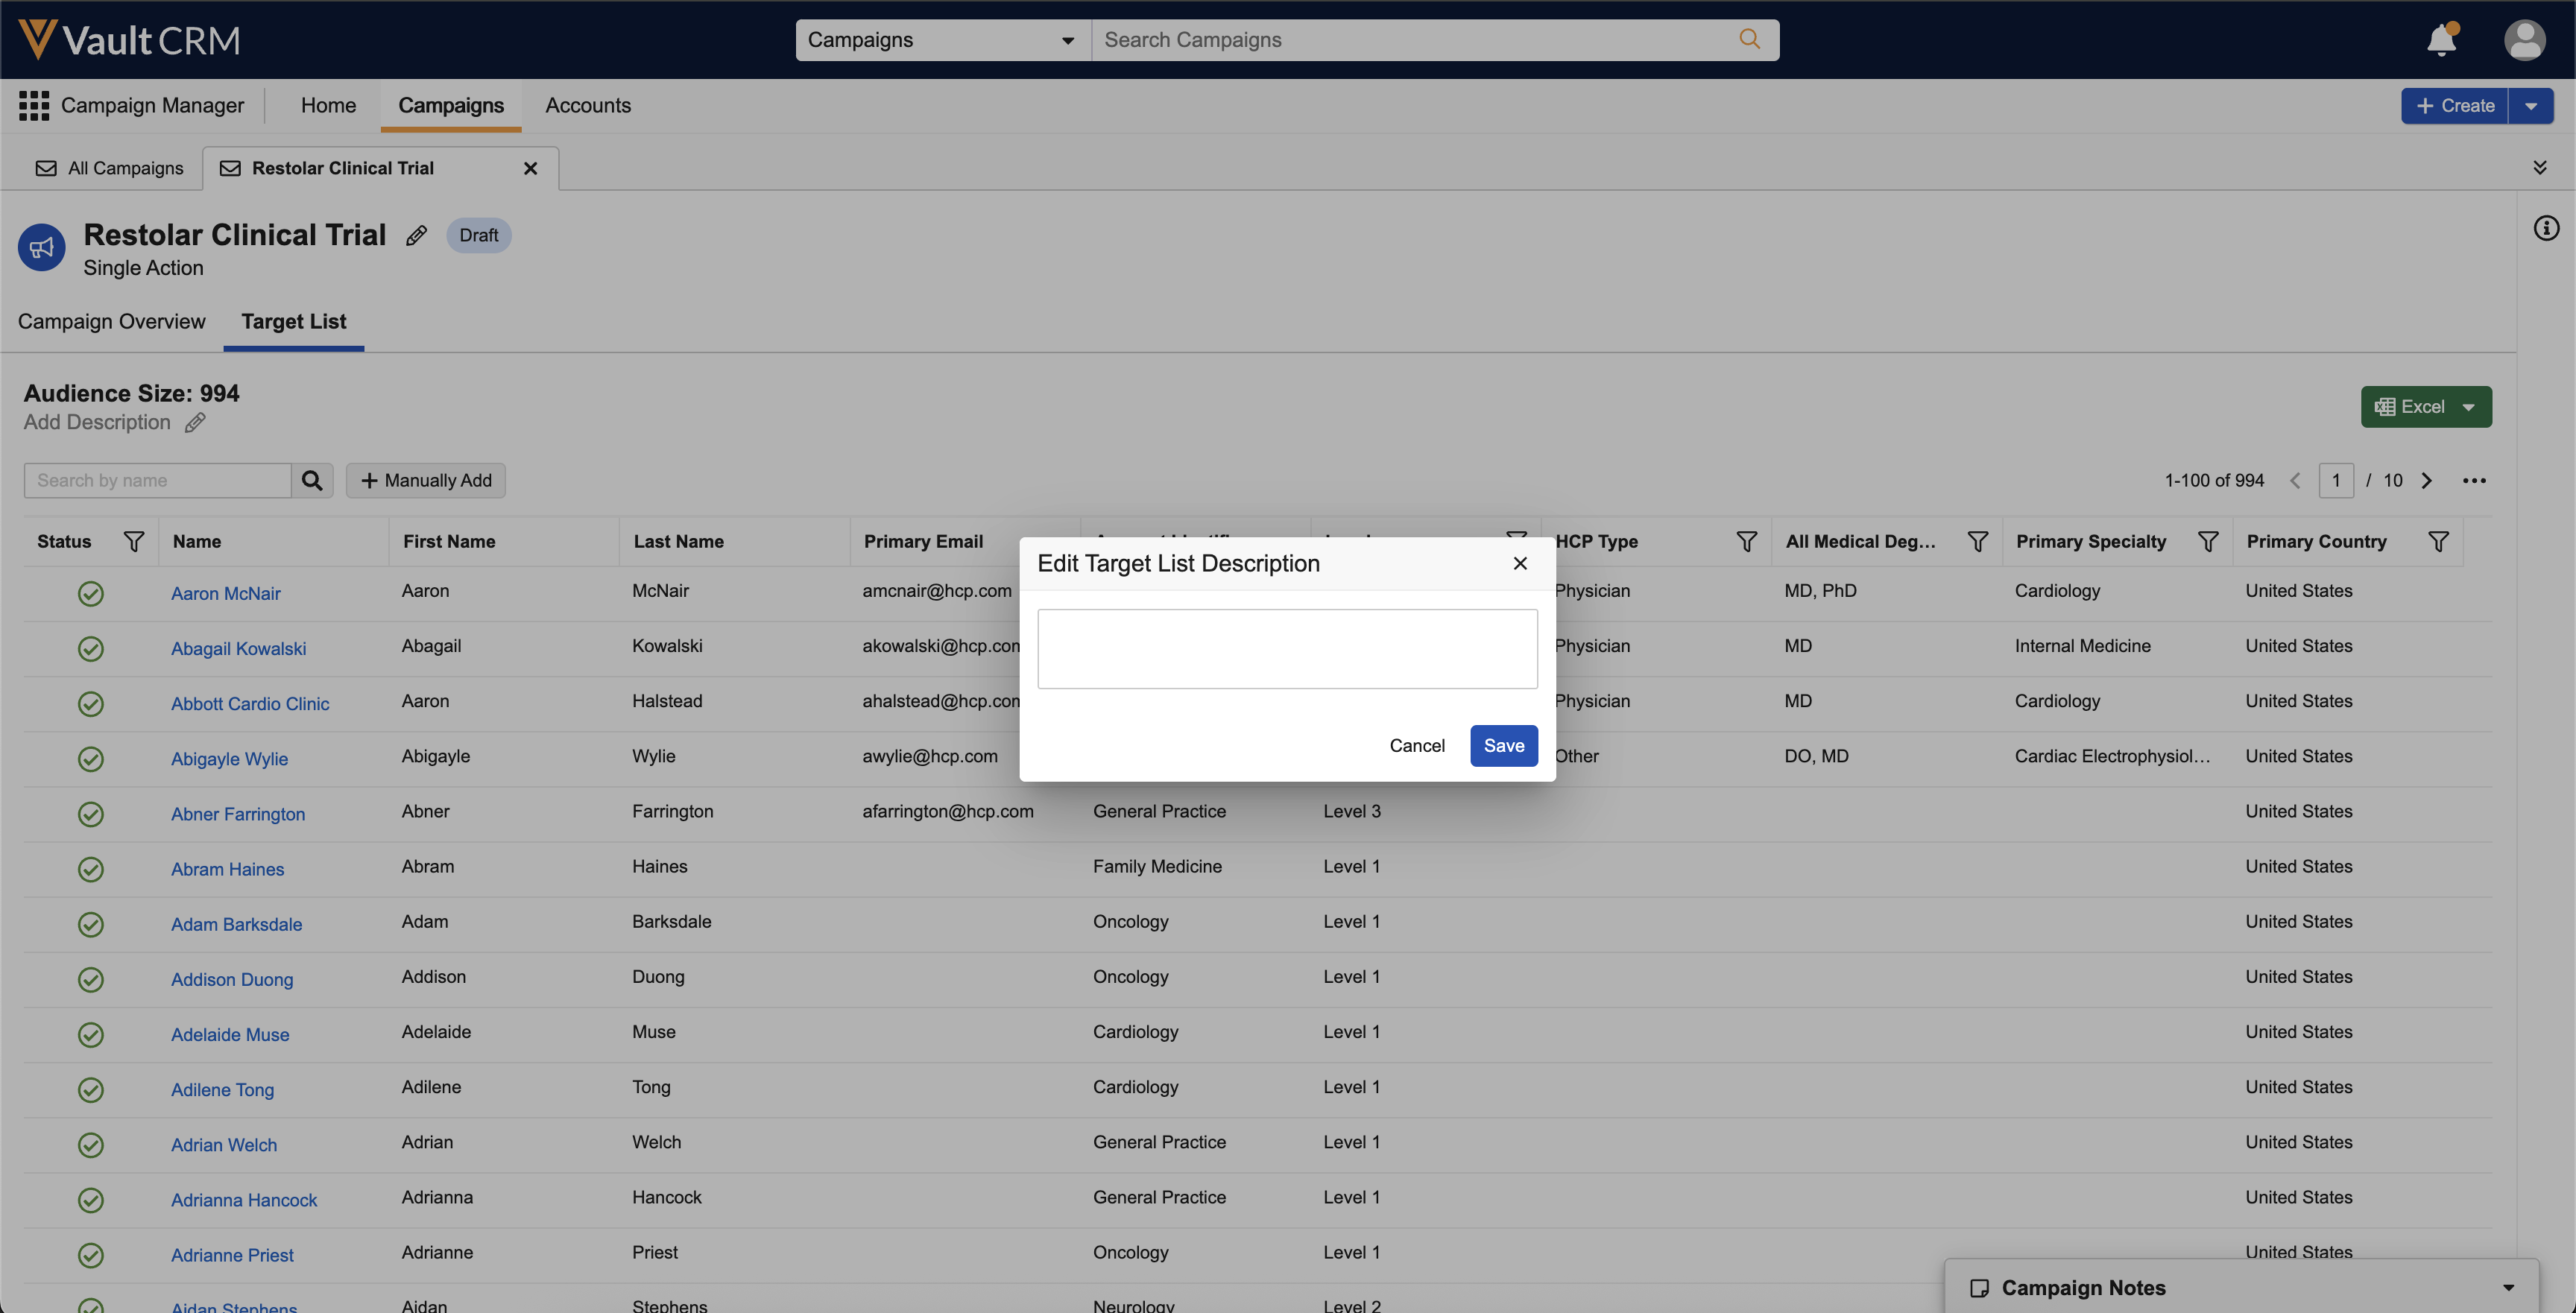
- Enter the appropriate description.
- Select Save.
Exporting the Target List
Marketing users can also export the current target list into either an .xlsx or .csv file. This is especially useful when used in conjunction with the data grid loader, as targets can be added or removed via editing the spreadsheet and reimporting the list in the data grid loader.
To export the target list:
- Navigate to the Target List tab of the appropriate campaign.
-
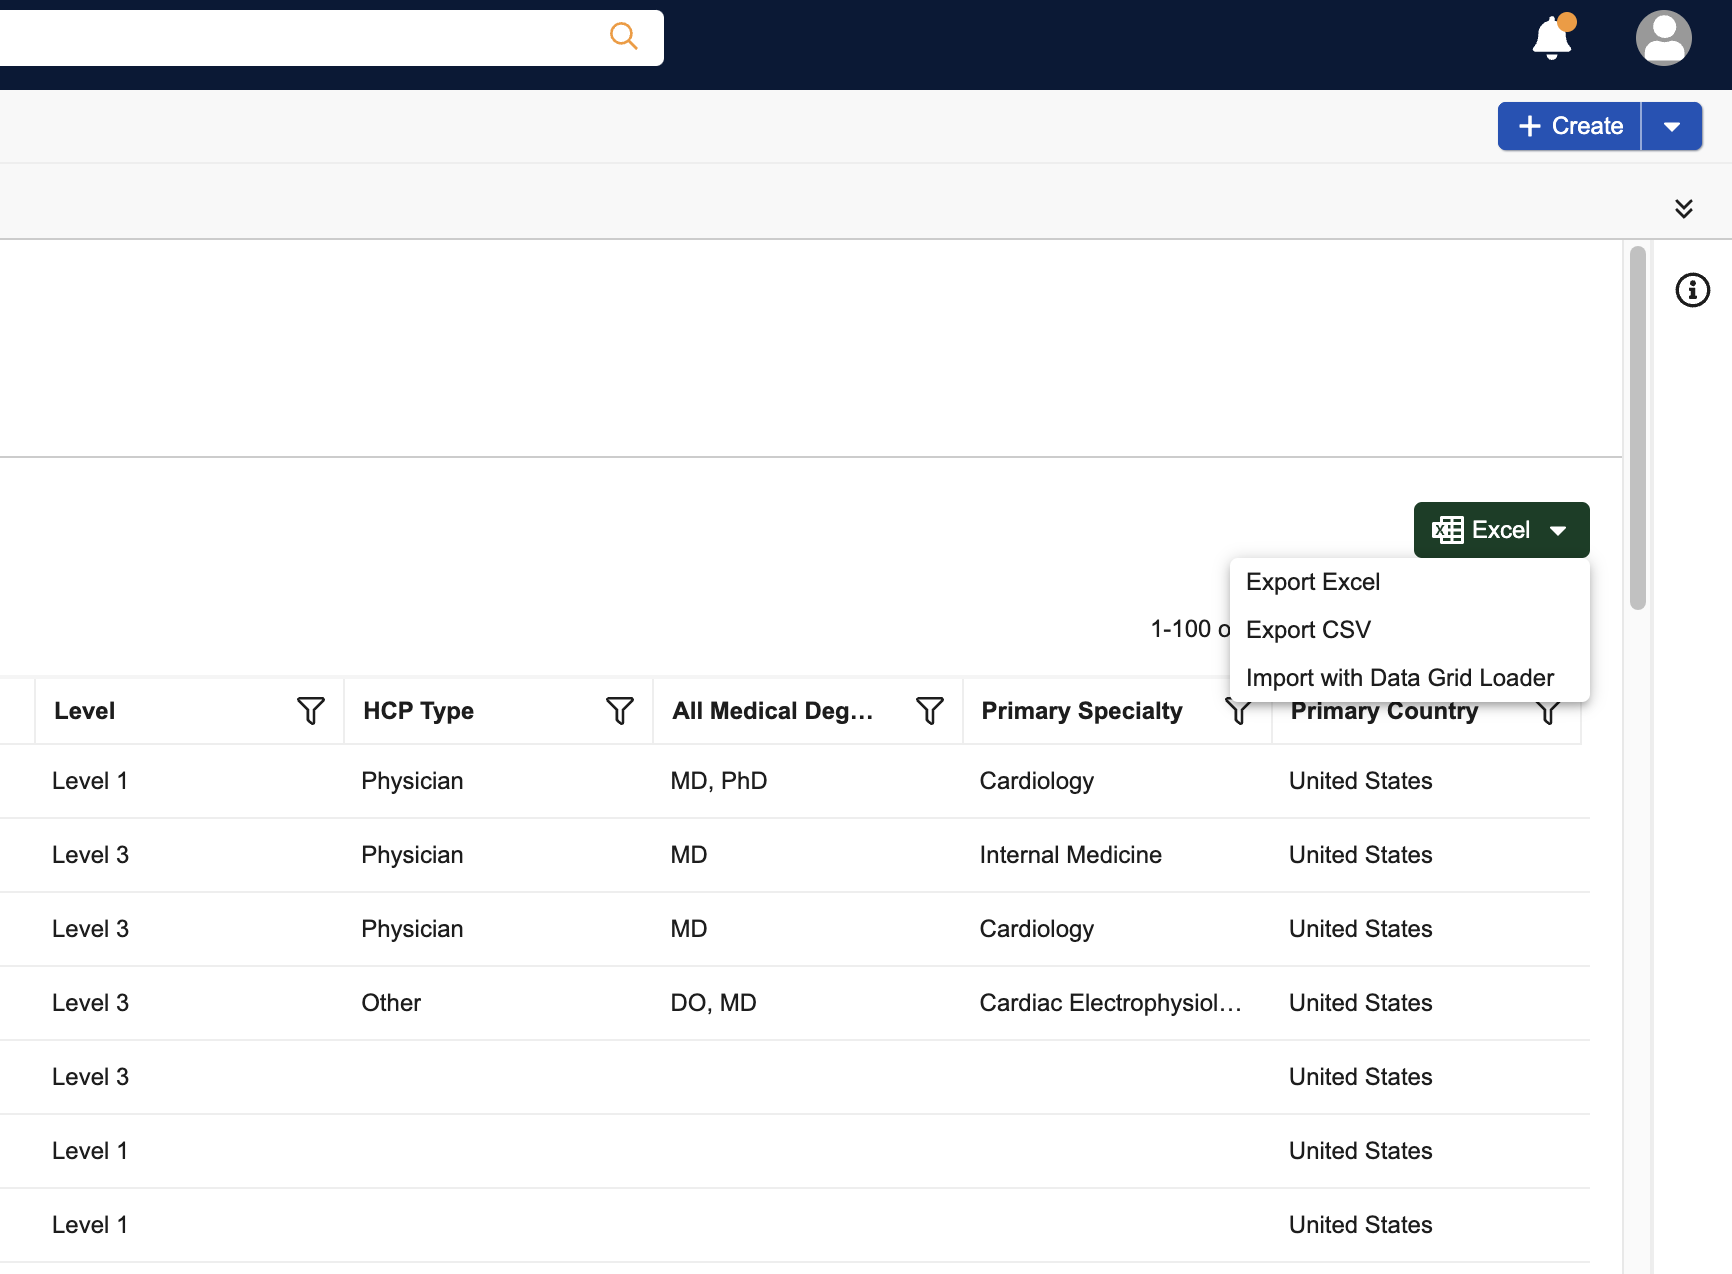
Select the Excel button.
-
Select the appropriate option:
- Export Excel – Exports the target list as an .xlsx file
- Export CSV – Exports the target list as a .csv file
-
Wait for the job to complete. The user is notified of the completed job via confirmation notification, Vault notification, and confirmation email.
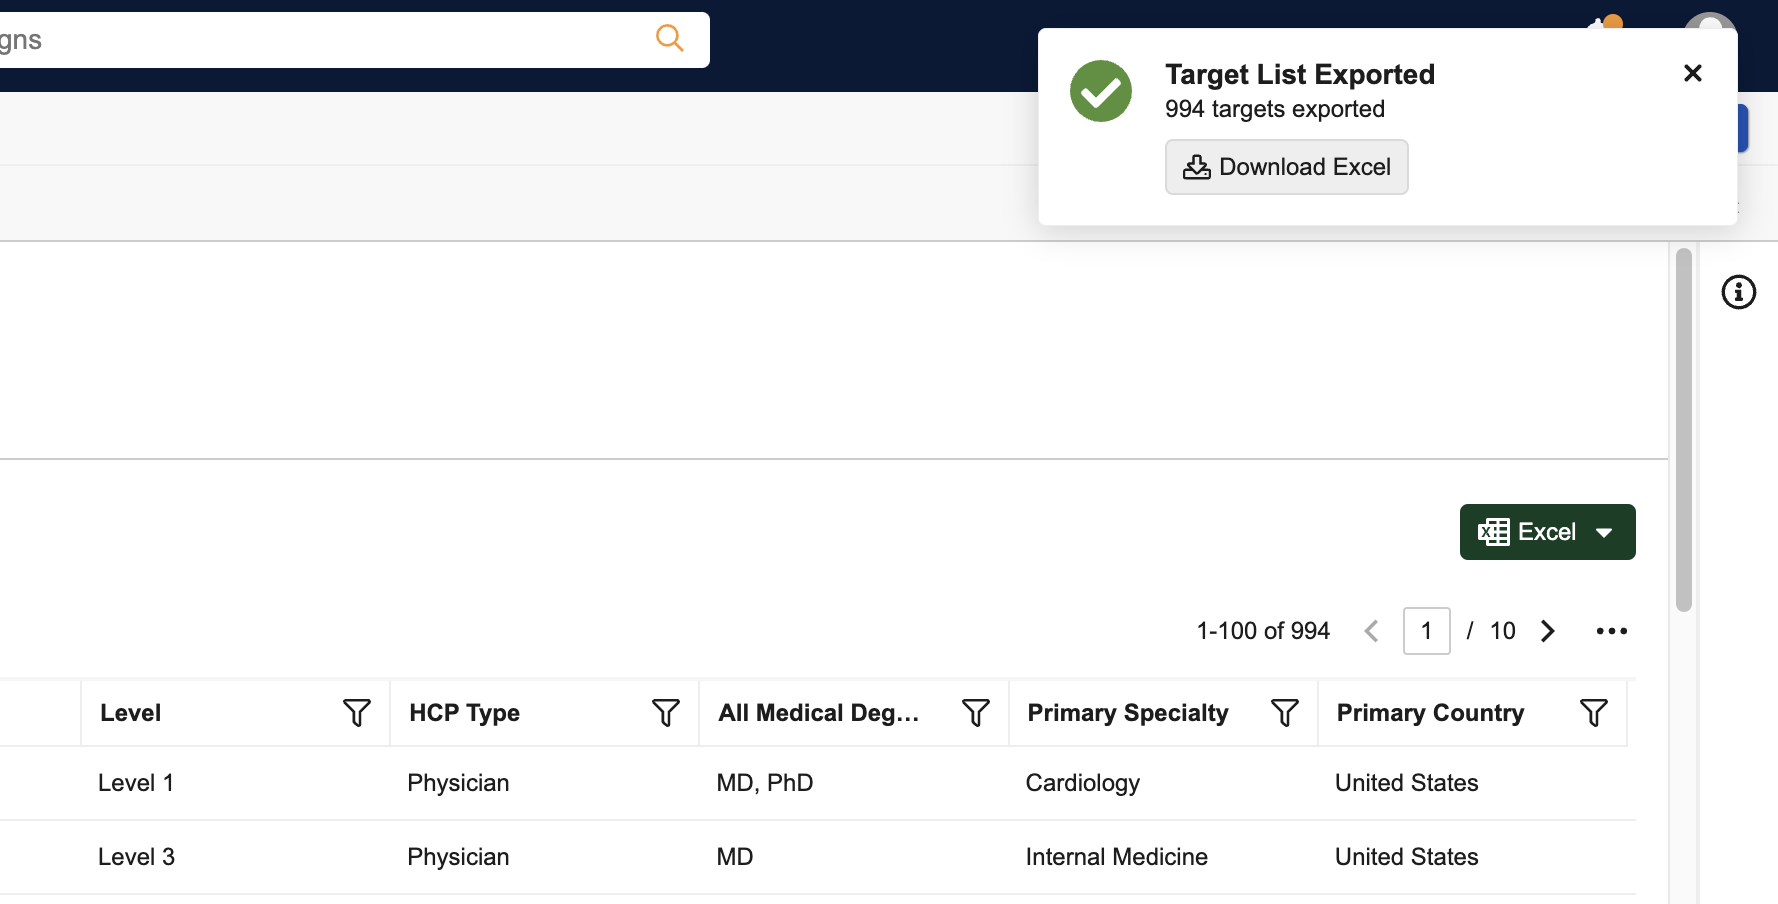
- Select either Download Excel or Download CSV, depending on the selected option.
This link expires after seven days.
Removing Individual Targets from the Target List
Once the target list is populated, marketing users can remove individual targets from the campaign’s target list:
-
Navigate to the Target List tab of the appropriate campaign.
- Hover over the Name column of the appropriate target to remove.
-
Select the More Actions button.
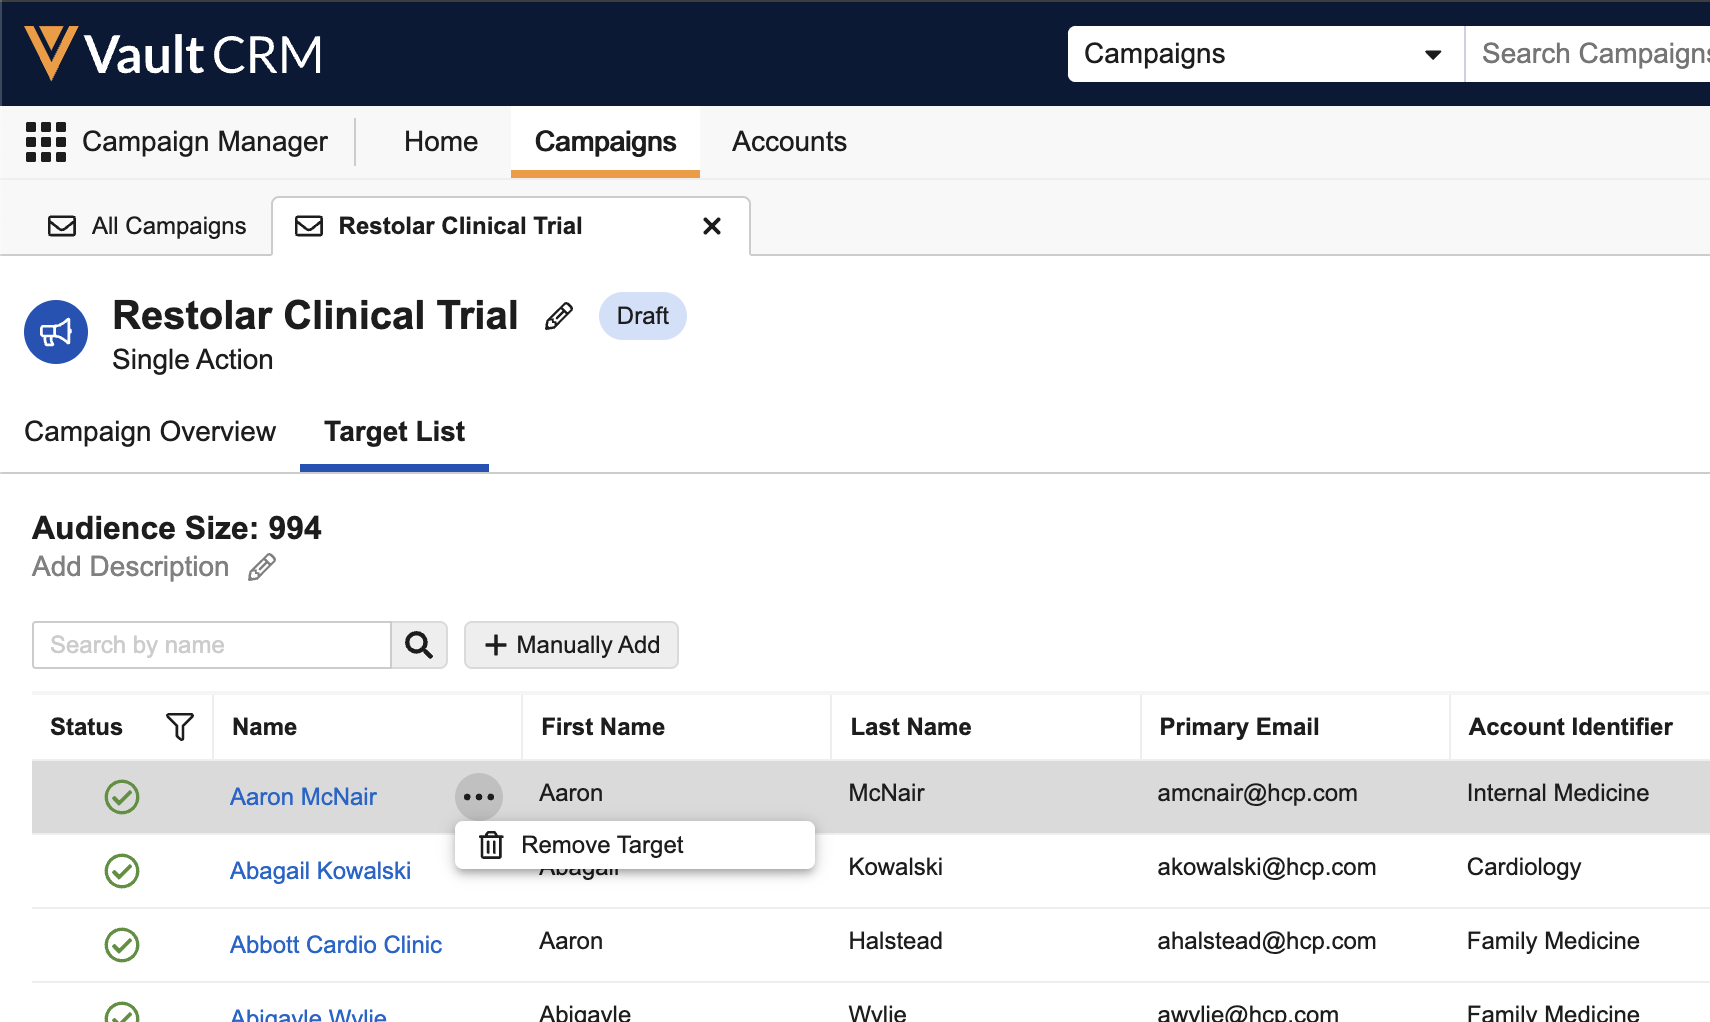
- Select Remove Target.
- Select Remove Target in the confirmation modal.
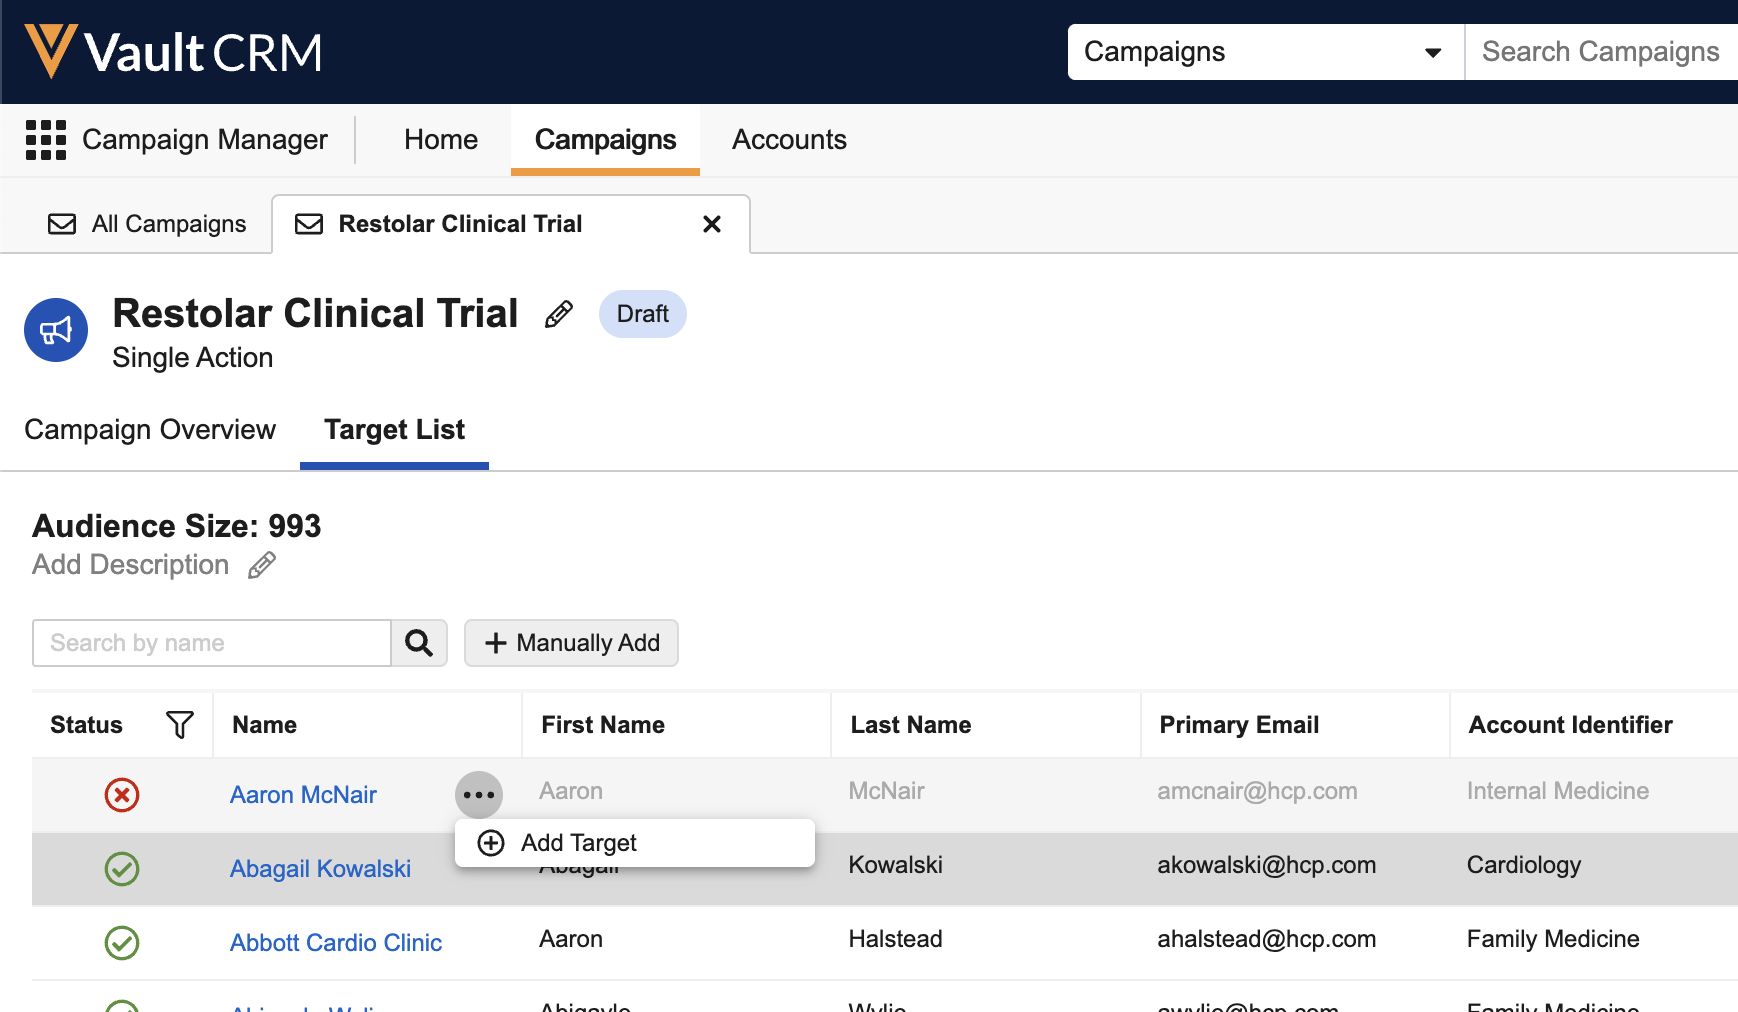
Removed targets remain in the target list as grayed out with a red X icon in their status column. Marketing users can re-add removed targets by selecting Add Target from the More Actions menu.
