MCCP Filtering in My Schedule
To easily utilize MCCP information when planning calls in My Schedule, users can filter the list of accounts displayed in My Schedule by MCCP attributes.
For example, to view accounts where channel interactions are below the MCCP goal, filter by channel interactions directly in My Schedule instead of sending the information to My Schedule through the My Plan tab.
Who can use this feature?
- End Users — iPad
- Using MCCP Filtering in My Schedule
- Users do not require an additional license
Configuring MCCP Filtering in My Schedule for
 End Users
To configure this feature:
- Ensure the following are complete:
- Navigate to Business Admin > Objects > veeva_settings__v.
- Select the enable_adv_cycpln_scheduling__v Veeva Setting checkbox.
- Add the appropriate fields to the comma-delimited list in the scheduler_filter__v Veeva Setting or the corresponding Veeva Message (depending on which is in use). Use the following format:
- To enable filtering on a field from the mc_cycle_plan_target__v object, enter mccp_target.[field name]
- To enable filtering on a field from the mc_cycle_plan_channel__v object, enter mccp_channel.[field name]
- To enable filtering on a field from the mc_cycle_plan_product__v object, enter mccp_product.[field name]
For example, mccp_target.channel_interactions_goal__v,mccp_product.product_activity_goal__v
Only the specified fields display. Default fields are not available for filtering on MCCP attributes in My Schedule.
The scheduler_filter__v Veeva Setting has a 255-character limit. If the setting cannot contain all the desired fields, create a corresponding Veeva Message instead:
- Navigate to Business Admin > Objects > messages__v.
- Create a Veeva Message.
- Name the message scheduler_filter__v and set the category to Scheduler. Using the same name as the Veeva Setting enables MCCP admin users to easily find the message.
- Copy all fields from the scheduler_filter__v Veeva Setting to the text field of the newly created Veeva Message, using the same comma-delimited format.
- Navigate to Business Admin > Objects > veeva_settings__v.
- Populate the scheduler_filter__v Veeva Setting with “message_name;;Category”. For example: scheduler_filter__v;;Scheduler
Filtering is only supported for the following field types:
- Date
- Date/Time
- checkbox
- Currency
- Number
- Percent
- Picklist
Multi-select picklists are not supported.
- Text
- URL
Using MCCP Filtering in My Schedule as
End Users
MCCP filtering in My Schedule only supports call2__v channels.
To filter accounts based on MCCP attributes:
- Select the filter icon at the top of the accounts panel.
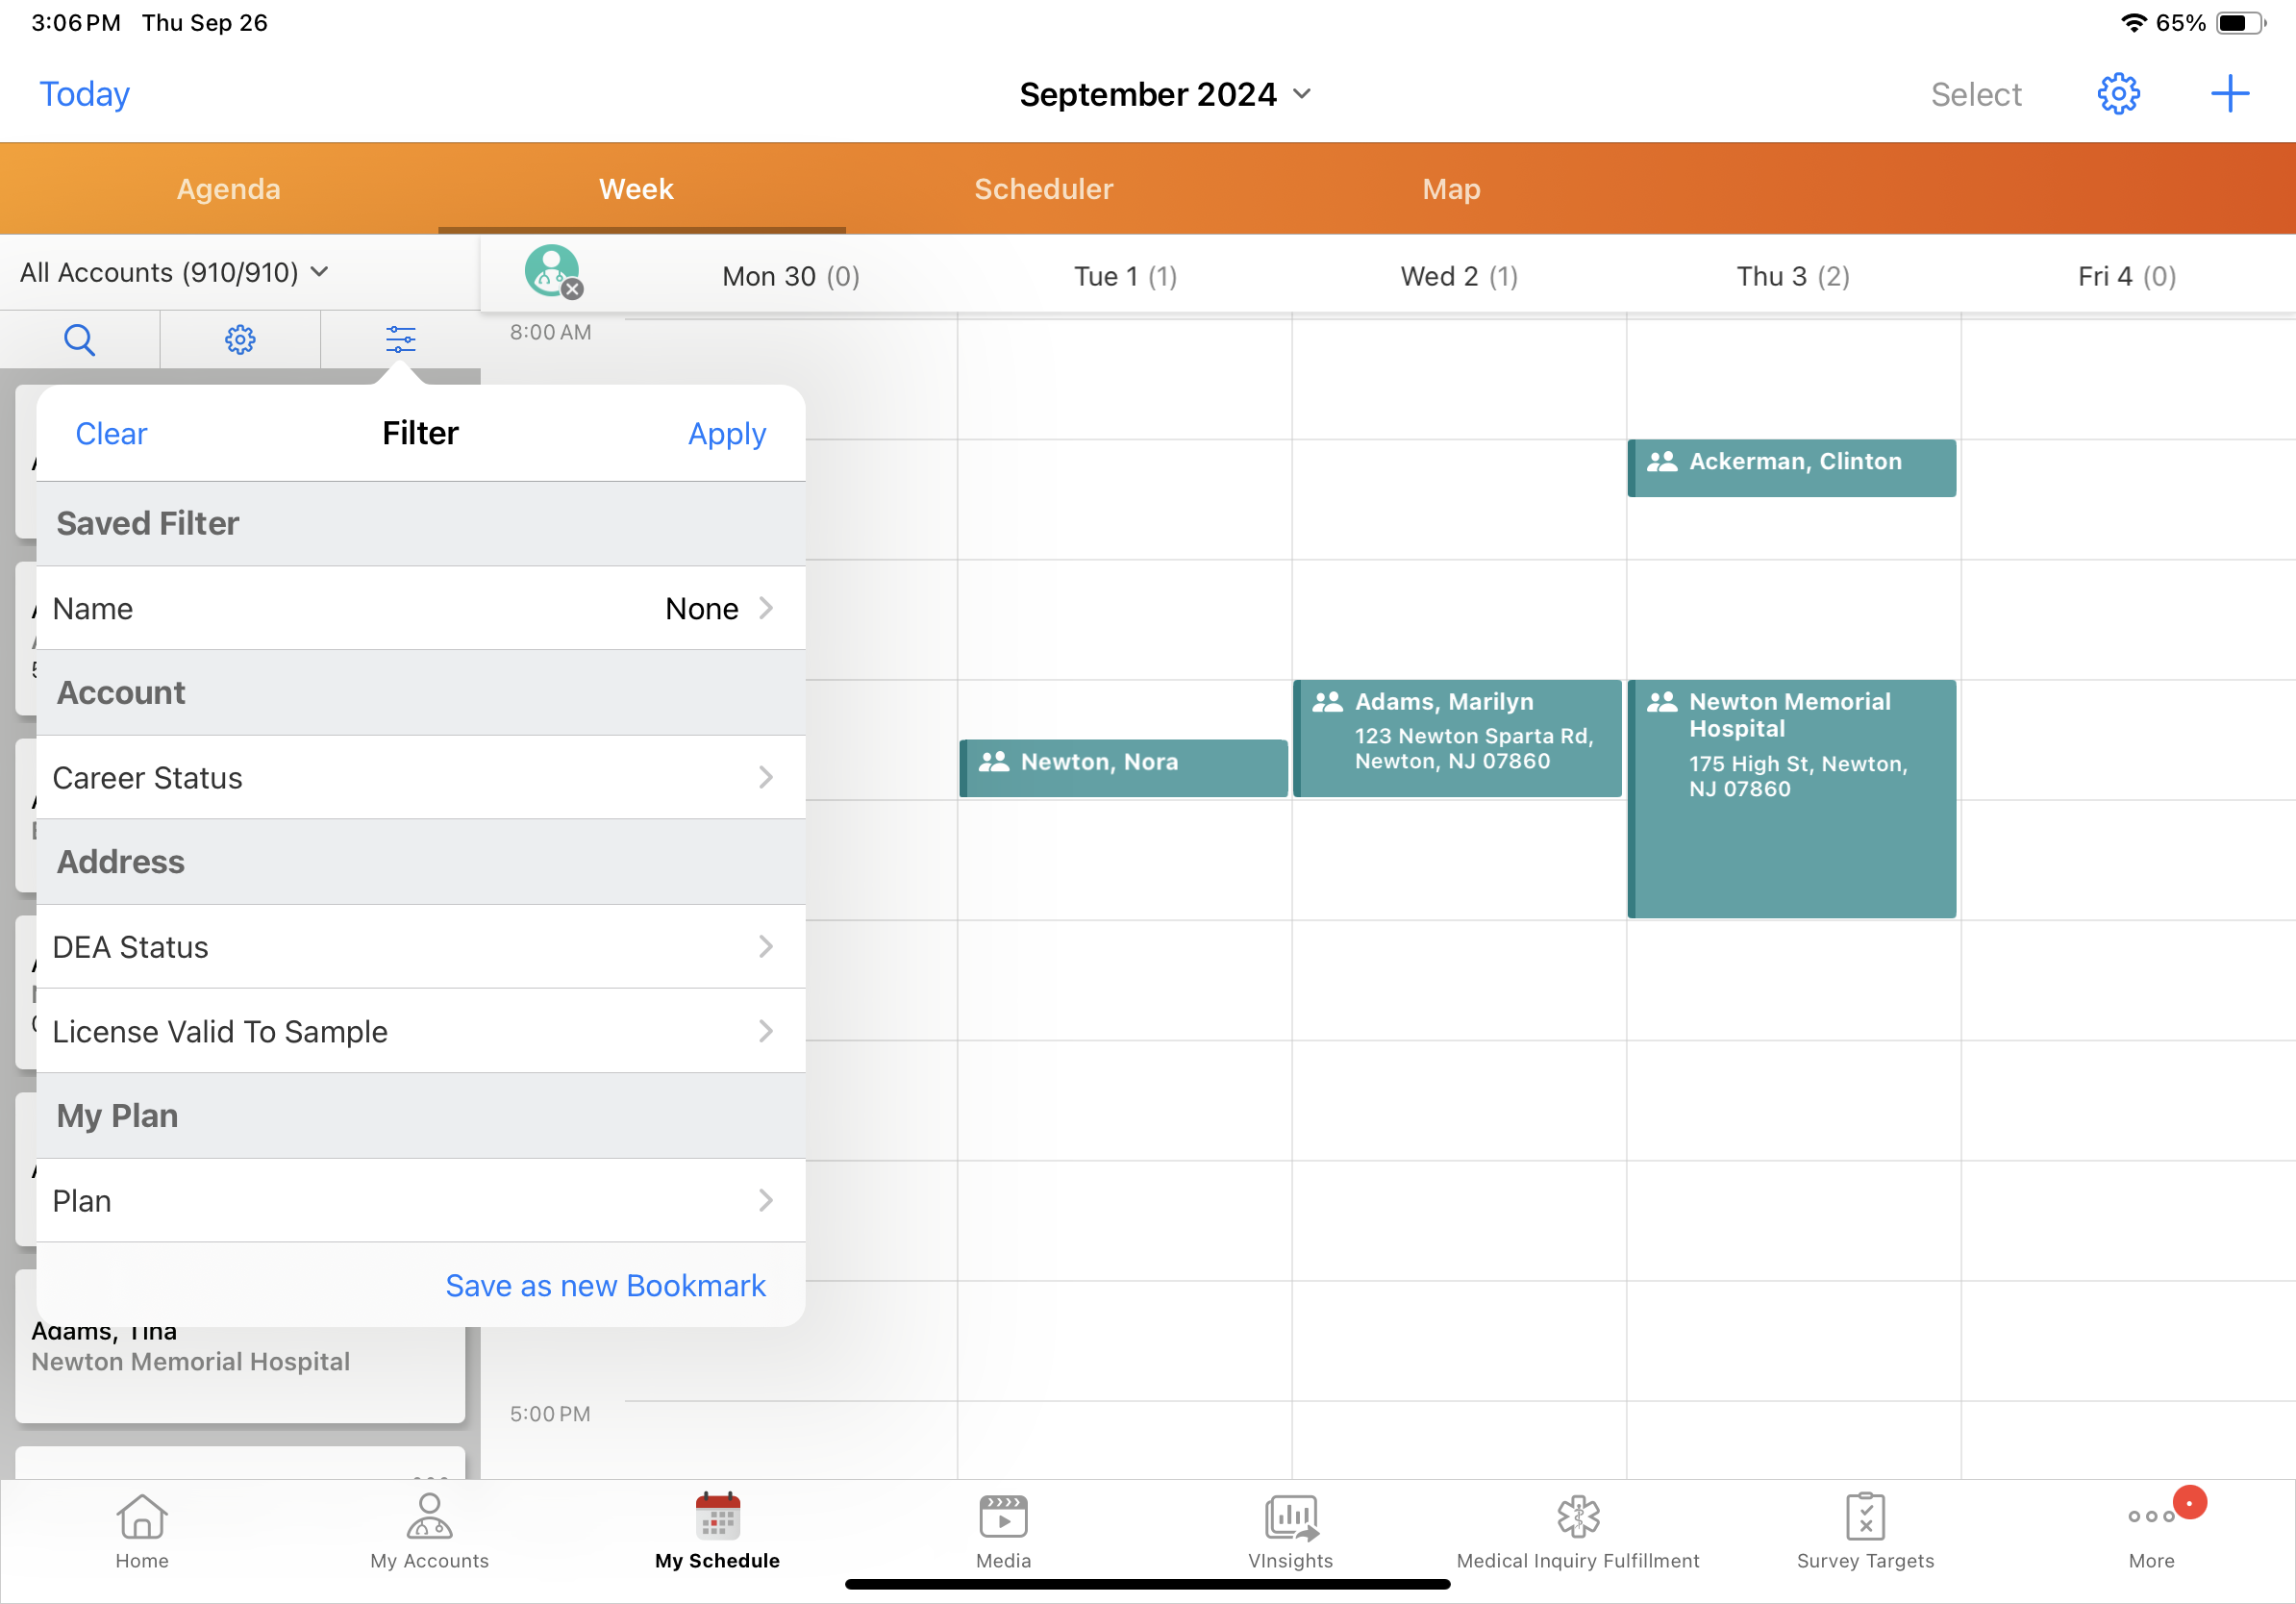
- Select the Plan field.
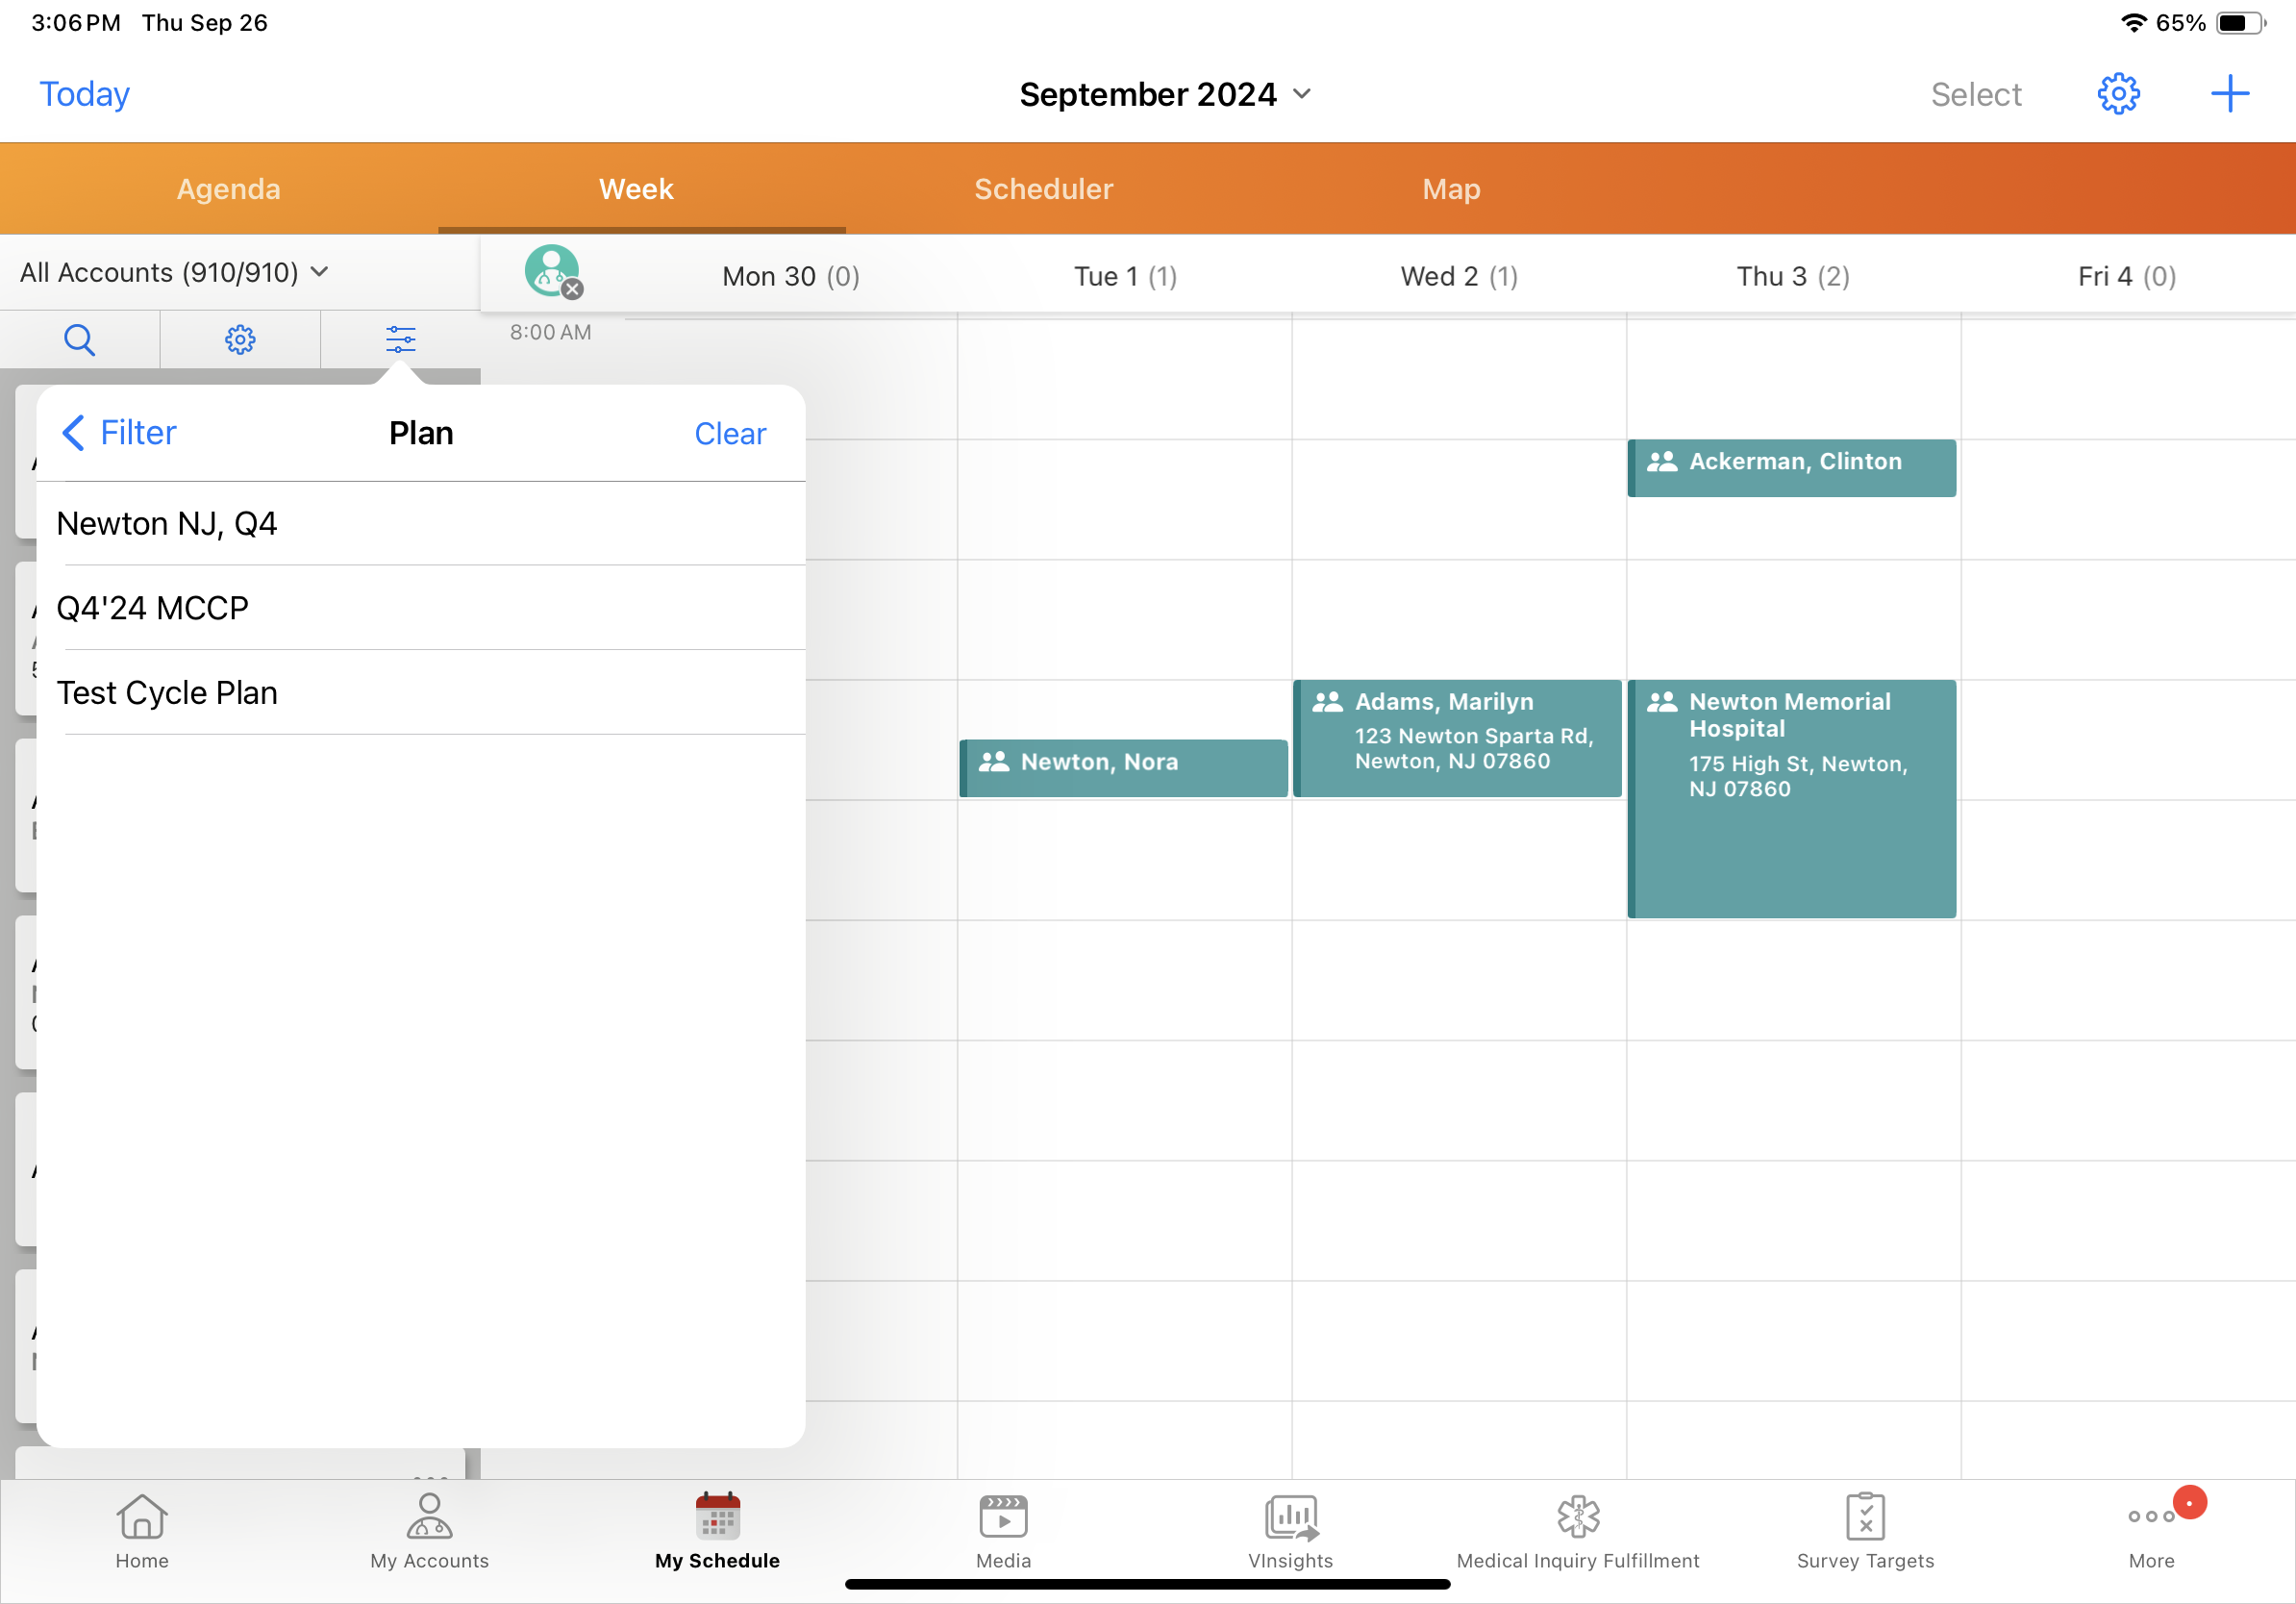
- Select the appropriate plan.
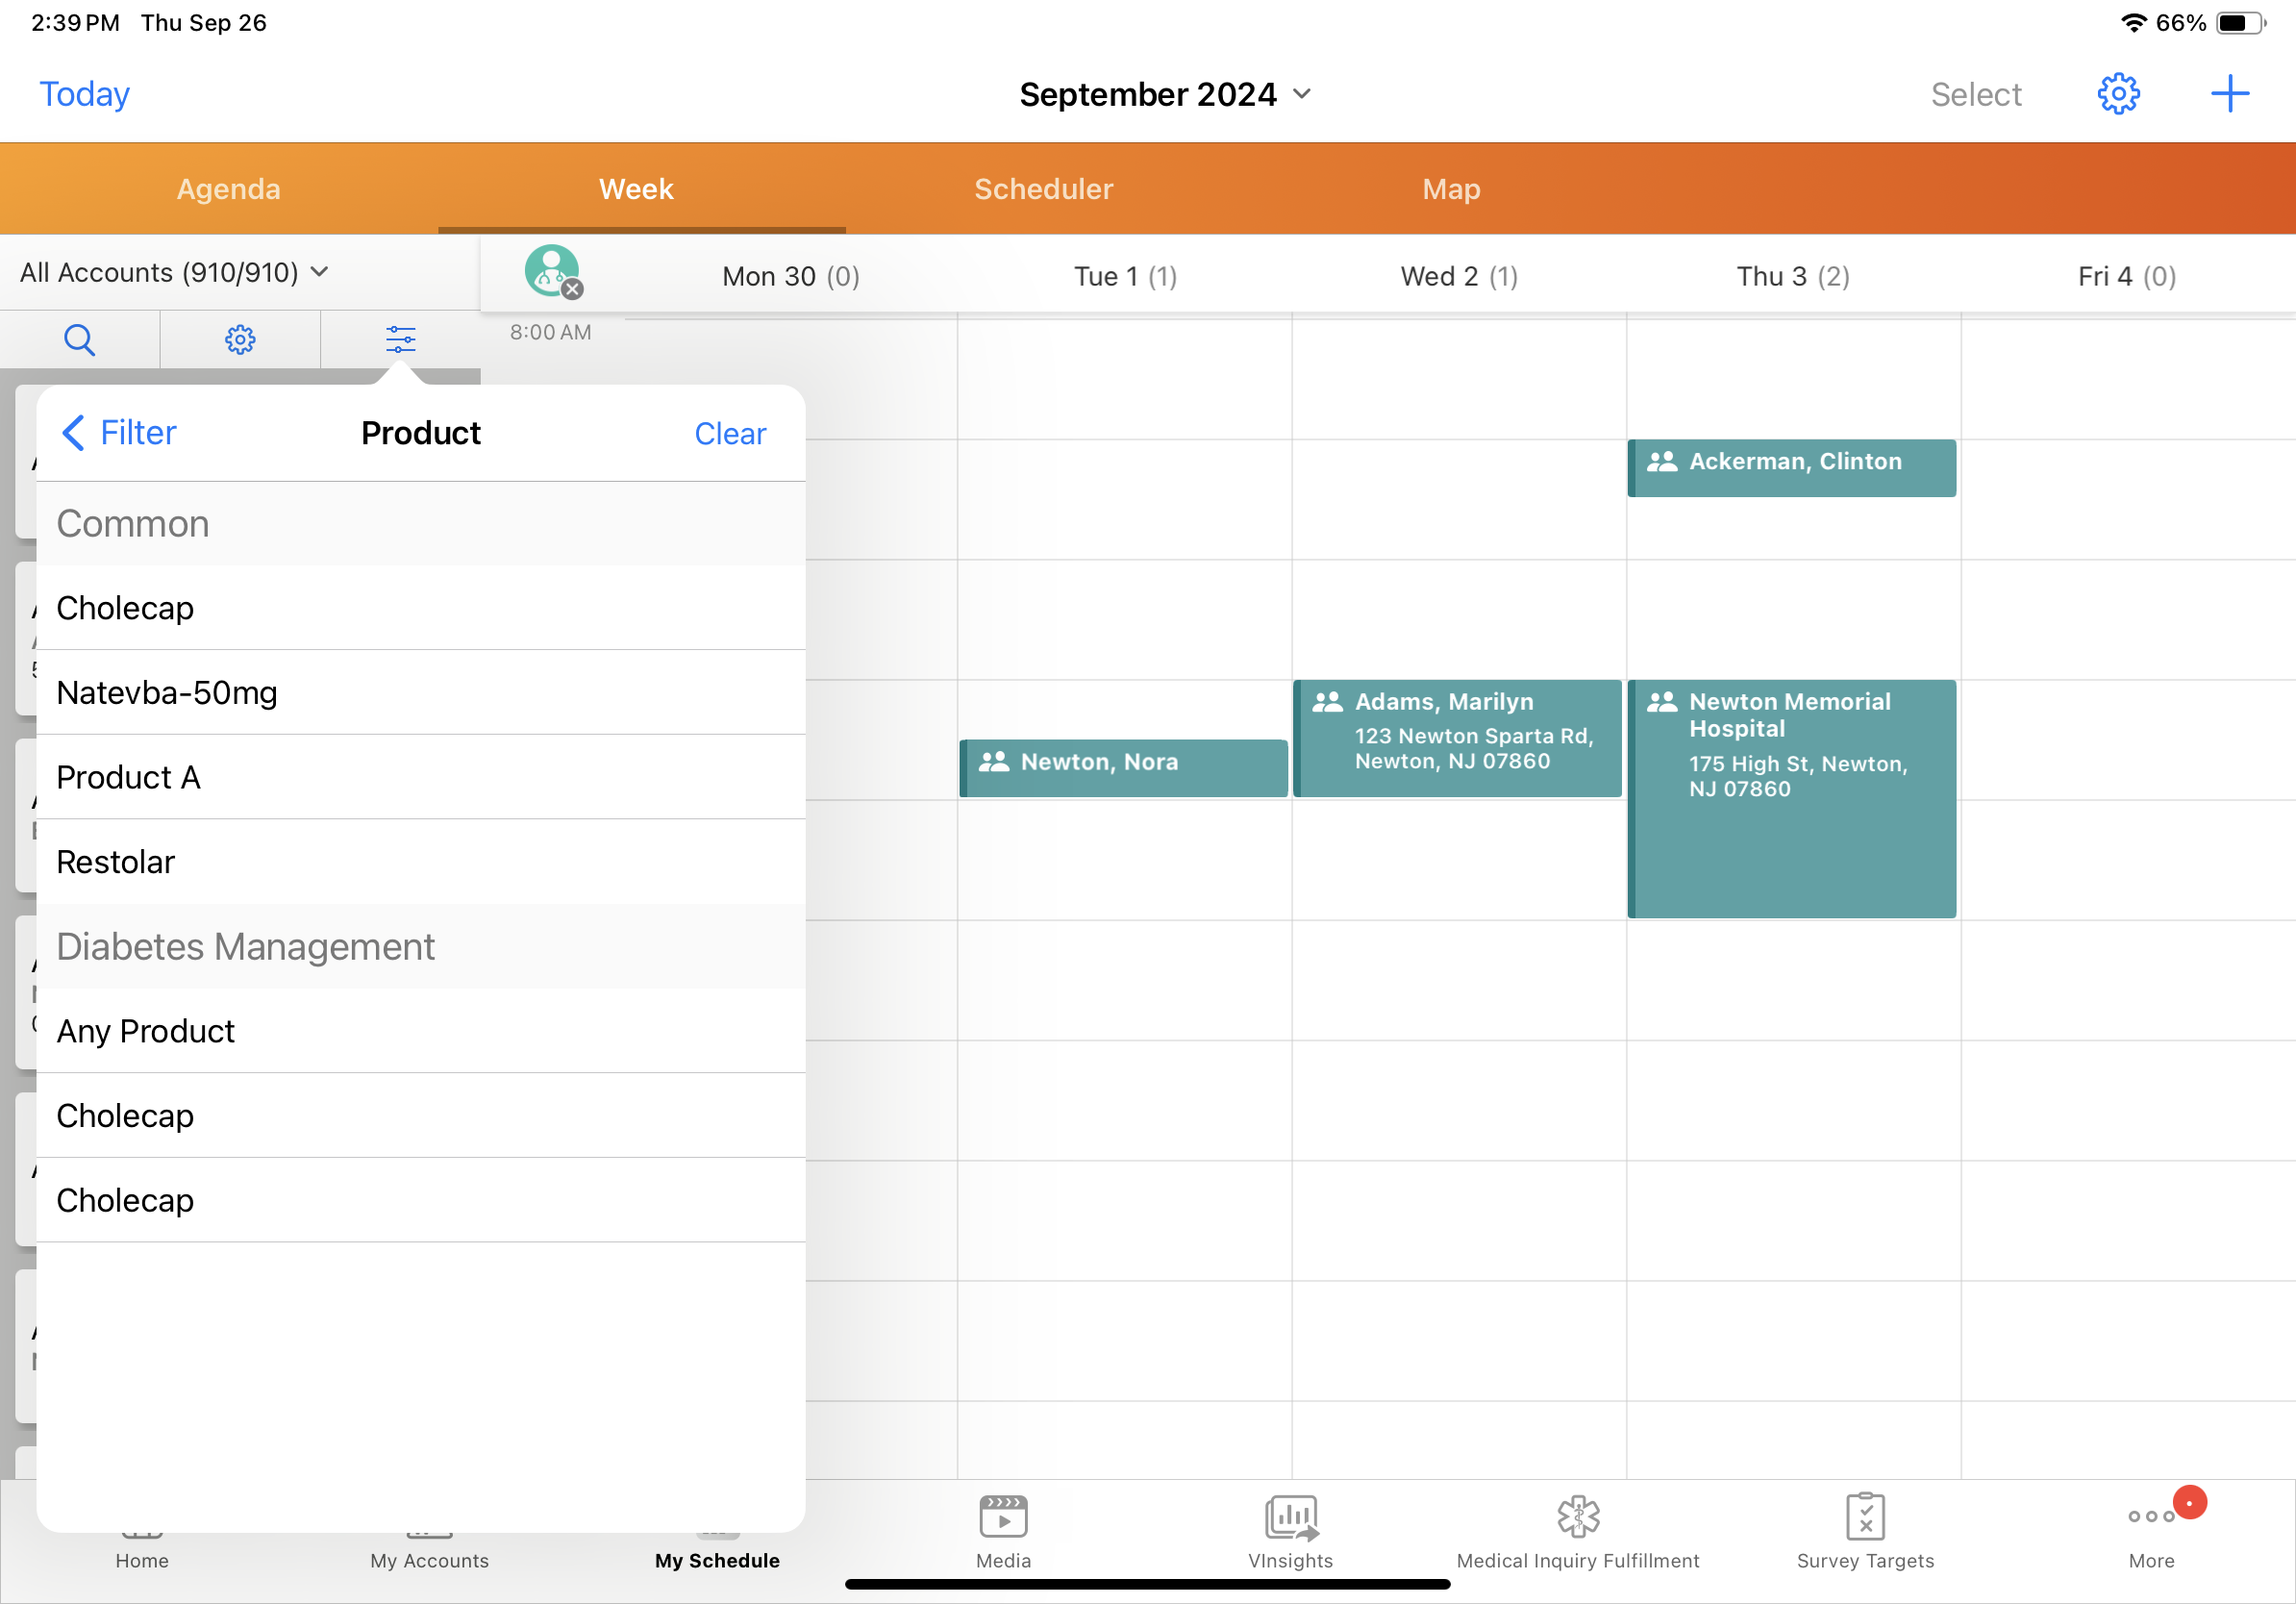
- Select the appropriate product and channel from the My Plan section. If the selected plan has only one associated channel, the Channel dropdown list defaults to the only available channel.
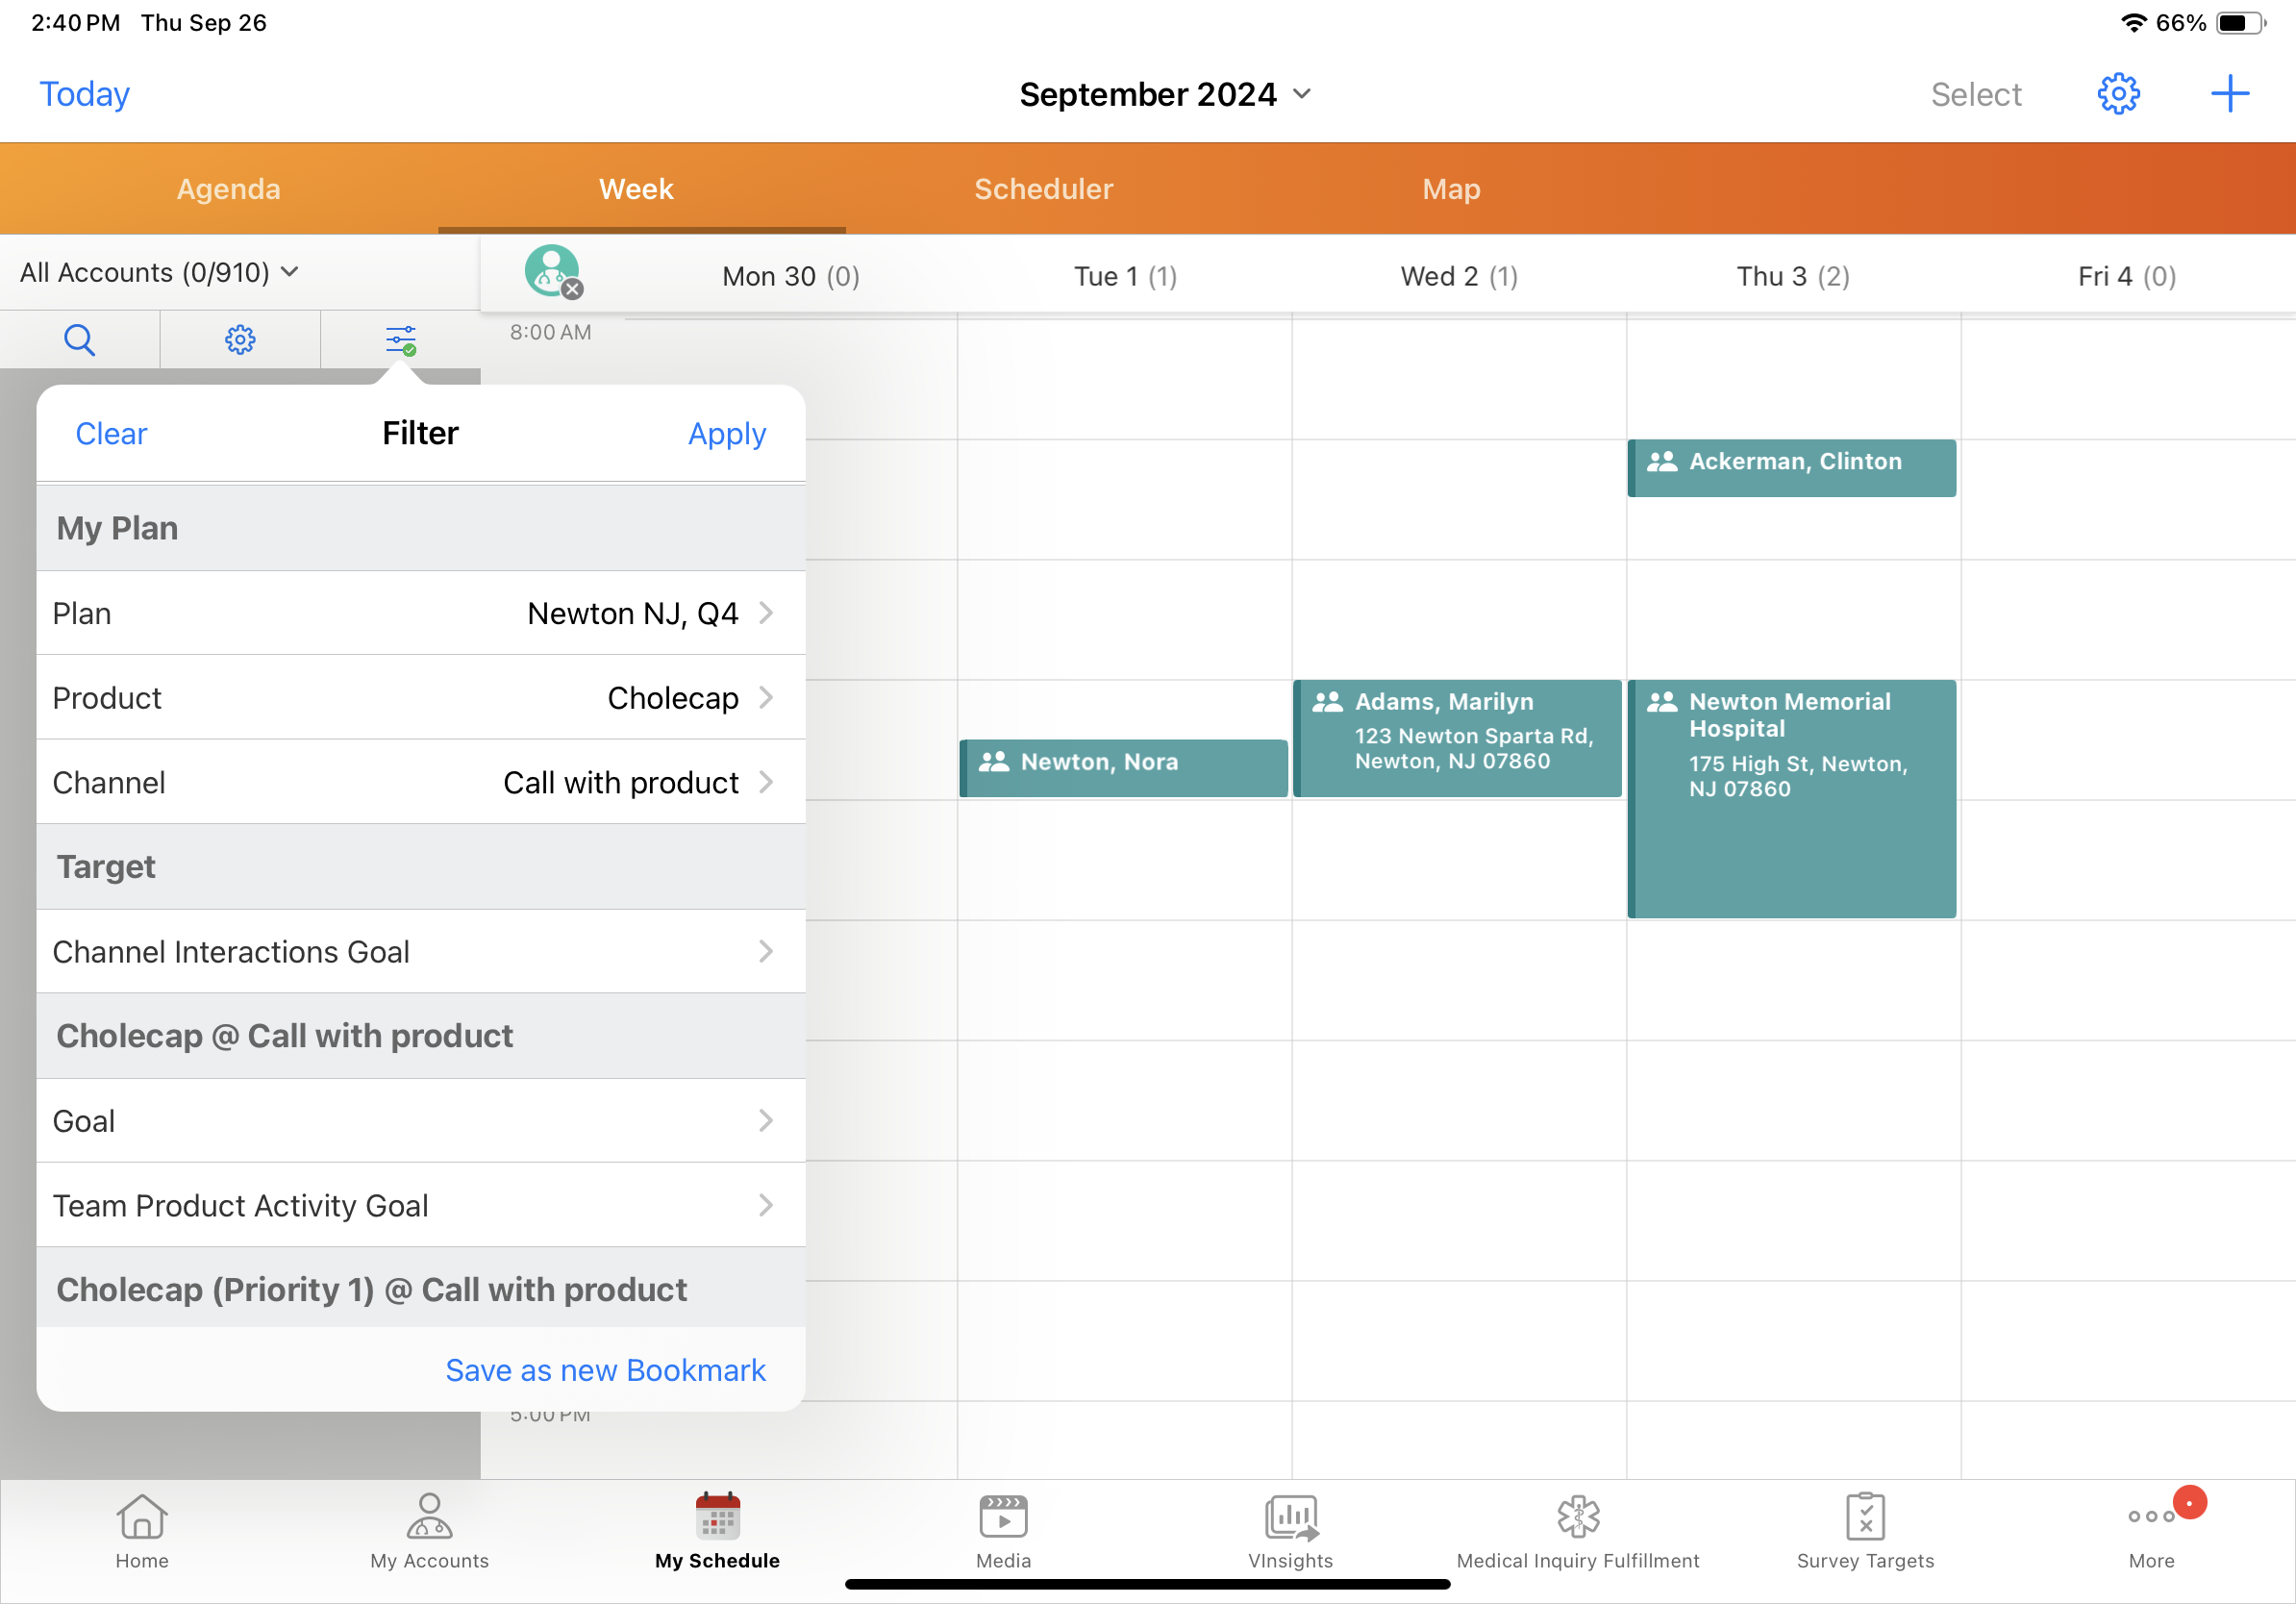
-
Enter MCCP criteria for filtering, for example, Channel Interactions Goal.
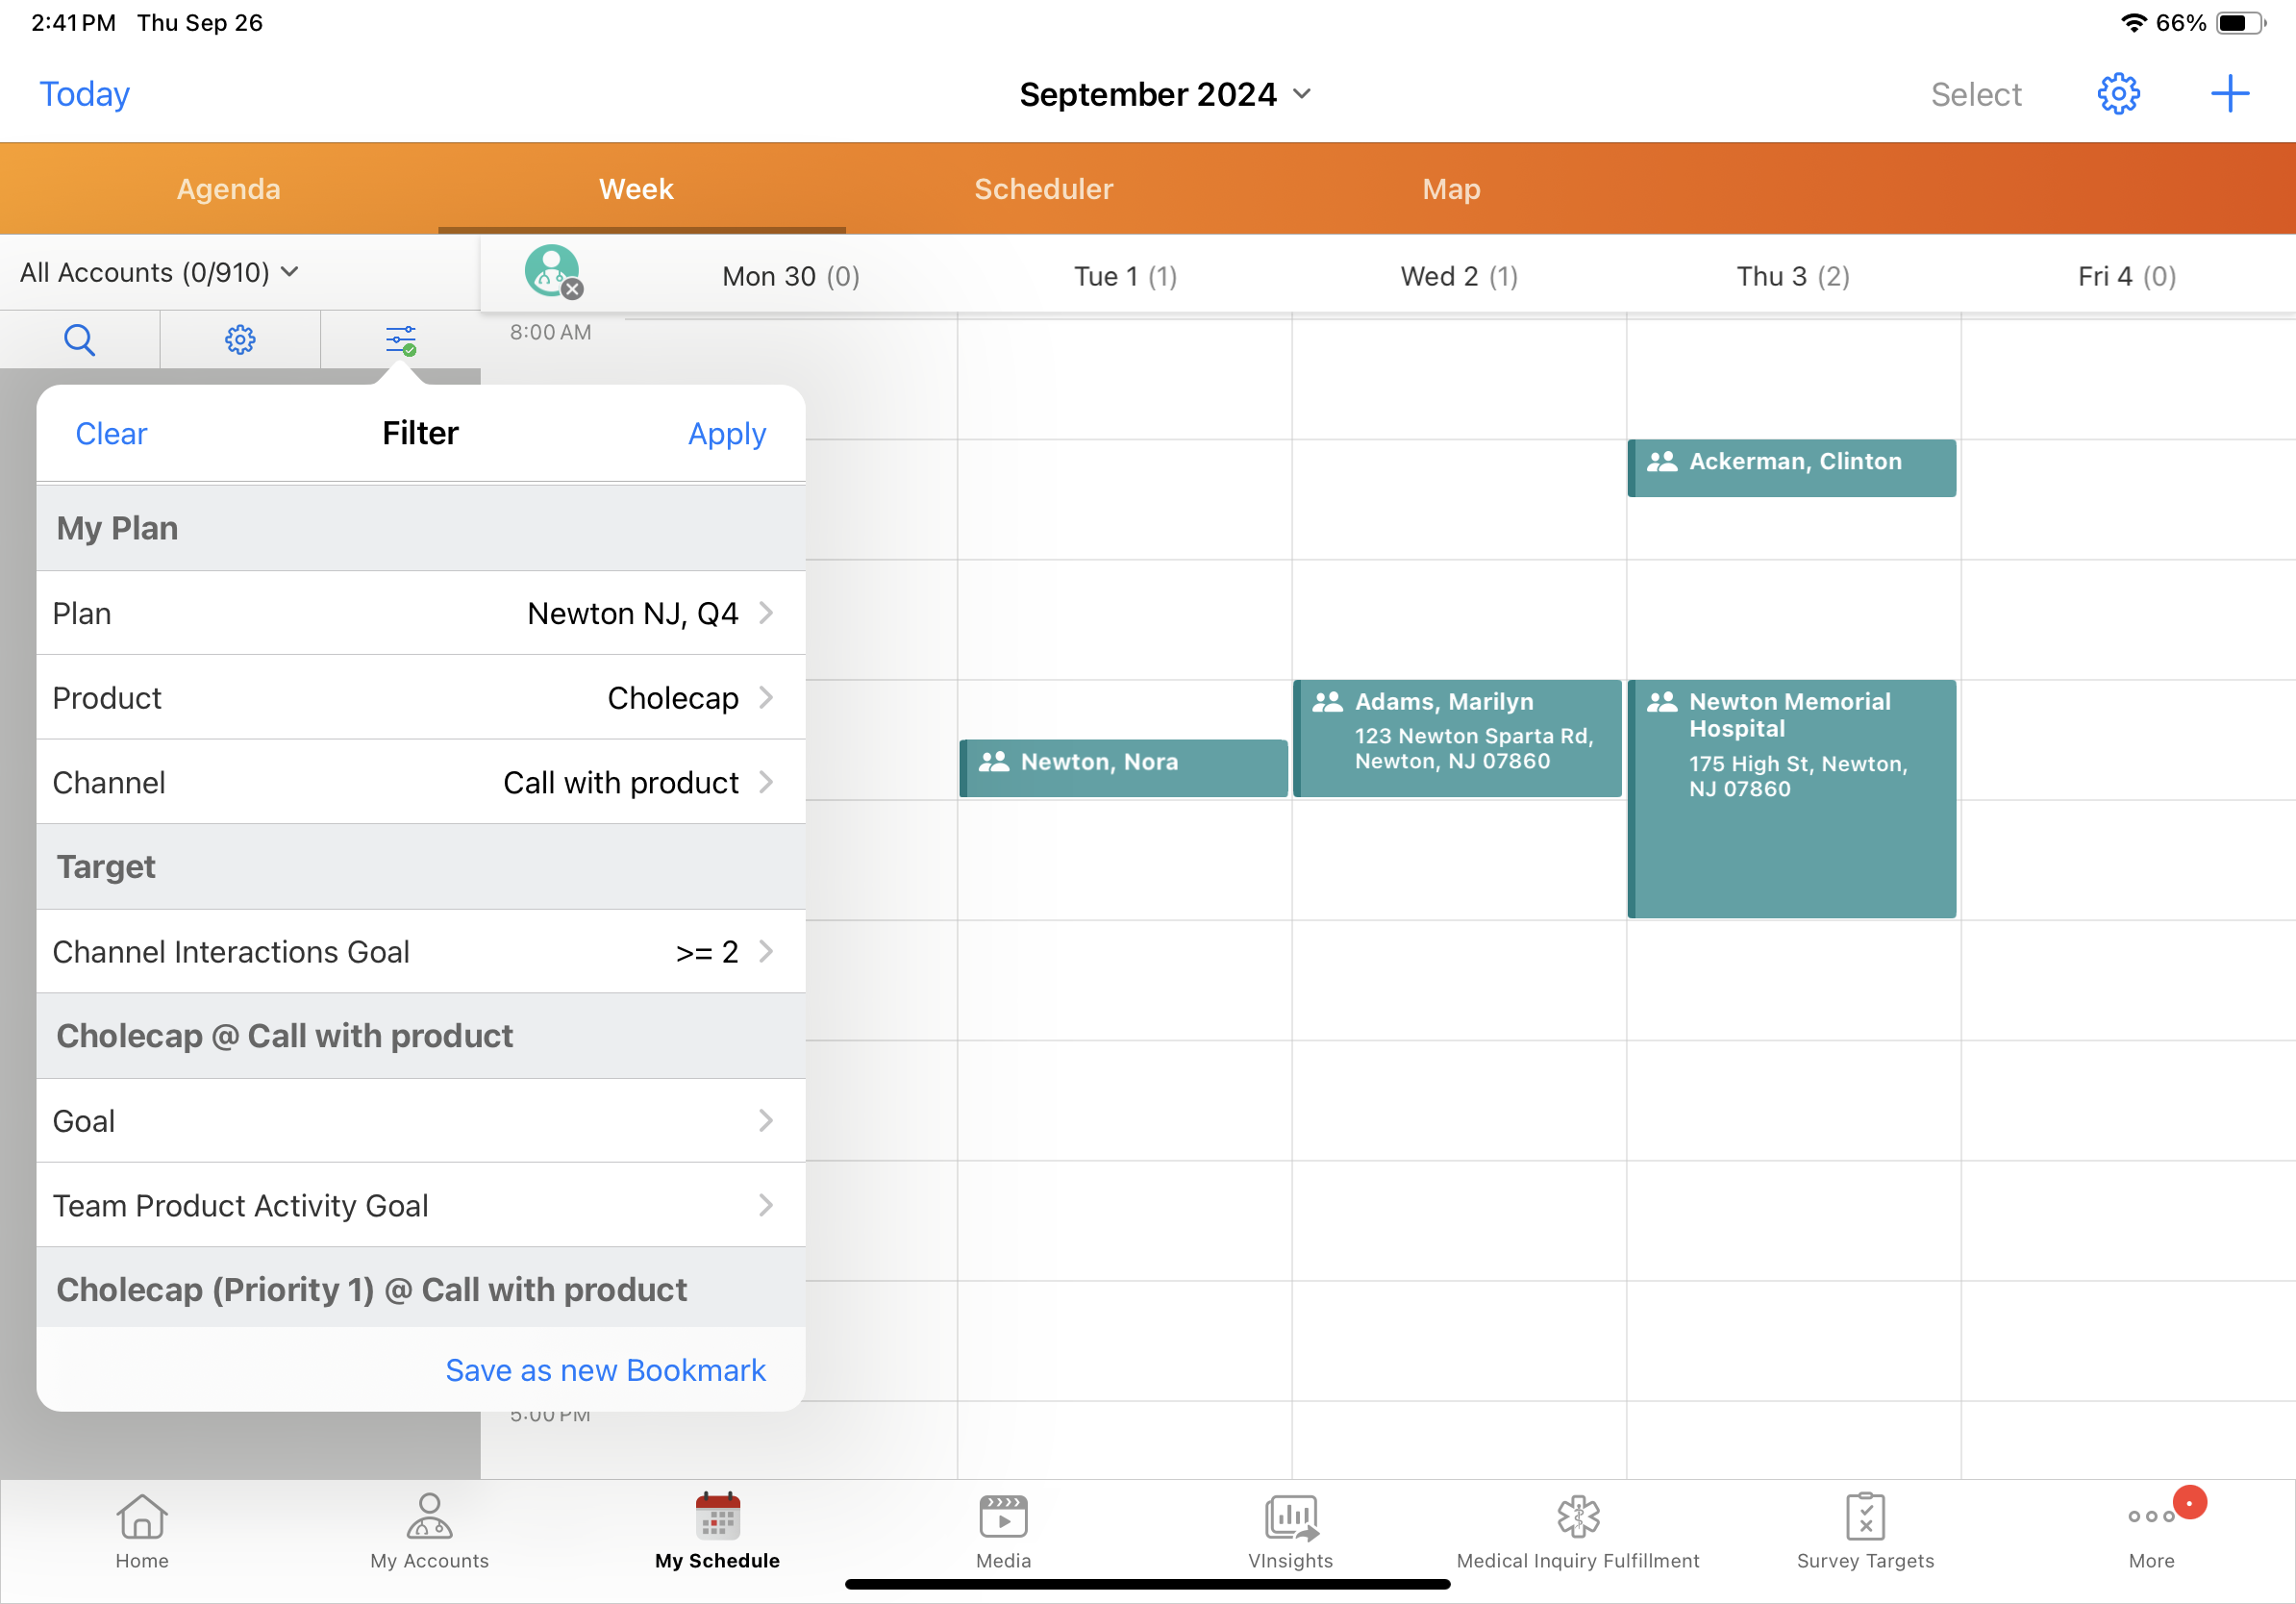
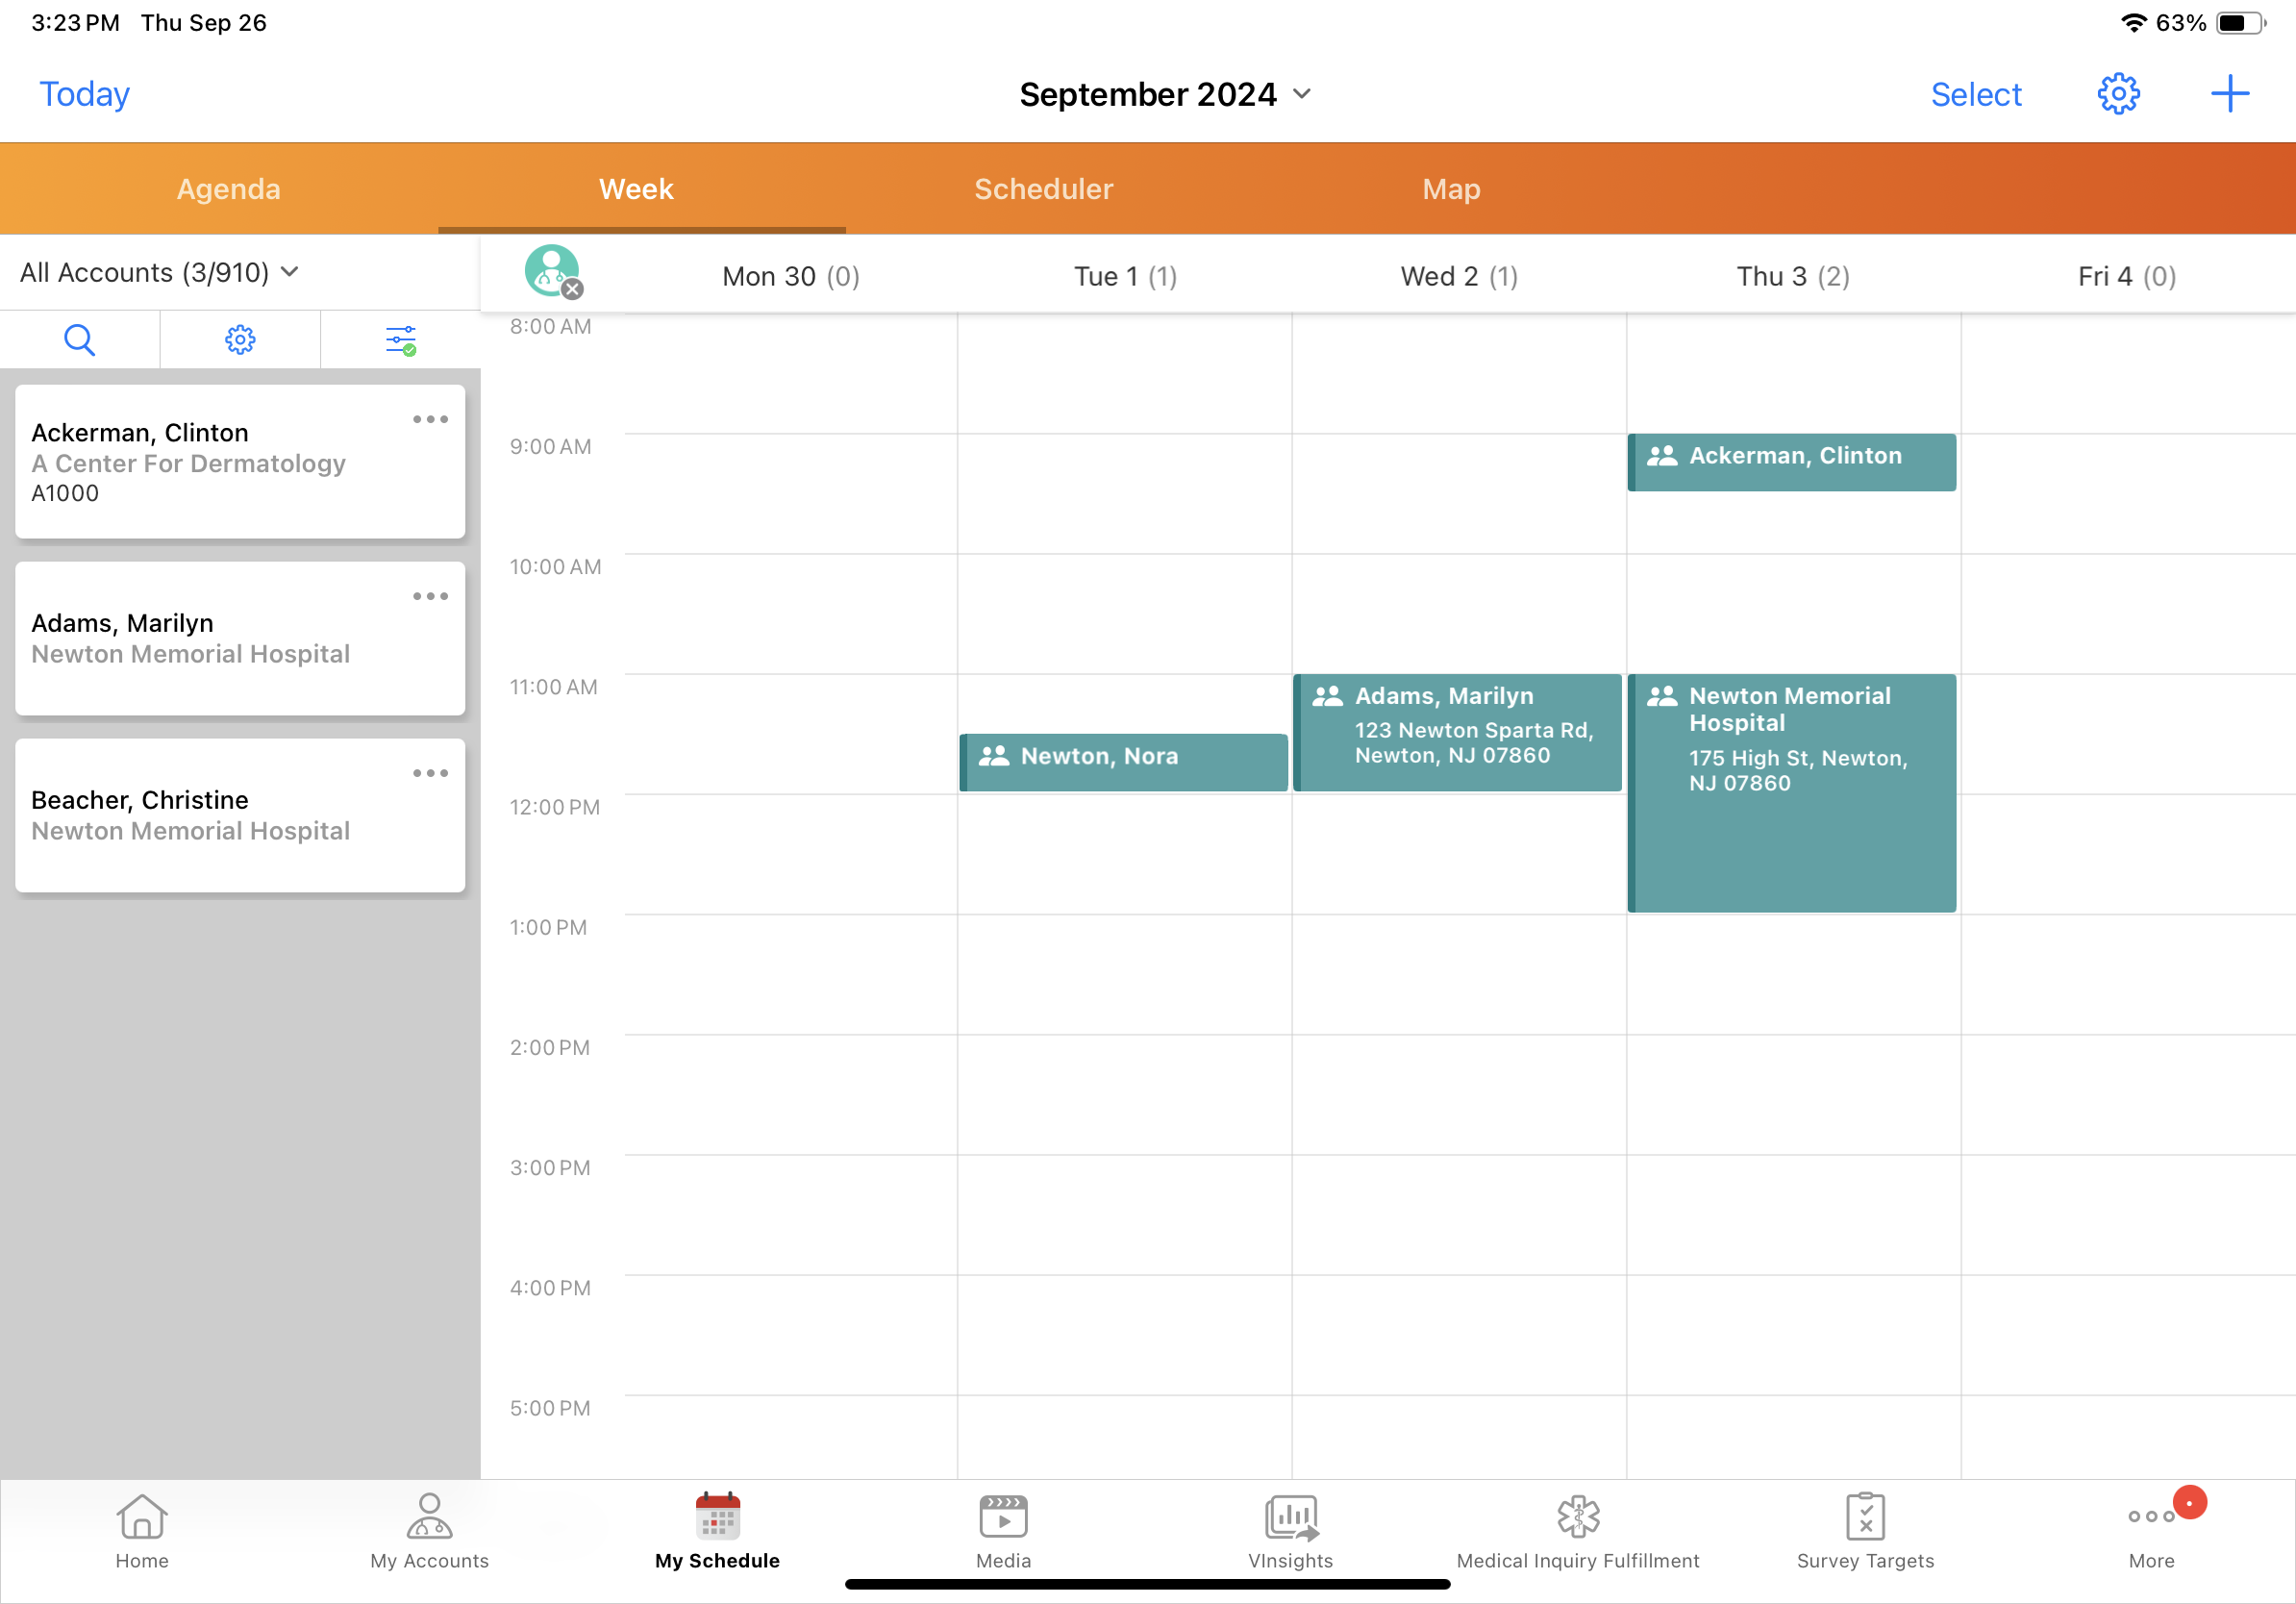
- Select Apply. Accounts in the list are filtered based on the selected attributes.
MCCP filters are applied from the same Filter modal used for standard account filters.
To filter accounts based on MCCP attributes:
- Select the filter icon from the accounts panel. The Filter modal displays.
[screenshot]
- Select Add Filter, then select the appropriate MCCP plan.
- Select the appropriate Channel. If the selected plan has only one associated channel, the Channel field defaults to that channel.
- Select the appropriate Product, or leave Product at the default to filter at the channel level.
- Filter options display for the selected channel only after a channel is selected. Filter options do not display when a product is selected without a channel. When both a channel and a product are selected, filter options display with the label [Product] @ [Channel].
[screenshot]
- Select the field to filter on and enter the appropriate criteria. If a Team equivalent exists for the selected field and Team functionality is enabled for the MCCP, the Team field displays as an available option alongside the standard field.
- Select Apply. The filter icon changes to the enabled state, and accounts in the list filter based on the selected attributes.