Signing into an Event using a QR Code®
Event attendees can sign into an event using a QR Code® scanned on their own devices, making the sign-in process quick and easy.
QR Codes® can be embedded in Print Templates and distributed at sign-in stations to enable attendees to quickly and simultaneously sign into the event on their own devices.
Who can use this feature?
- Admin Users - Browser
- Syncing with the QR Server
- Business Admin Users - Browser
- Enabling QR Sign-in via Event Rules
- Using the {{SignInQRCode}} Token
- End Users - Browser, iPad
- Displaying the QR Code® in an Event
- Event Attendees - Browser, iPad
- Using QR Codes® to Sign into an Event
- Users require an Events Management License
Configuring QR Sign-in for
To configure this feature for business admin users:
-
Ensure the following features are configured:
- Navigate to Admin > Users & Groups > Permission Sets.
- Select the appropriate permission set.
- Select the Objects tab.
-
Grant the following permissions:
Object
Object Permission
Object Types
Fields
Field Permission
em_event_rule__v
CRED
walk_in_fields__v
qr_sign_in_enabled__v
Edit
-
Navigate to Admin > Configuration > Objects > em_event_rule__v > Layouts.
-
Add the qr_sign_in_enabled__v field to the layout assigned to the walk_in_fields__v object type.
- Navigate to Admin > Configuration > Objects > em_event__v > Object Types.
-
Ensure the following em_event__v fields are available to all applicable em_event__v object types:
- sign-in_url__v
- qr_sign_in_enabled__v
- meal_optin_for_qr_signin__v
To configure this feature for integration users:
- Ensure Configuring Events Management is complete.
- Navigate to Admin > Users & Groups > Permission Sets.
- Select the appropriate permission set.
- Select the Objects tab.
-
Grant the following permissions:
Object
Object Permission
Object Types
Fields
Field Permission
account__v
RE
All Applicable
n/a
n/a
address__v
RE
All Applicable
- account__v
- city_cda__v
- license__v
- postal_code_cda__v
- primary_cda
- state_province__v
Read
country__v
RE
All Applicable
n/a
n/a
em_attendee__v
RE
All Applicable
- event__v
- account__v
- user__v
- person__v
- first_name__v
- last_name__v
- attendee_name__v
- signature__v
- signature_datetime__v
- signature_method__v
- em_attendee_status__v
Edit
em_event__v
RE
All Applicable
- country__v
- em_event_status__v
- end_time__v
- event_configuration__v
- meal_optin_for_qr_signin__v
- ownerid__v
- qr_sign_in_enabled__v
- start_time__v
Read
em_event_speaker__v
RE
All Applicable
- event__v
- account__v
- speaker_name__v
- first_name__v
- last_name__v
- signature__v
- signature_datetime__v
- signature_method__v
- em_event_speaker_status__v
Edit
events_management_settings__v
RE
All Applicable
qr_server_url__v
Read
message__v
RE
All Applicable
- category__v
- language__v
- text__v
Read
person__v
RE
All Applicable
n/a
n/a
signature_page__v
RE
disclaimer__v
- disclaimer_country__v
- language__v
- disclaimer_text__v
- signature_page__v
Read
tsf__v
RE
All Applicable
- address__v
- account__v
- territory__v
Read
user__sys
RE
All Applicable
language__sys
Read
vcountry__v
RE
All Applicable
alpha_2_code__v
Read
- Navigate to the Application tab of the permission set.
-
Select the following check boxes in the API section:
- Access API
- Metadata API
-
Navigate to Admin > Configuration > Event Registration and Sign-In.
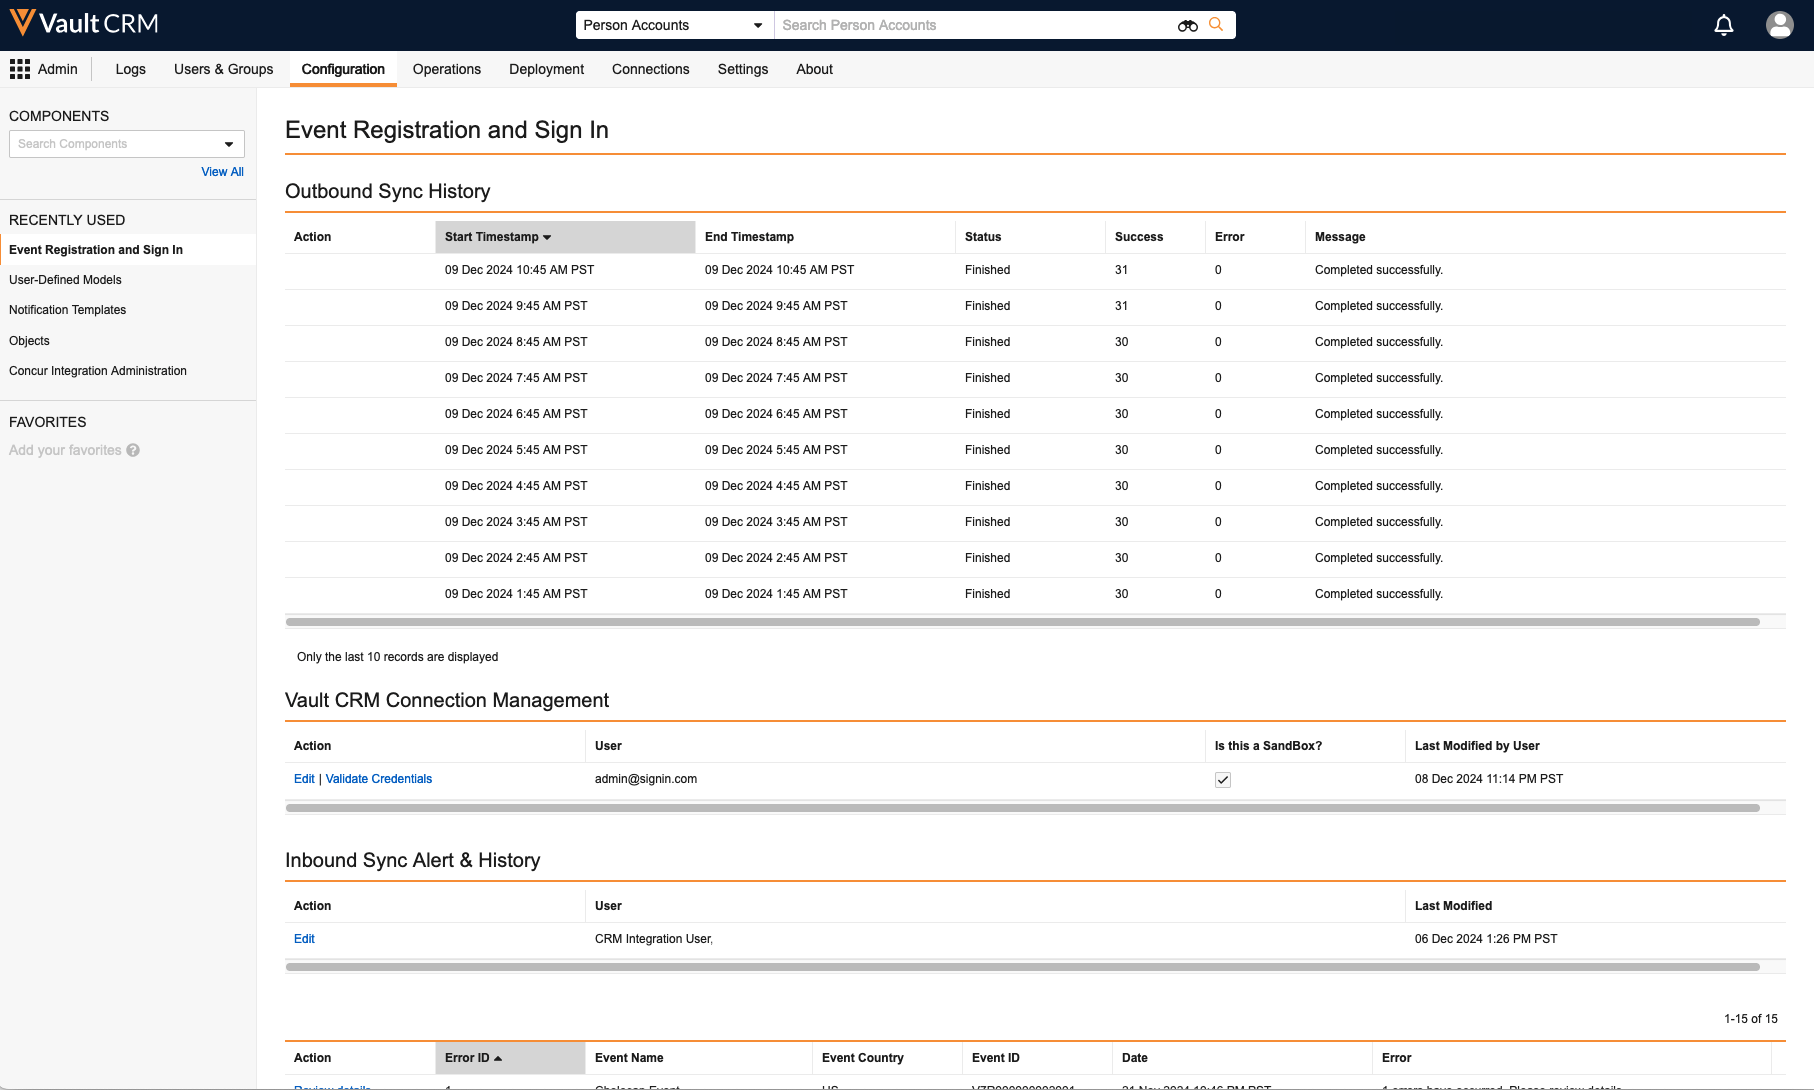
- Select Edit in the Vault CRM Connection Management section.
- Enter the appropriate integration user credentials.
- Select Is This a Sandbox? If the instance is a sandbox.
- Select Save. A message displays informing the user if the entered credentials are valid.
To configure this feature for end users:
-
Ensure the following features are configured:
-
Grant the following permissions:
Object
Object Permission
Object Types
Fields
Field Permission
em_event_rule__v
R
walk_in_fields__v
qr_sign_in_enabled__v
Read
em_event__v
CRED
All Applicable
- sign-in_url__v
- qr_sign_in_enabled__v
Edit
- Navigate to the Application tab of the permission set.
- Select the Access API checkbox in the API section:
- Navigate to Admin > Configuration > Objects > em_event__v > Layouts.
- Add the sign-in_url__v field to the appropriate em_event__v layouts. This is optional and enables end users to view the generated sign-in URL for their event.
- Add preview_event_qr_code__v to the visible_buttons__v field of the appropriate em_event_layout__v records. See Defining Event Layouts for more information.
Enabling QR Sign-in via Event Rules as
QR Sign-in is enabled for events based on applicable walk_in_fields__v type event rules:
- Navigate to Events Management > Event Configurations and select the appropriate em_event_configuration__v record.
- Create a new or edit an existing em_event_rule__v record with an object type of walk_in_fields__v.
- Select Yes for the QR Sign-In Enabled? picklist.
- Select Save.
Syncing with the QR Server as
Admin users must enable syncing with the QR Server via the Process Scheduler:
- Navigate to the Event Registration & Sign In Process section of the Process Scheduler.
- Select Activate.
- Schedule the process. It is recommended to schedule the job to run hourly. You can also select Run to run the process immediately.
Viewing the Outbound Sync History
Admins can view the history of the QR Server outbound sync process as well as view any errors that occurred during the process. To view the sync history, navigate to the Outbound Sync History section of the Event Registration and Sign-In page.
This section displays the ten most recent runs of the sync process in a table with the following columns:
- Action – If a run had errors, a Download log link displays in this column
- Start Timestamp
- End Timestamp
- Status
- Success – The number of successfully uploaded events to the QR server
- Error – The number of errors that occurred during the process
- Message
Receiving Inbound Sync Alert Emails
Admins can define a list of email addresses to receive an email whenever an error occurs during the QR Server inbound sync process:
-
Navigate to Admin > Configuration > Event Registration and Sign-In.

- Select Edit in the Inbound Sync Alert & History section.
- Enter a comma-separated list of all email addresses of users who should receive an email.
- Select Save.
Resolving Sync Errors
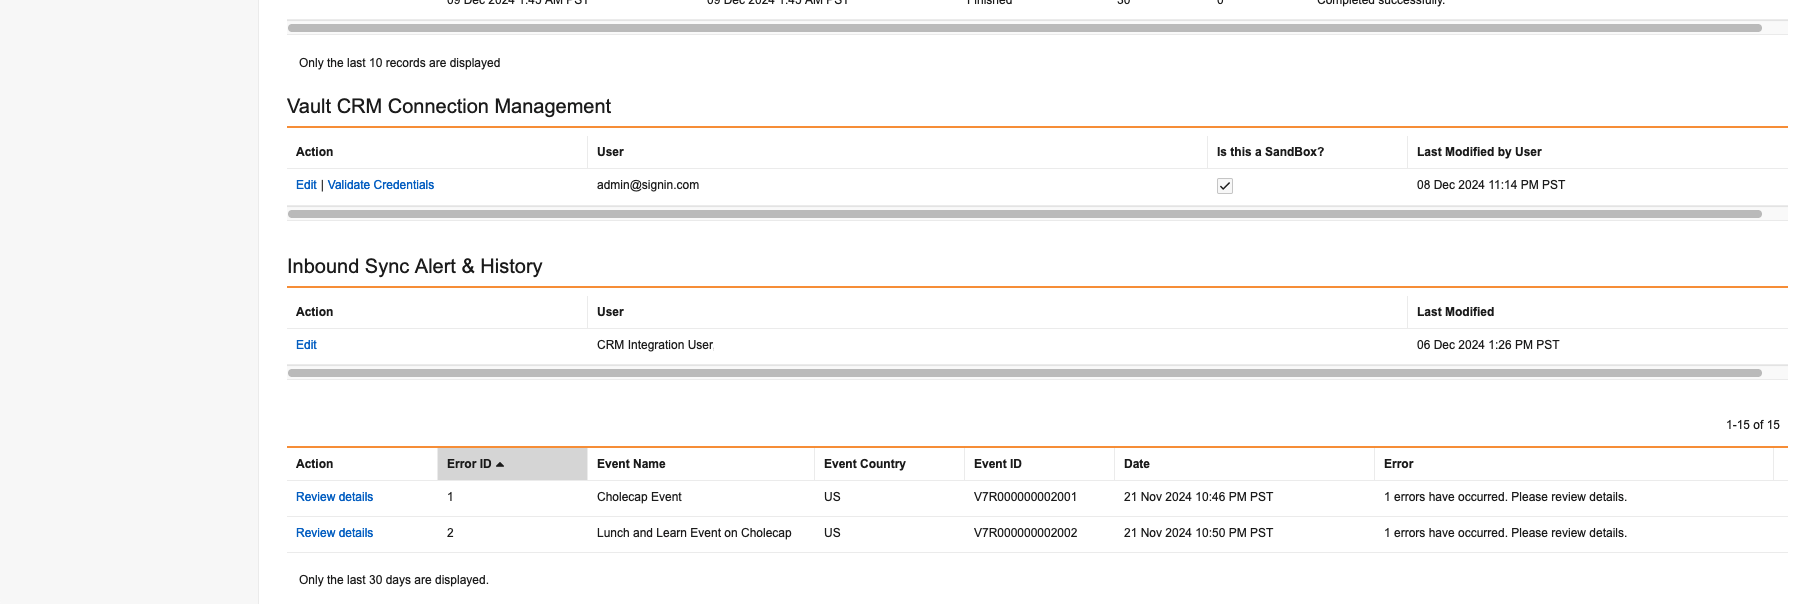
The Inbound Sync Alert & History section of the Event Registration and Sign-In page enables admins to view, resolve, and retry any inbound sync errors that occur between Vault CRM and the QR Server. To review and resolve sync errors:
-
Navigate to the Inbound Sync Alert & History section. The Alert table displays the following information:
- Action – Displays the Review Details link
- Error ID – The ID of the row in the table
- Event Name
- Event Country
- Event ID
- Date – When the sync error occurred
- Error – Displays the type of error or number of errors associated with the event
-
Select Review Details in the Action column to view all records that failed to sync for the selected event. An explanation for why each record failed to sync displays in the Error column.
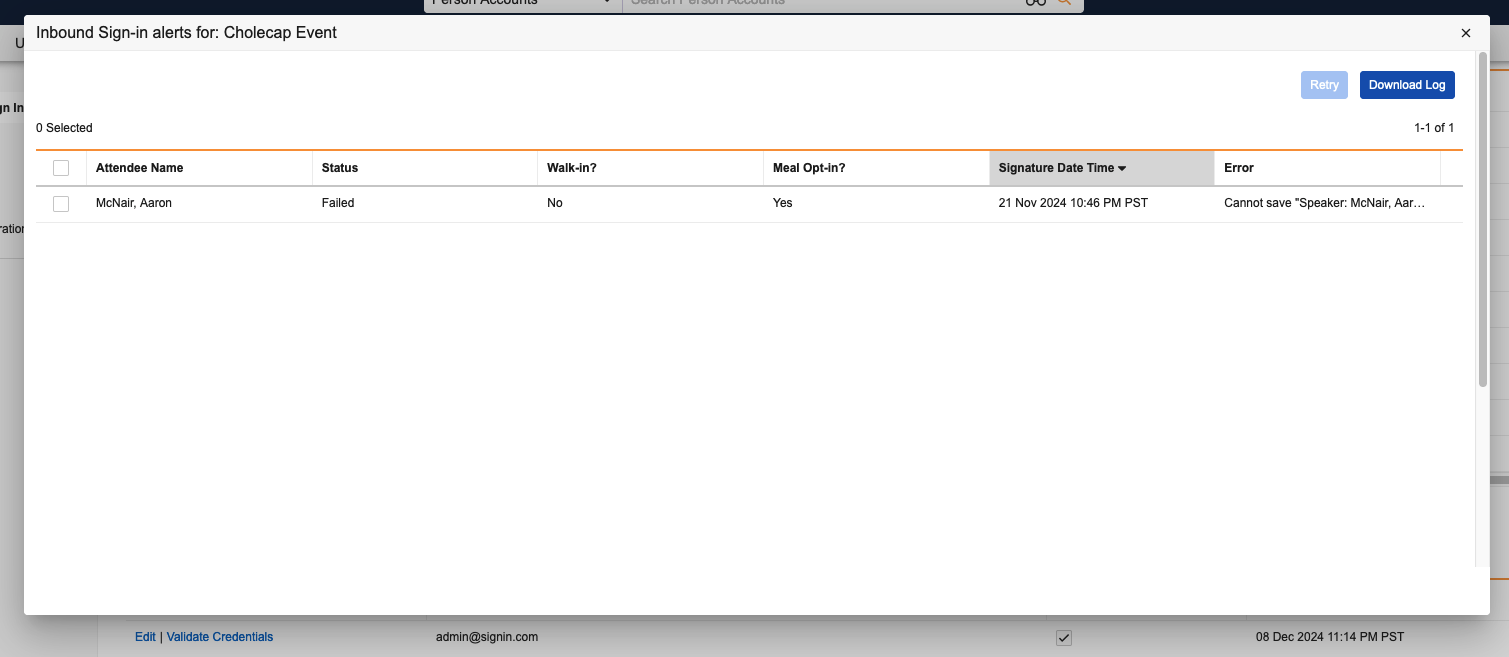
- Note and address the reason for any rows in the modal with a status of FAILED.
-
Select the appropriate rows with a status of FAILED using the checkbox.
- Select Retry.
Optionally, select the Download Log button to download a file containing details of all records that failed to sync for the selected event.
Using the {{SignInQRCode}} Token as
Business admin users can add a dedicated Print Template token to display an event’s QR sign-in code in materials created for an event. This enables end users to print and distribute their event’s QR Code®.
Add the {{SignInQRCode}} token to the appropriate Print Templates to insert a QR Code® that attendees can scan on their device to sign into the event.
Print Templates containing the {{SignInQRCode}} should only be made available to events configured to use a QR Code® for signing in. An error occurs if end users try to generate a Print Template containing this token from an event not configured to use QR sign-in.
The token can be marked as optional by adding the <O> parameter to the token.
{{SignInQRCode<O>}}
Resizing the QR Code®
By default, the QR Code® generates as a 200x200 pixel square image. Content creators can customize the size of the square image by adding the <Size=SIZE> parameter.
For example, {{SignInQRCode<Size=1000>}} generates a 1000x1000 pixel image for the QR Code®.
Displaying the QR Code® in an Event as
To display a QR Code® attendees can use to sign in:
- Navigate to the appropriate QR Code® enabled event.
-
Select Preview Event QR Code in the All Actions menu. Organizers can optionally save or print the generated QR Code®.
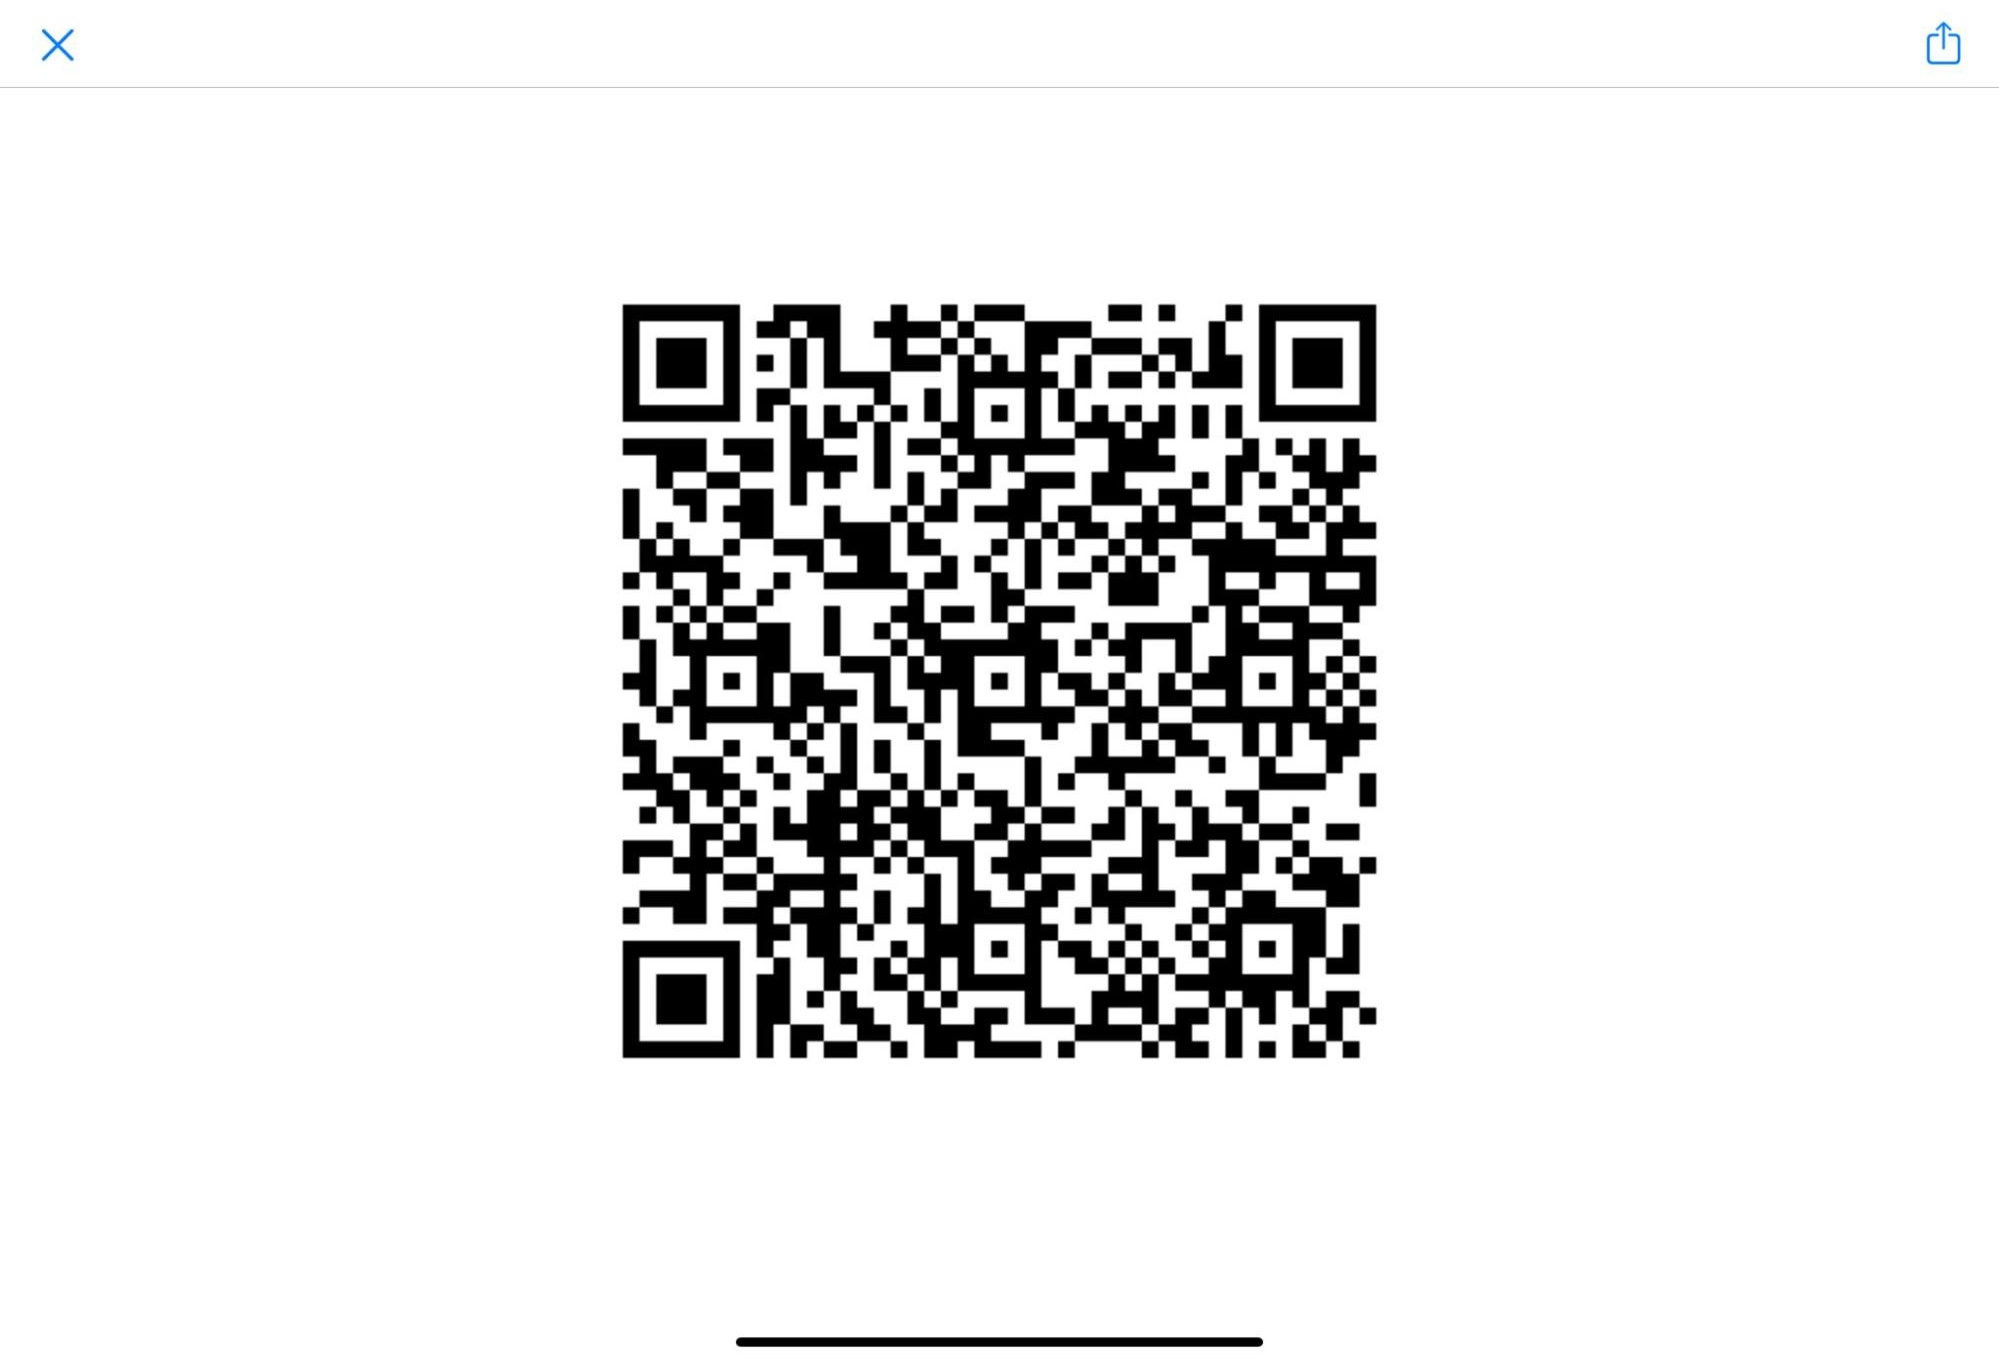
Generated QR Codes® are valid for scanning up to 12 hours before the value of the start_time__v field of the event and up to 12 hours after the value of the end_time__v field of the event. During the time when the QR Code® is valid, any changes to the event immediately sync to the QR Server.
Copying an Event’s Sign-in URL
Event owners can copy and distribute their QR-enabled event’s sign-in URL. This enables event owners to easily share the URL with attendees of their event, since attendees can receive the copied URL via the chat of a virtual event or any other communication channel, and use the URL to sign into the event directly from their device.
It is not recommended to include the Sign-In_URL_vod field when configuring Event Templates for Child Events. If this is a shared field between parent and child event, it the parent's Sign In URL copies to child events.
When a QR-enabled event is created or edited, a shortened version of the sign-in URL is populated in the event’s sign-in_url__v field. If the URL does not immediately display, refresh the page.
This field can be copied and distributed as needed to provide attendees with a URL to sign into the event.
Generating Print Templates with QR Codes®
When end users generate a Print Template including the {{SignInQRCode}} token, the resulting PDF contains a QR Code® of the event’s sign-in link.
This PDF can then be printed or distributed to attendees to easily scan the QR Code® with their own devices to sign into the event.
Using QR Codes® to Sign into an Event as
After scanning a QR Code®, attendees are guided through the sign-in process on their own devices.
The sign-in process automatically translates to the language of the attendee’s browser. If this language is not one of Veeva’s Supported Languages, the process displays in the language of the event owner.
All message__v records used by this feature must have a language__v field populated with the desired translated language. If the language__v field is blank, the translation defaults to English.
To sign in with a QR Code®:
-
Scan the displayed Event QR Code.
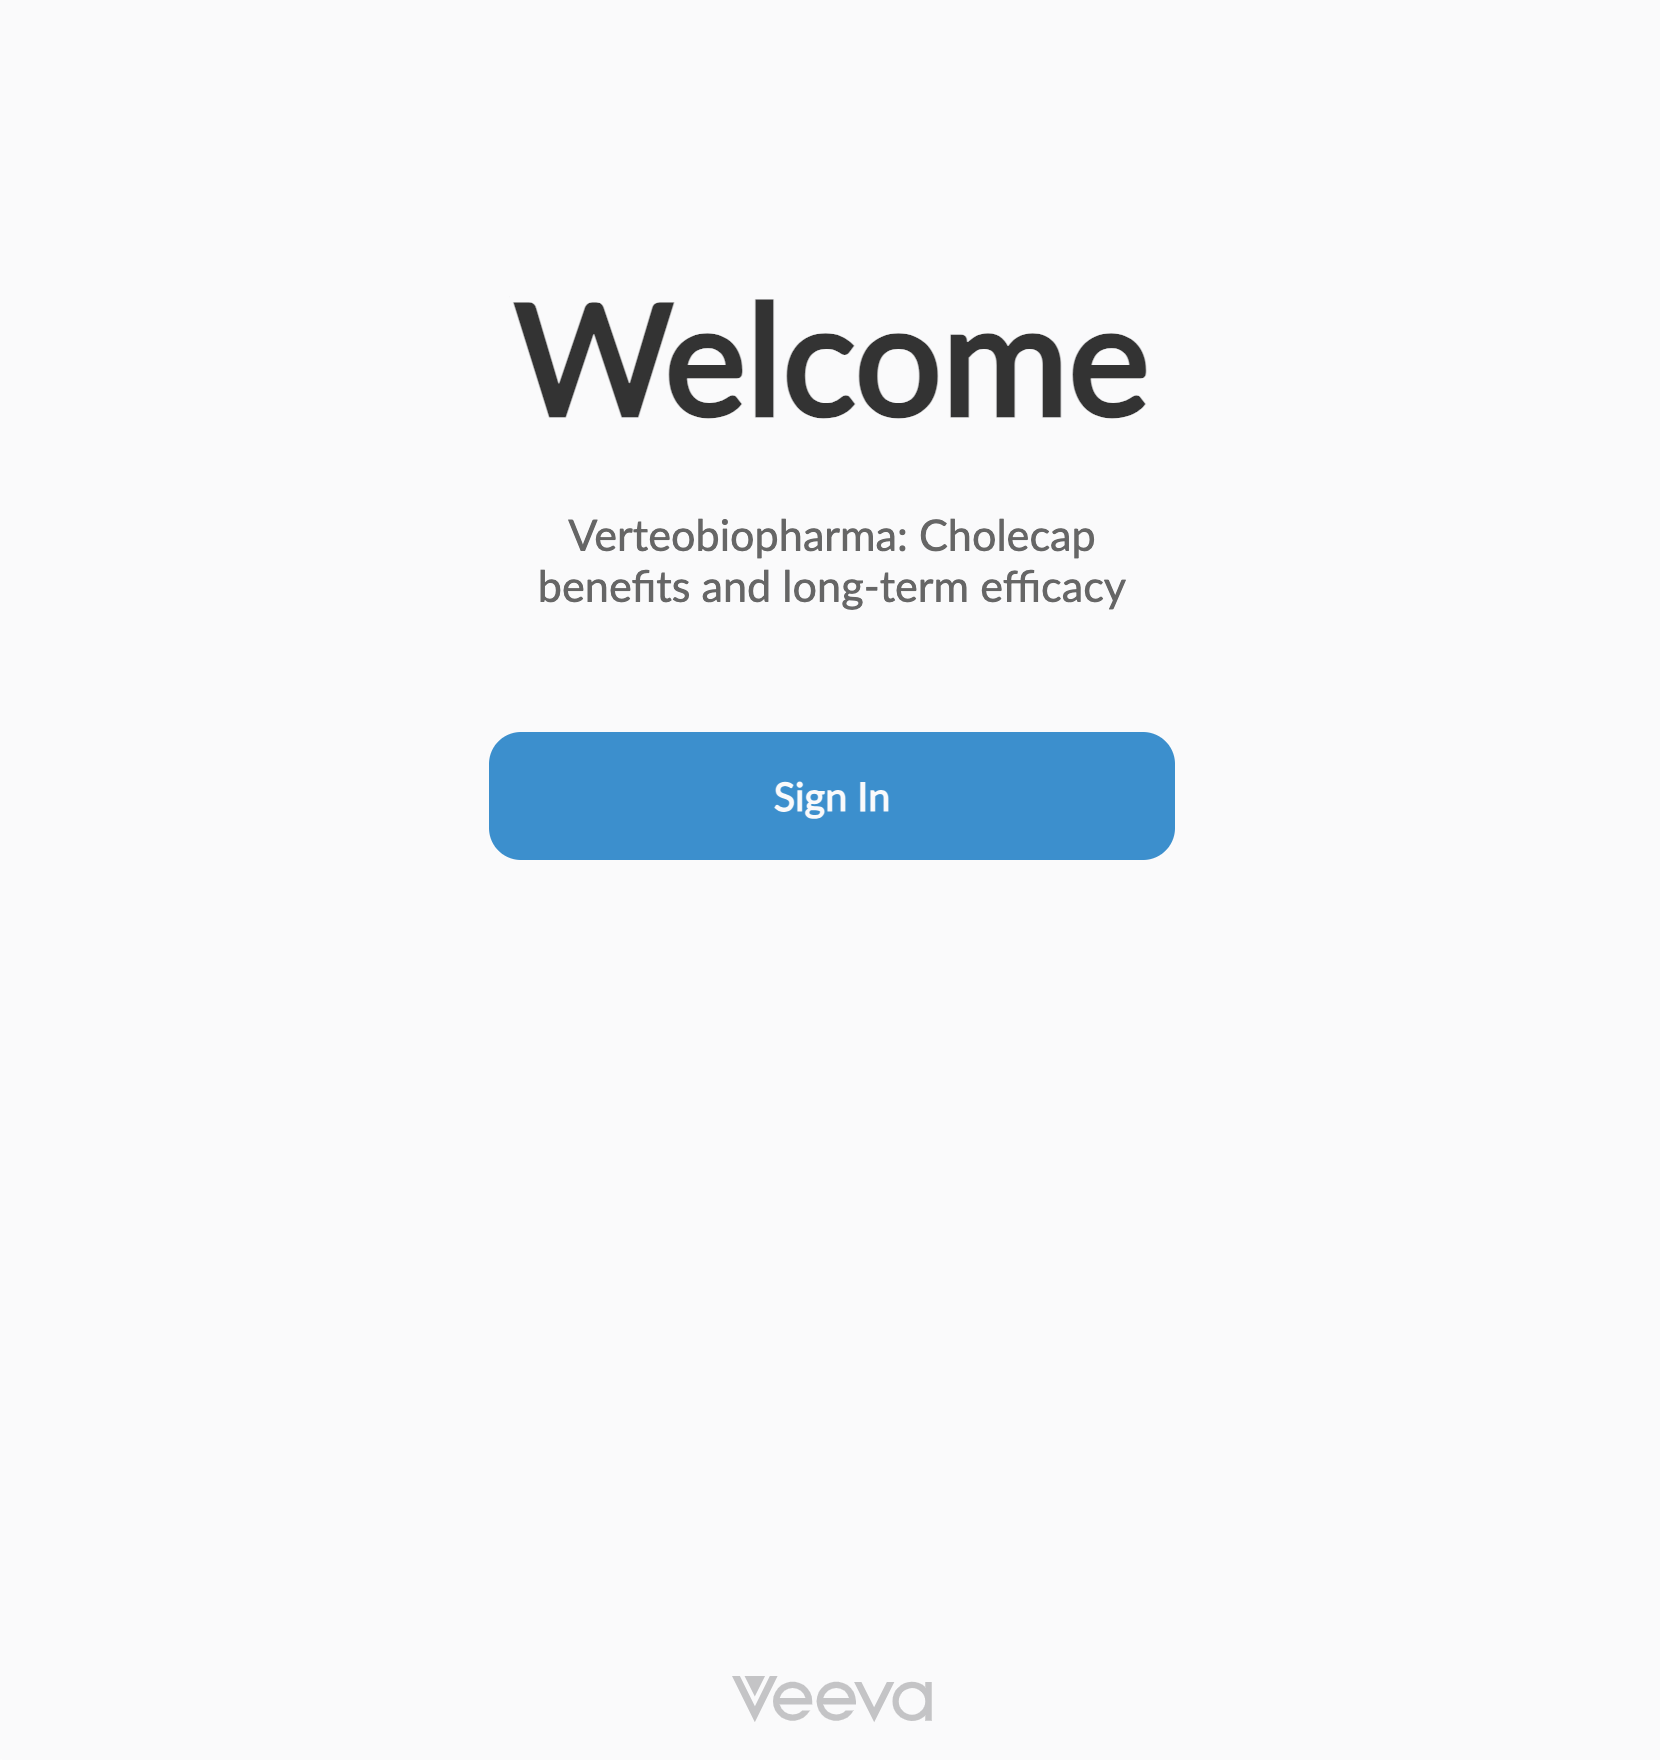
- Select Sign In on the Welcome page.
-
Search for the attendee name in the search bar.
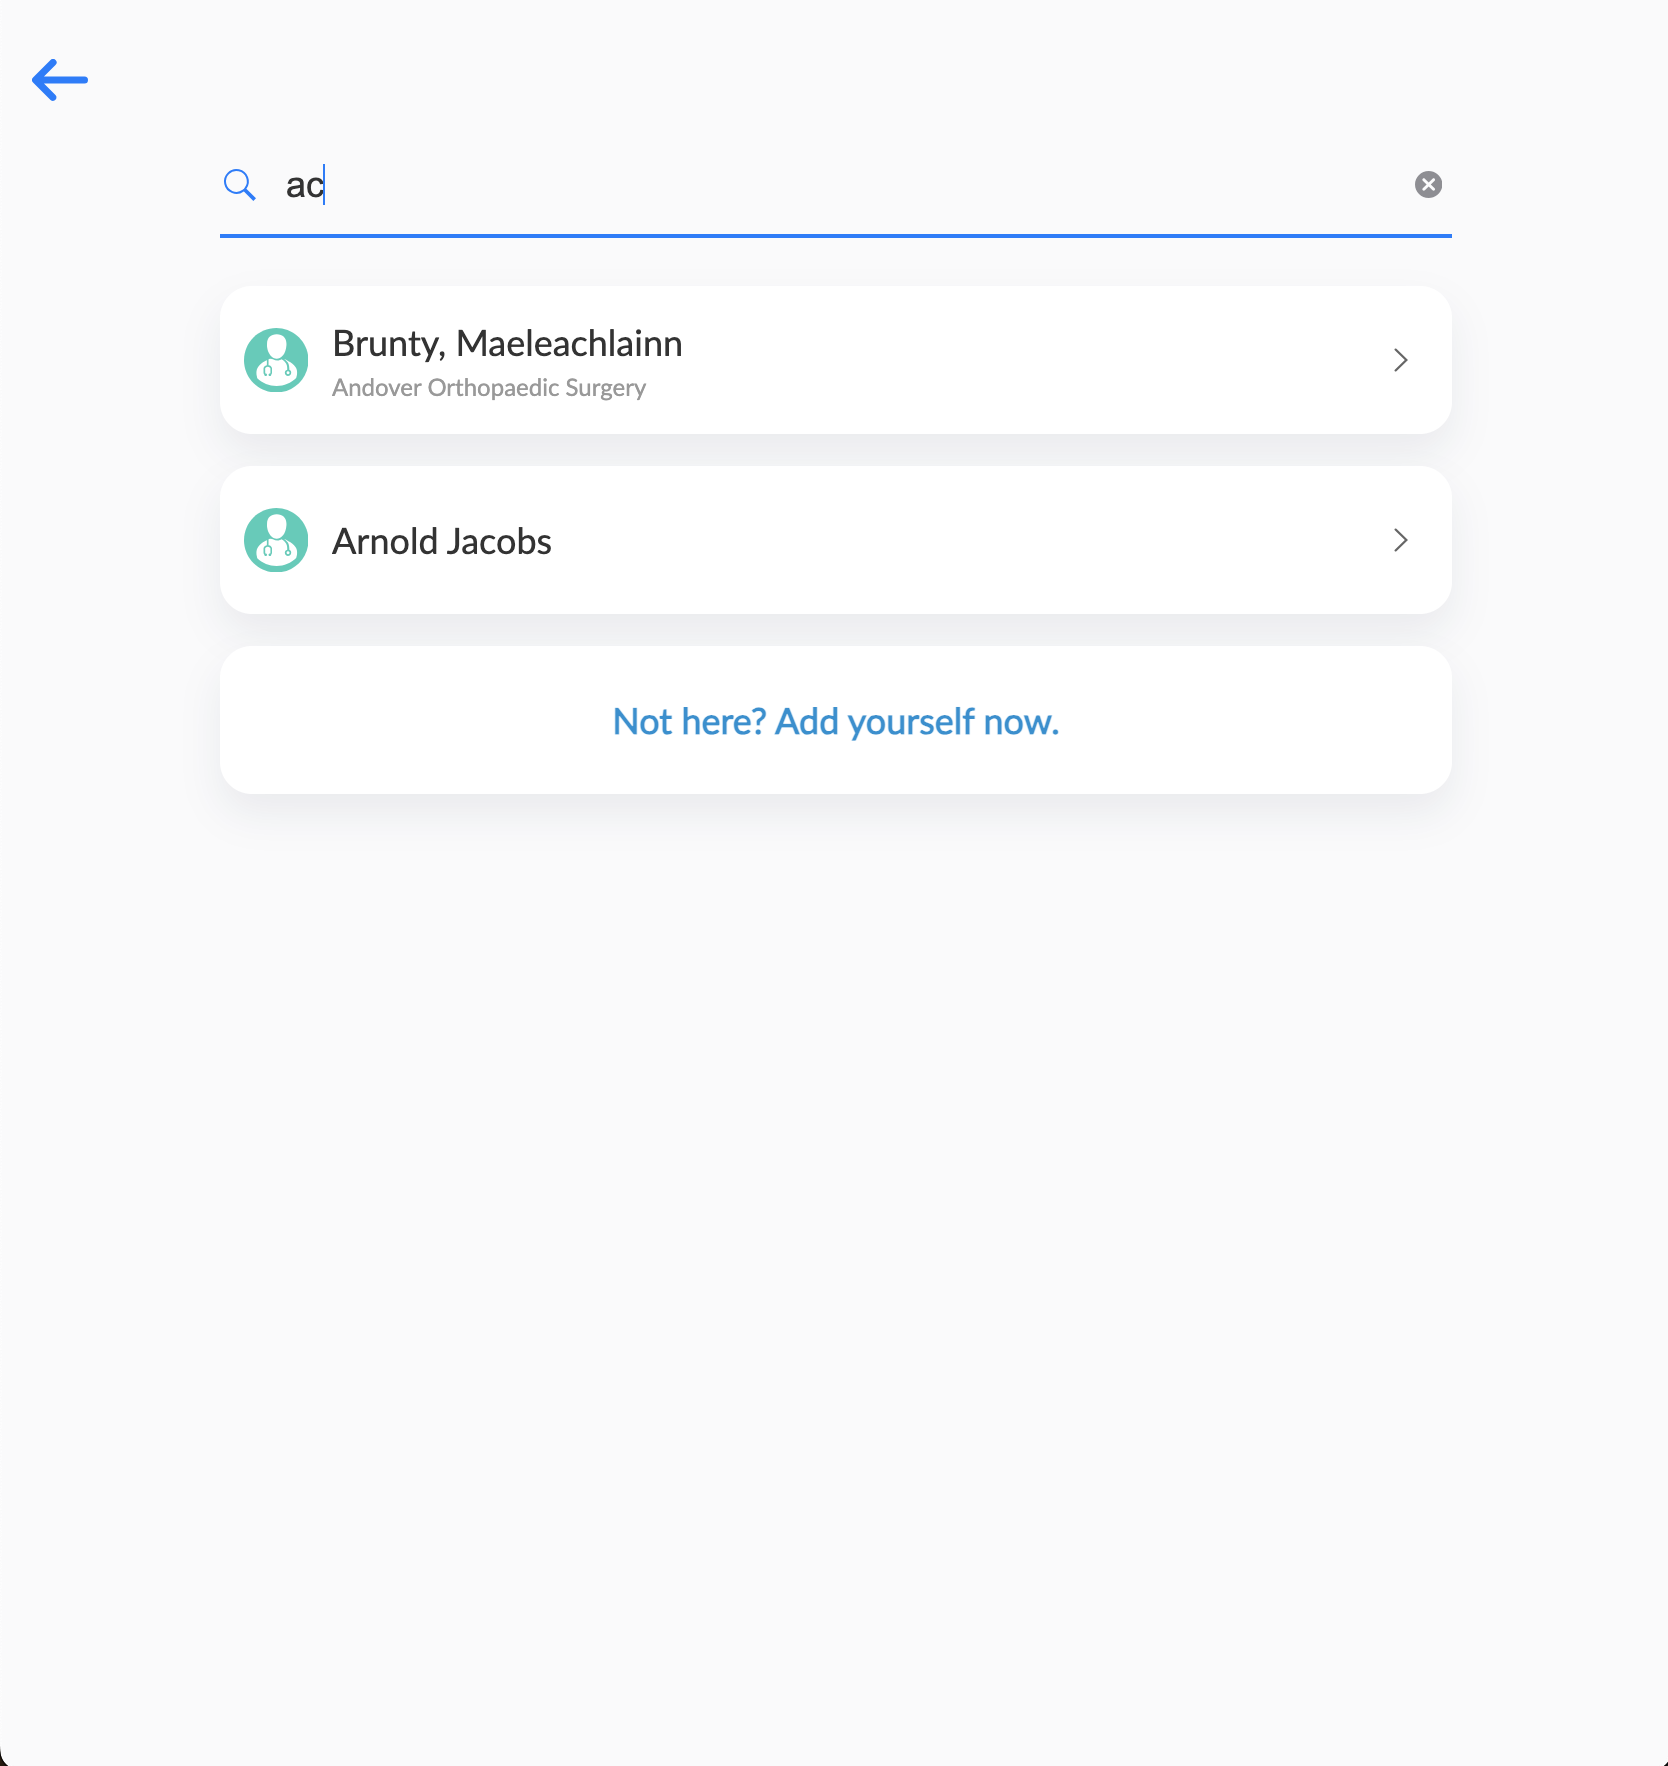
- Select the appropriate account.
-
Select the appropriate Meal Opt-in option. This step only displays when all of the following conditions are true:
- The meal_opt_in__v is on the em_attendee__v layout used for the default attendee object type
- The event owner has Edit permission to the following em_attendee__v fields:
- meal_opt_in__v
- em_attendee_status__v
-
Verify the information is correct.
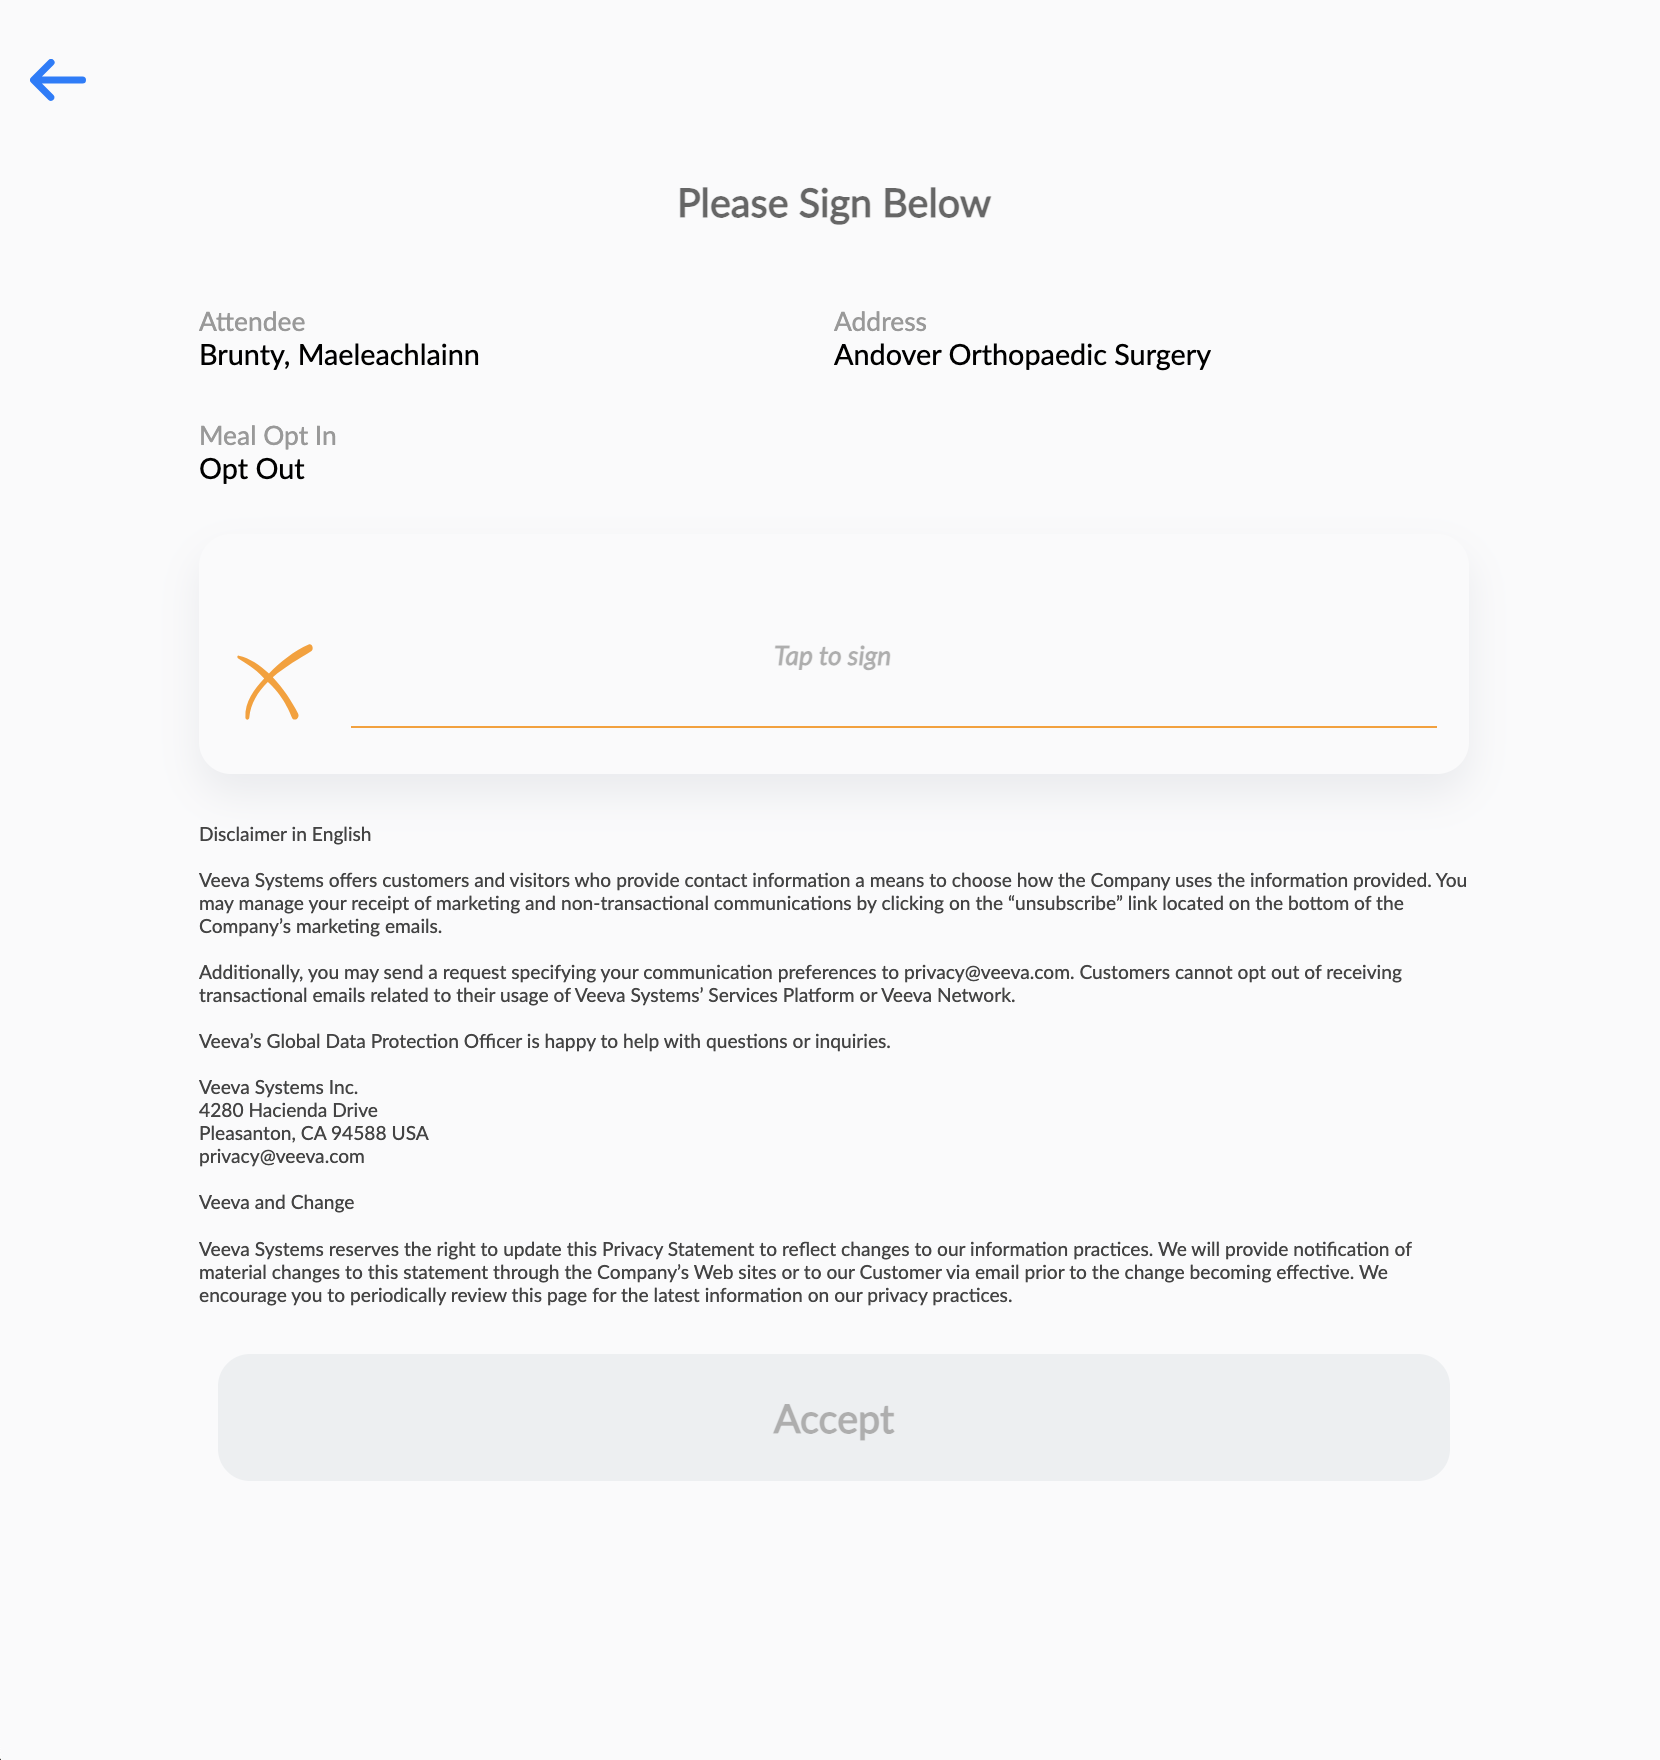
- Select the Signature box to display the Signature modal.
-
Sign and select Done.
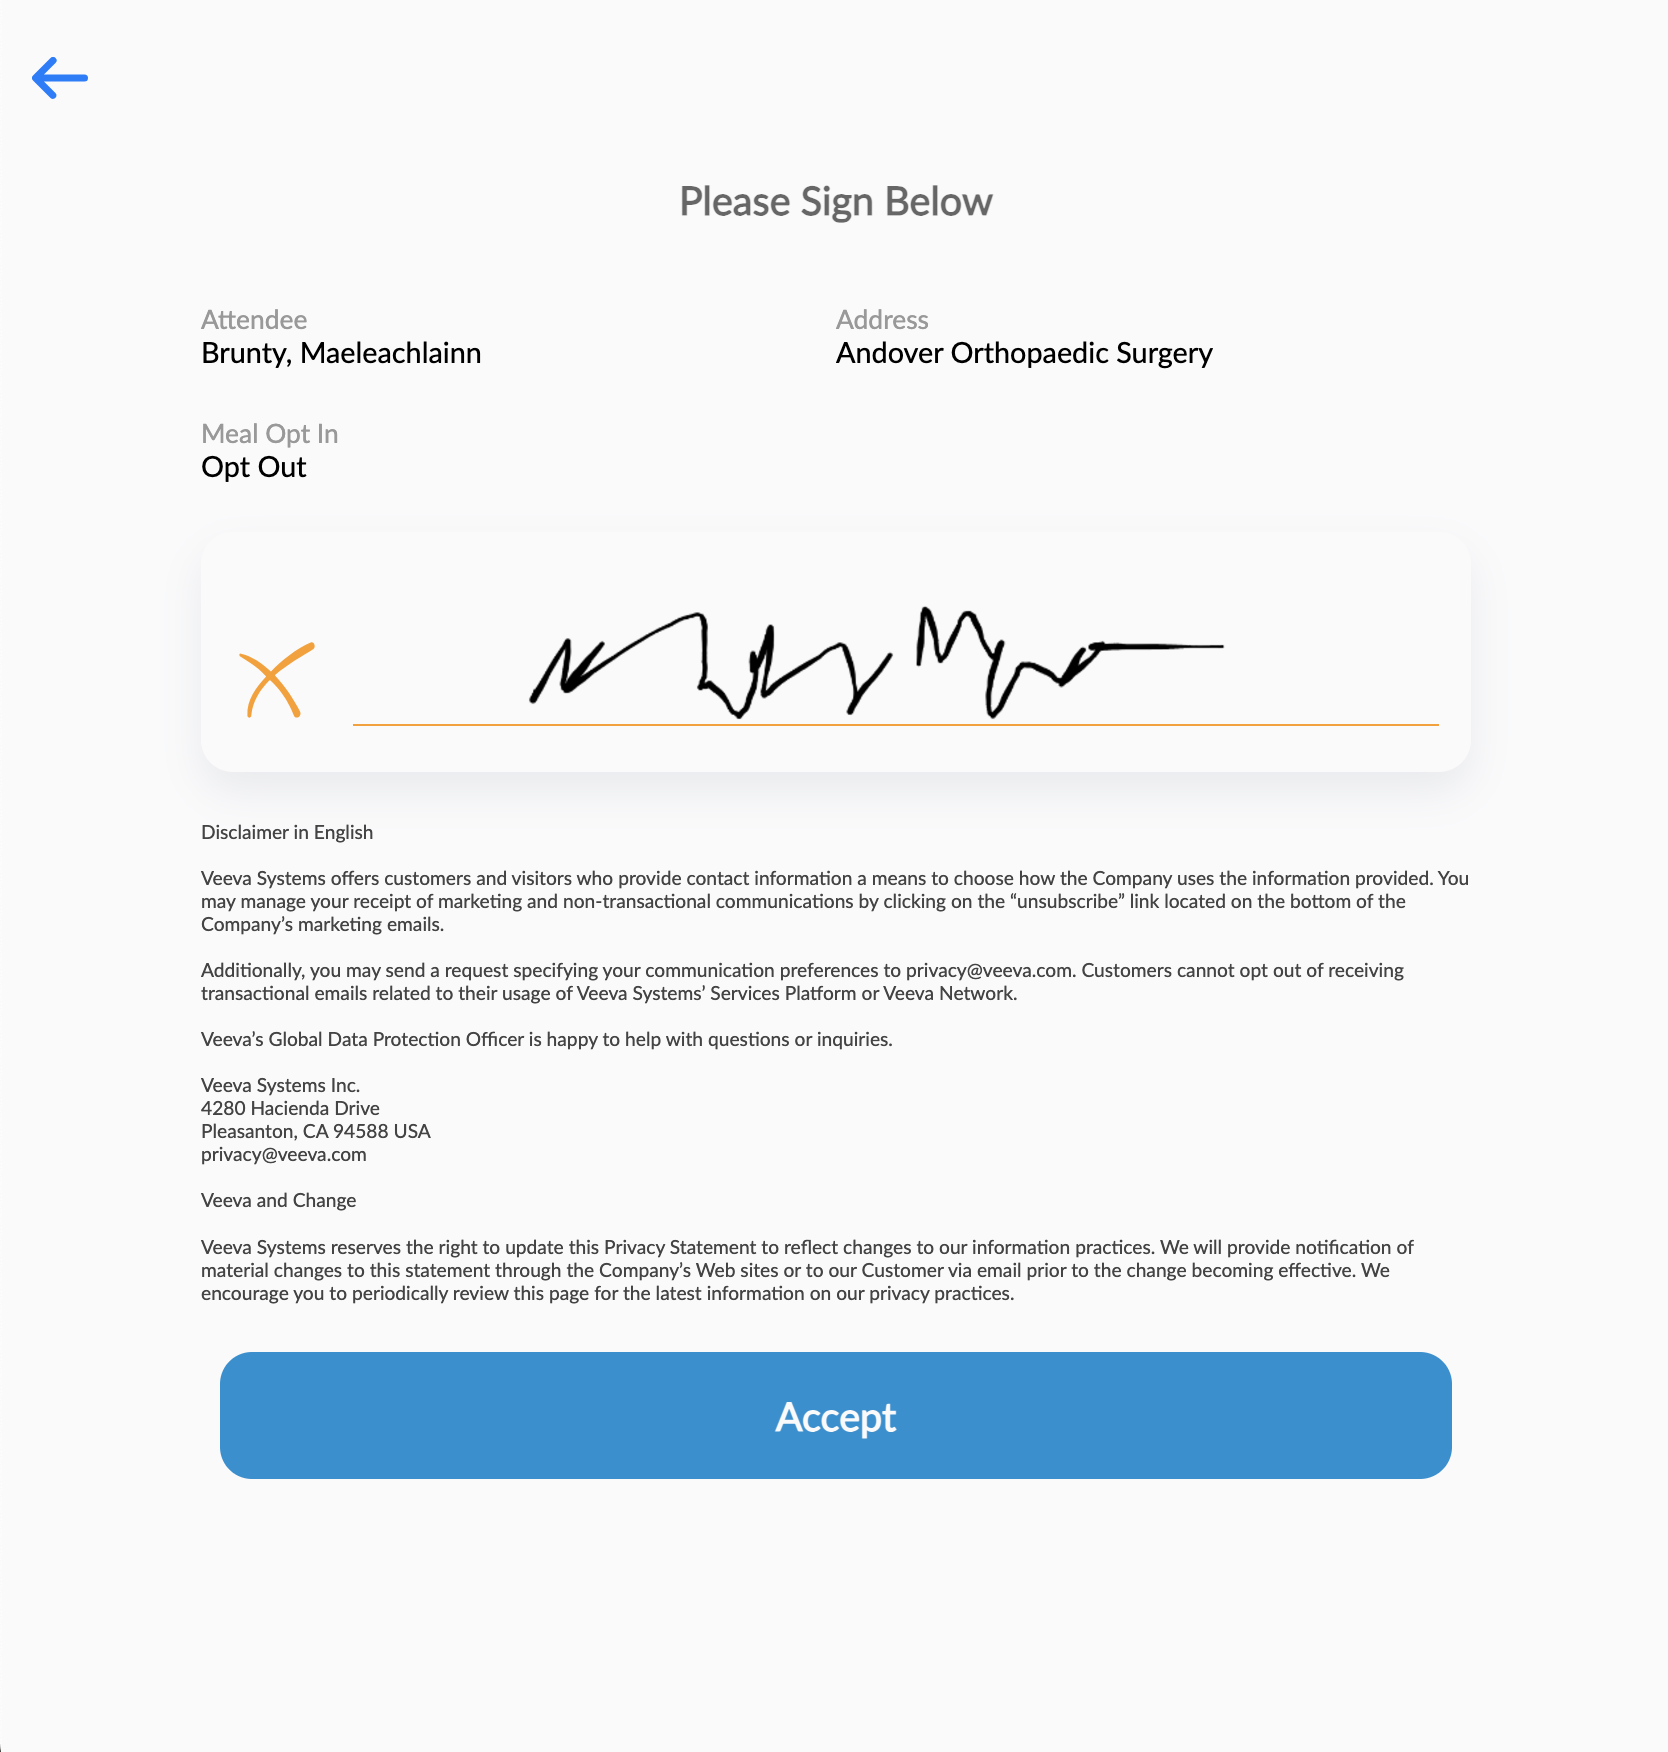
- Select Accept.
When the signature is captured, the signature_method__v field on the corresponding record populates with qr_sign_in__v, indicating the attendee signed in using a QR Code®.
Using QR Codes® to Sign into an Event as a Walk-in Attendee
If Reconciling Walk-in Attendees to Existing Accounts are enabled, attendees of an event that were not invited can sign into the event using the displayed QR Code®.
To sign-in as a Walk-in Attendee:
- Scan the displayed QR Code®.
- Select Sign In on the Welcome page.
-
Search for the name in the search bar.

- Select Not Here? Add Yourself Now.
-
Enter the appropriate information for all Walk-in Attendee fields.
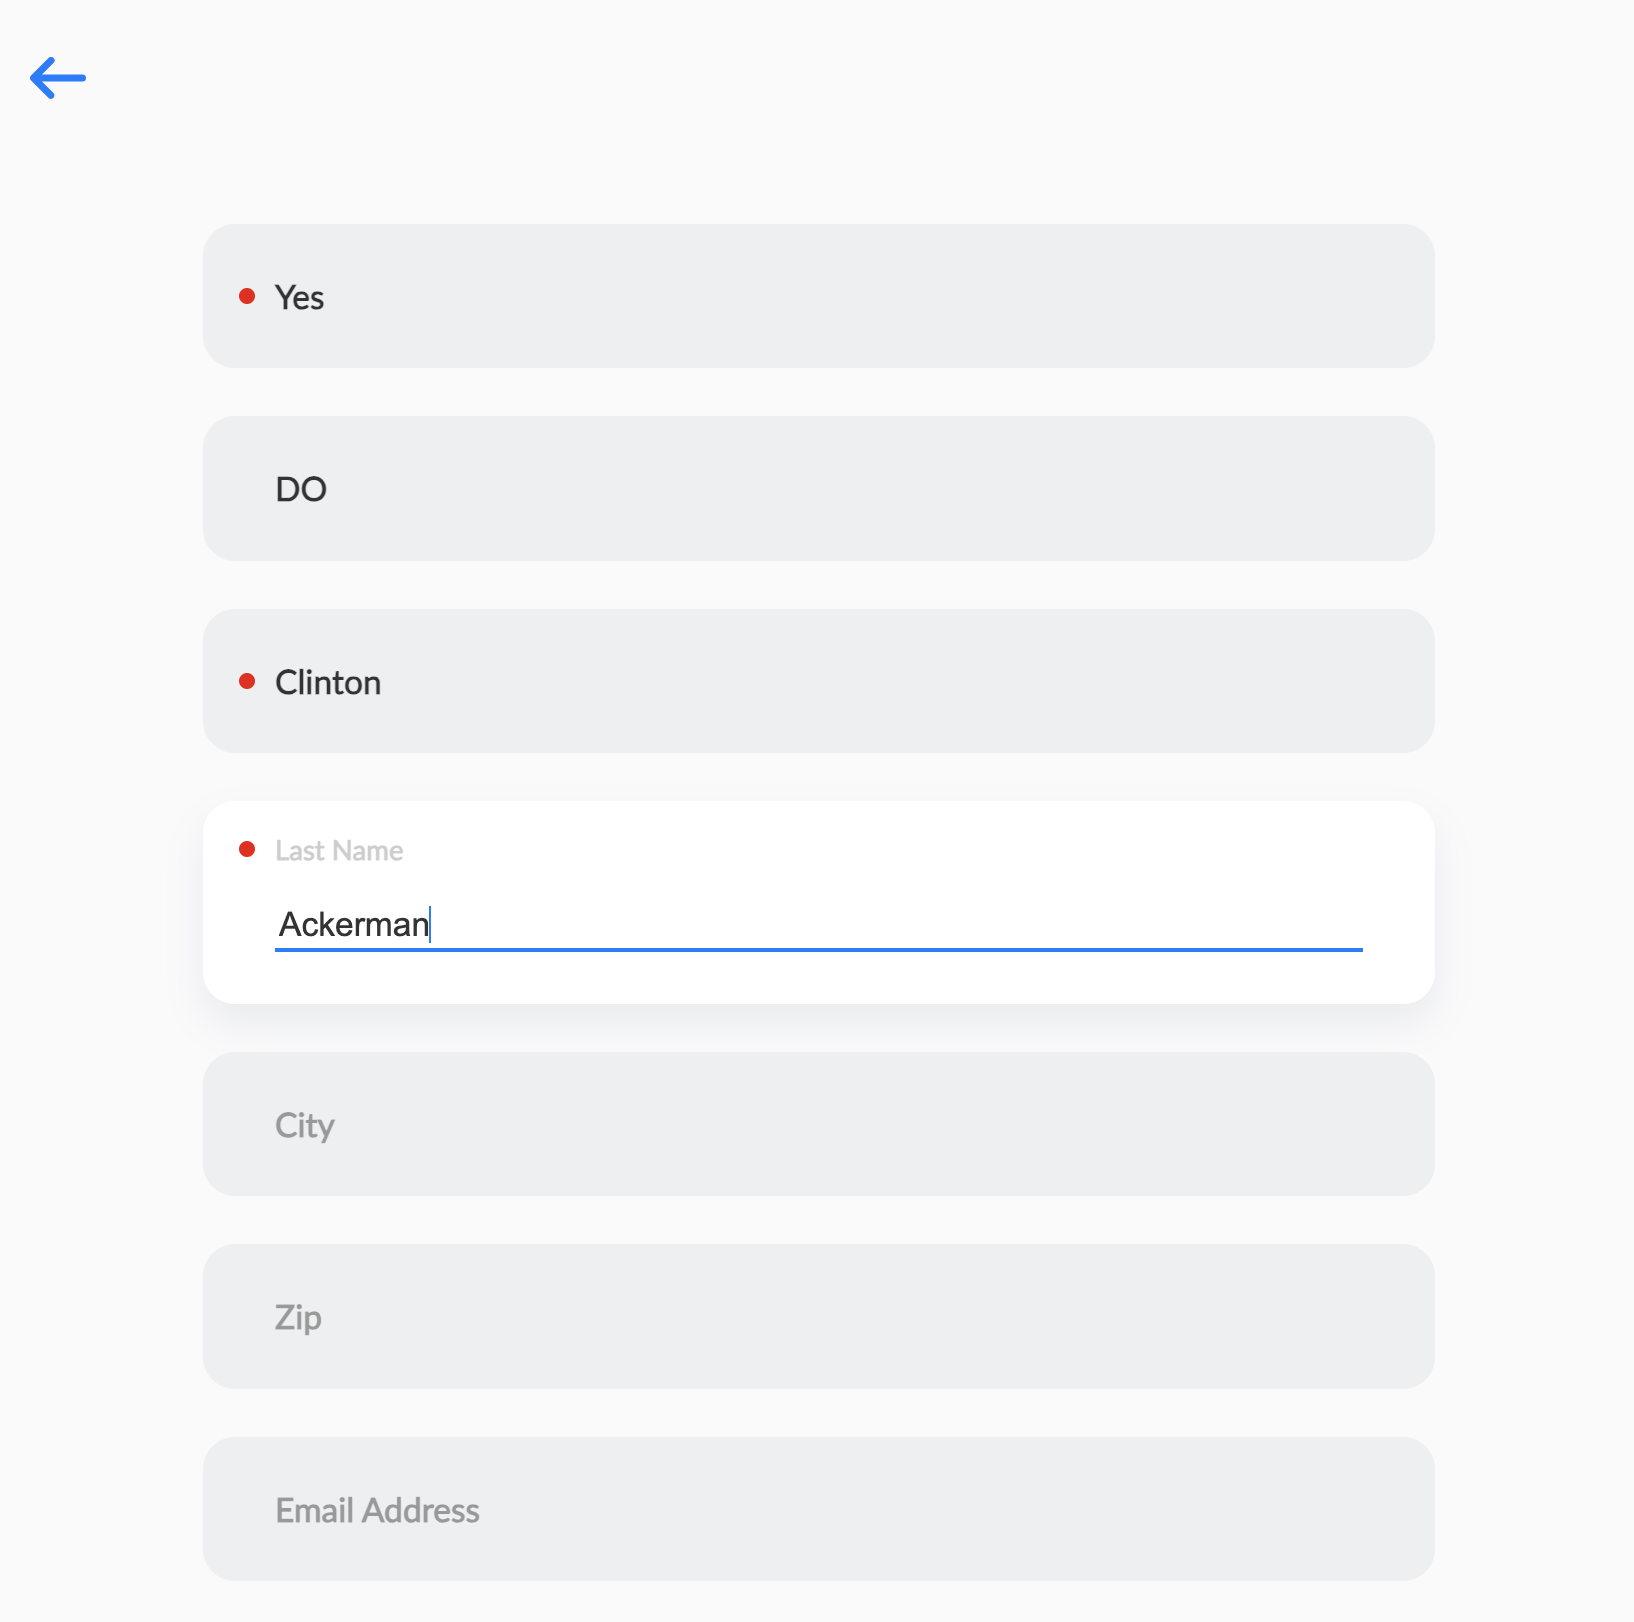
- Select Next.
- Verify the information is correct.
- Select the Signature box to display the Signature modal.
- Sign and select Done.
- Select Accept.

