Sending Secure Messages via Approved Email
- Object Model
To ensure sensitive content remains secure and is not forwarded to unauthorized recipients, end users can send Approved Emails containing secure links, requiring HCPs to sign into a customer’s My Engage Portal using VeevaID in order to view the content. This allows customers to provide a branded experience for viewing sensitive content, track HCP engagement with the content, and ensure the content is not combined with content from other organizations.
Who can use this feature?
- Content Admin Users — Browser
- Creating Secure Messaging Templates
- End Users — Browser, iPad, iPhone
- Sending Secure Messages
- HCPs — Browser
- Viewing Secure Messages
- Users require an Approved Email license and an Engage license
Configuring Secure Messaging via Approved Email for
 Integration Users
To configure this feature:
- Ensure Configuring Approved Email Admins and Integration Users is complete.
- Navigate to Admin > Users & Groups > Permission Sets.
- Select the appropriate permission set for the Approved Email Integration User.
- Select the Application tab.
- Navigate to Vault Owner Actions > All Object Records.
- Enable All Object Record Read access.
- Select the Objects tab.
- Grant the following permissions:
Object
Object Permission
Object Types
Fields
Field Permission
account__v
R
All applicable object types
assigned_engage_portal__v
Read
approved_email_settings__v
R
n/a
enable_secure_messaging__v
Read
approved_document__v
RE
secure_message_notification_template__v
- is_secure_message__v
- notification_template__v
- notification_template_status__v
Edit
engage_portal__v
R
n/a
- id
- engage_portal_status__v
Read
sent_email__v
R
All applicable object types
secure_message_notification_content_url__v
Edit
secure_message_notification_template__v
Read
user_sys
R
n/a
- id
- status__v
- first_name__sys
- last_name__sys
- name__v
- email__v
- title__v
Read
user_detail__v
R
user_detail__v
- id
- digital_business_card_display_name__v
- digital_business_card_first_name__v
- digital_business_card_last_name__v
- digital_business_card_email__v
- digital_business_card_phone__v
- digital_business_card_photo_url__v
- digital_business_card_title__v
- user__v
Read
- Navigate to Business Admin > Objects > Approved Email Settings.
- Select the appropriate Approved Email Settings record for the integration user.
- Select the Enable Secure Messaging Approved Email Setting checkbox.
If the Enable Secure Messaging checkbox is not visible on the Approved Email Settings record, it needs to be placed on the appropriate approved_email_settings__v object layout.
End Users
To configure this feature:
-
Ensure the following are configured:
- Complete portal setup, as detailed in My Engage Portal:
- Create and deploy a portal with the Inbox feature enabled
- Assign the appropriate accounts to the portal
- Navigate to Admin > Users & Groups > Permission Sets.
- Select the appropriate permission set.
- Select the Objects tab.
- Grant the following permissions:
Object
Object Permission
Object Types
Fields
Field Permission
account__v
CRE
All applicable object types
- assigned_engage_portal__v
- assigned_engage_portal_domain__v
Read (optional)
approved_email_settings__v
R
n/a
enable_secure_messaging__v
Read
approved_document__v
R
secure_message_notification_template__v
- is_secure_message__v
- notification_template__v
- notification_template_status__v
Read
email_activity__v
RE
secure_message_notification_activity__v
All fields
Read (optional)
sent_email__v
RE
n/a
secure_message_notification_template__v Edit
- notification_clicked__v
- notification_click_count__v
- notification_last_click_date__v
- notification_opened__v
- notification_open_count__v
- notification_last_open_date__v
Read (optional) - Navigate to Business Admin > Objects > Approved Email Settings.
- Select the appropriate Approved Email Settings record.
- Select the Enable Secure Messaging Approved Email Setting checkbox for end users who need access to secure messaging.
If end users who are not enabled for secure messaging are aligned to secure message email templates, ensure those end users are also granted the permissions outlined above. This enables Vault CRM to filter out secure message email templates so the end user does not accidentally try to send them.
If the Enable Secure Messaging checkbox is not visible on the Approved Email Settings record, it needs to be placed on the appropriate approved_email_settings__v object layout.
Creating Secure Messaging Templates as
Content Admins
Content admins can create secure message templates in PromoMats to sync to Vault CRM.
To create a secure message template:
- Create an Email Template document for the email containing the secure link.
- Select Secure Message Notification Template from the Email Template Type picklist.
- Include the {{secureMessageLink}} token in the body of the template HTML. This token must be wrapped in anchor tags in order to generate a clicked Email Activity. For example: <a href="{{secureMessageLink}}"></a>
- Create another Email Template document and populate it with the sensitive content to display in the portal.
- Select Relationships in the menu on the right.
- Add a Related Secure Message Notification referencing the Secure Message Notification Template you just created.
- Approve both Email Templates.
If using either the Approved Email and CLM or Approved Email content alignment mechanisms, Approved Document records for both Email Templates must be aligned to the end users who send the secure message via the content group's product.
After syncing the Approved Email integration, approved_document__v records are automatically created for the templates with the is_secure_message__v field populated appropriately.
For more details on the Approved Email integration with PromoMats, see Setting the Target Platform for Approved Email Content.
If the Approved Email integration was configured prior to implementing this feature, field remapping may be required. To check and update field mappings, navigate to CRM Setup > Content Setup > Approved Email and select the link for your connected PromoMats Vault under the Vault Login Credential Management section. Select the Compare CRM to Vault button to ensure secure messaging-related fields are appropriately mapped.
Sending Secure Messages as
End Users
End users can send secure messages to HCPs to allow them to access sensitive content in My Engage Portal.
To send a secure message:
- Navigate to Approved Email from one of the following supported entry points:
- Account
- Call
- Email-type Suggestions
- CLM (via the launchApprovedEmail method)
- Medical Inquiry
- Select an email template displaying the secure email icon.
- Preview the message to ensure the secure message banner displays.
- Select Send.
Secure messages display on account timelines as Sent Email (Secure Message) entries.
If the selected account is not assigned to a portal or their assigned portal has not been deployed, the email will not be sent. See Assigning Portals to Accounts and Deploying Portals for more details.
Viewing Secure Messages as
HCPs
When HCPs are sent a secure message, they can select the link in the notification email to launch the portal in the browser. The branding settings of the portal are determined by the portal assigned to the HCP’s account.
HCPs must verify their identity using VeevaID. The registration process allows them to choose an email and password, which can then be used to access the portal directly going forward.
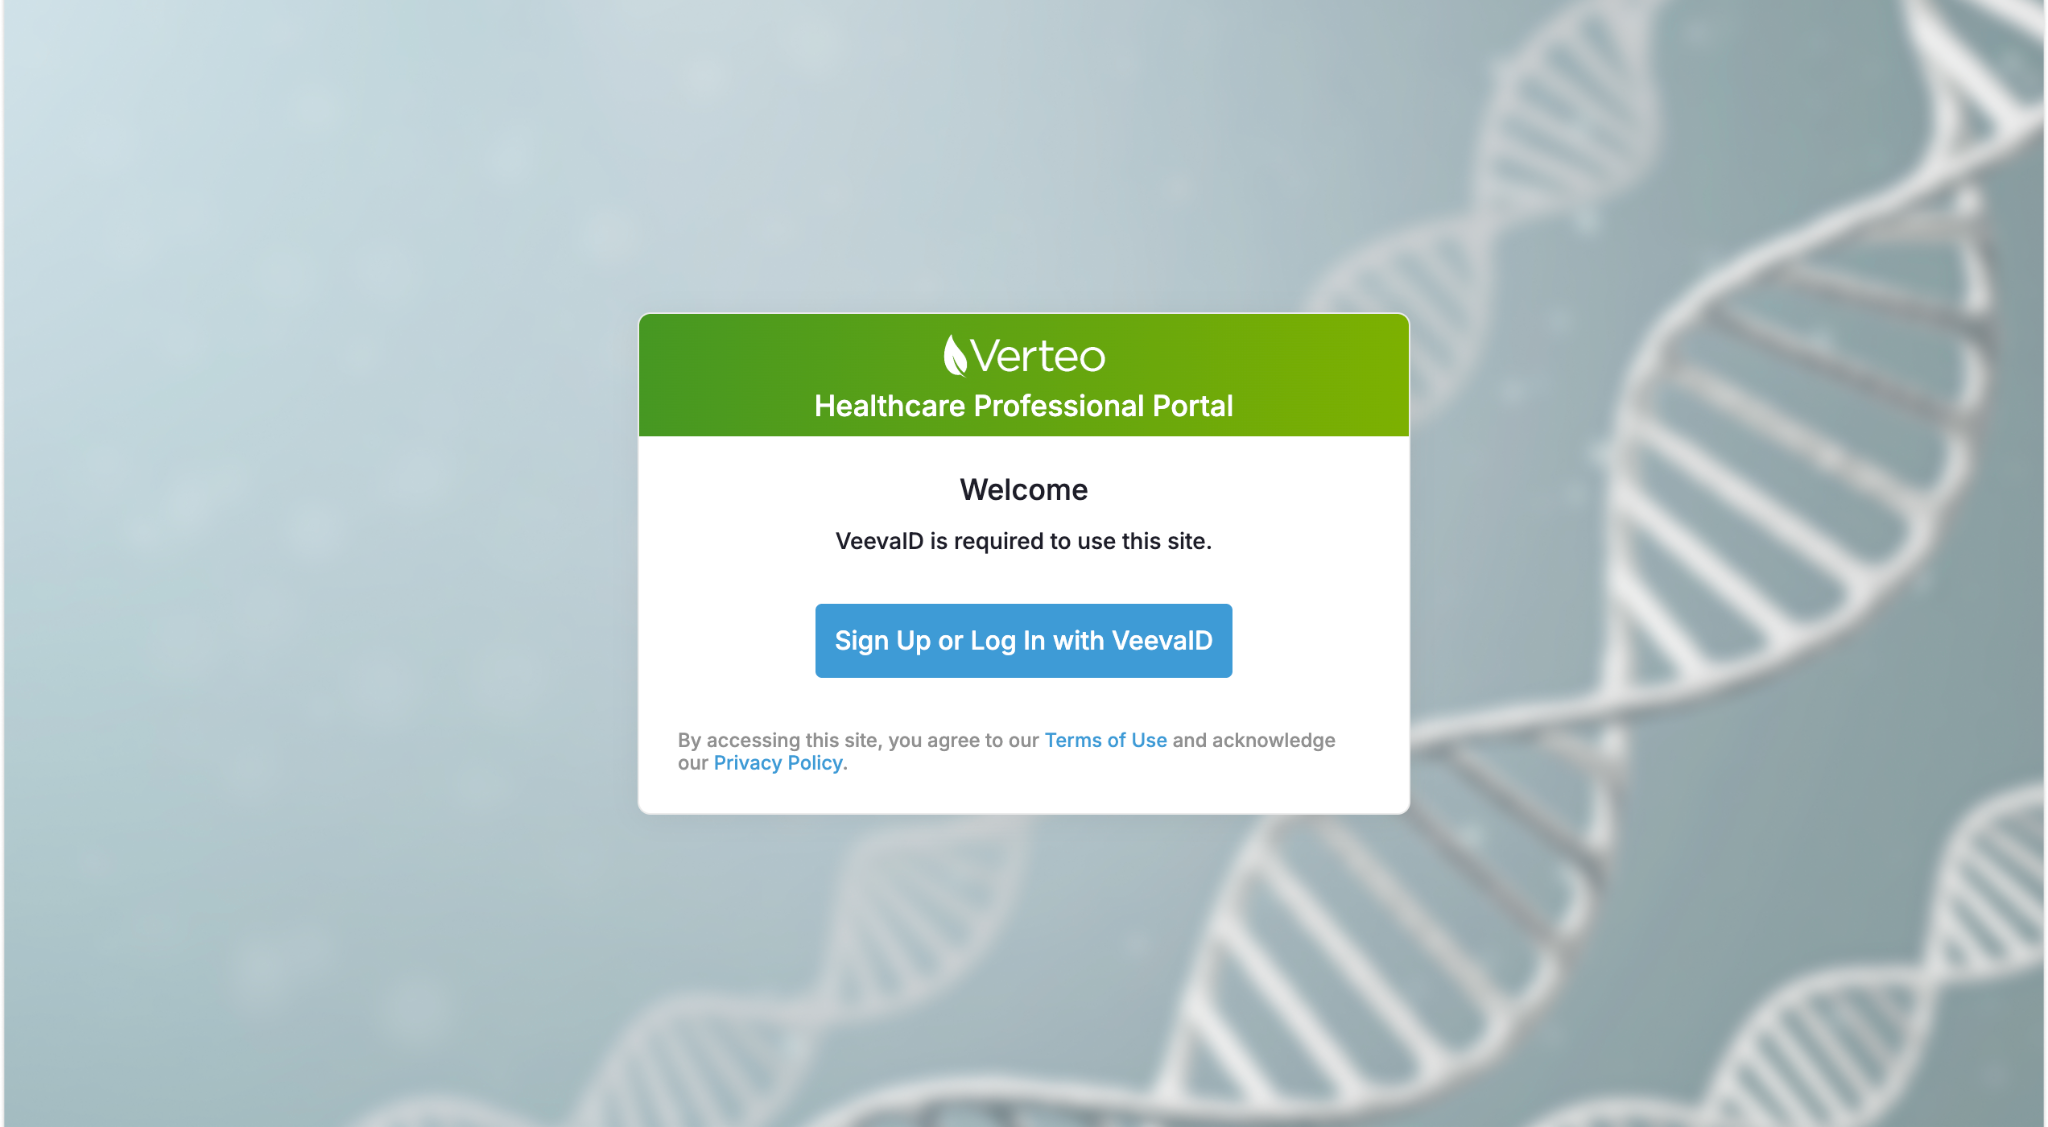
If the email chosen for VeevaID does not match the account email address to which the secure message was sent, an additional verification step is required. The HCP will receive a confirmation code sent to the account email address to ensure the secure message is not being accessed by an unintended recipient.
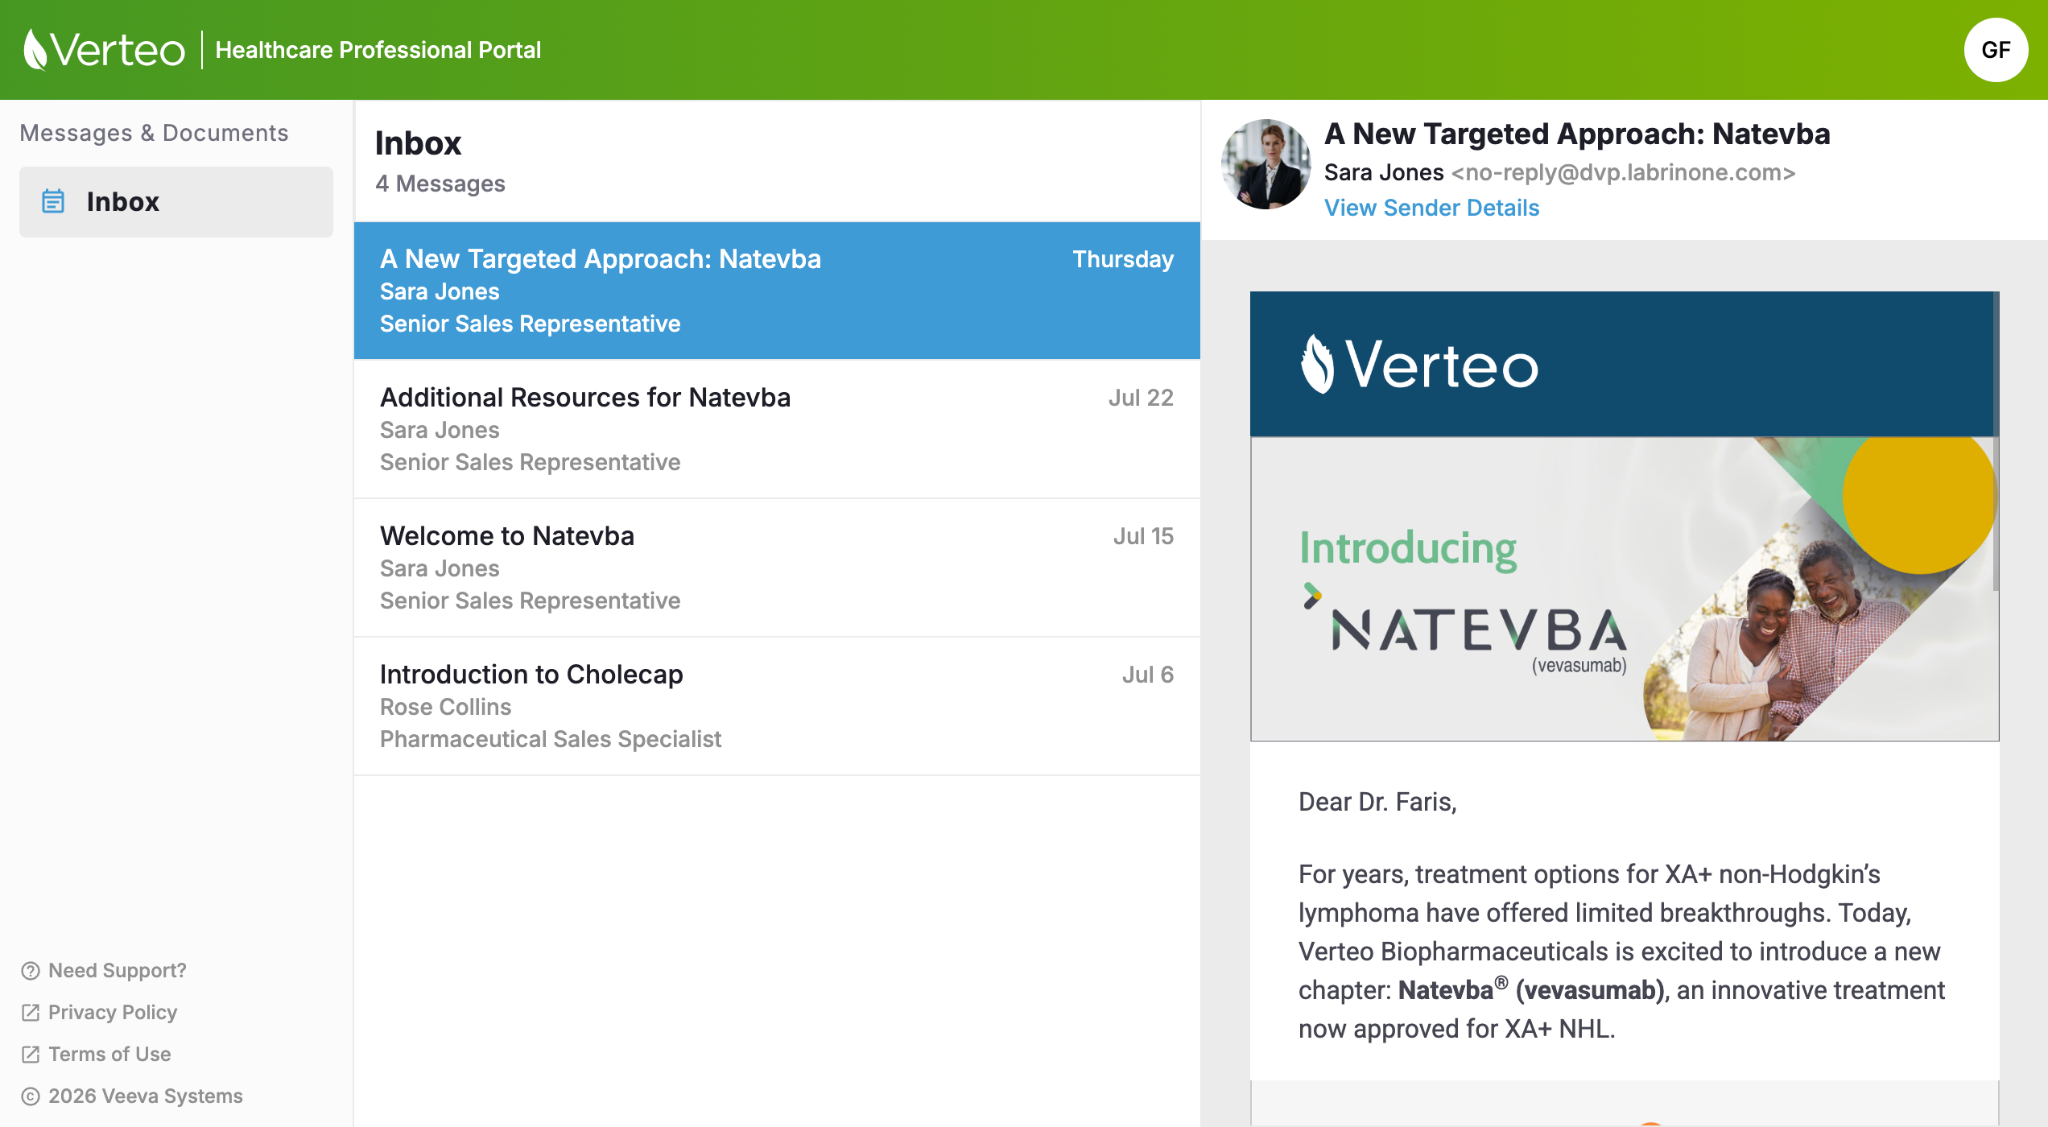
After logging in, HCPs can select the Inbox tab in the navigation menu and select the appropriate message to view the sensitive content. In addition to secure messages, the Inbox also includes any Sent Emails that have been successfully delivered from the past 365 days. This provides the HCP with an easy way to review all correspondence received from users for a given Vault in one place.
Tracking Secure Message Activity
Email activity records are created for both the secure message notification and the sensitive content in the portal under a single Sent Email record. The following activities are tracked:
|
Email Activity Type |
Activity |
Description |
|---|---|---|
|
Secure Message Notification Activity |
Delivered (delivered__v) |
The secure message notification has been marked as Delivered by Mailgun. |
|
Secure Message Notification Activity |
Opened (opened__v) |
The recipient opened the secure message notification in their email client. Mailgun tracks Opened events based on an image in the email rendering in the recipient's email client, usually a 1x1 pixel transparent image. If the recipient opens the email, the image downloads from the sending server, indicating the email is opened. |
|
Secure Message Notification Activity |
Clicked (clicked__v) |
A link in the notification email is selected, for example, the resolved portal link from {{secureMessageLink}}) |
|
Email Activity |
Opened (opened__v) |
The recipient signed into the portal and viewed the sensitive content. Content must be fully rendered before an activity will be generated. |
|
Email Activity |
Clicked (clicked__v) |
A link in the email is selected. |
The tracking_source__v field on all Email Activity records generated via Approved Email is set based on the source of the activity. For example:
- Email Activities related to delivery, opens, and clicks for the secure message notification have the source set to mailgun__v
- Email Activities related to opens and clicks for the sensitive content inside of the portal have the source set to my_engage_portal__v
Sent Email records split out activities related to the secure message notification from those related to the sensitive content. The following fields automatically roll up information from child Email Activity records for easy reporting on the opens and clicks for the secure message notification:
- notification_clicked__v
- notification_click_count__v
- notification_last_click_date__v
- notification_opened__v
- notification_open_count__v
- notification_last_open_date__v
The following fields automatically roll up information from child Email Activity records related to opens and clicks of the sensitive content inside of the portal:
- clicked__v
- click_count__v
- last_click_date__v
- opened__v
- open_count__v
- last_open_date__v
For more information on tracking, see Tracking Approved Email Activity.