Creating Multi-Action Campaigns and Journeys
The Multi-Action template enables marketers to execute more complex campaigns and journeys by supporting target list segmentation and follow-up actions. This streamlines the process of engaging different target segments with tailored content and sequences of messages, enhancing the effectiveness and efficiency of marketing efforts.
Who can use this feature?
- Marketing Users - Browser
- Creating a Multi-Action Campaign
- Planning and Executing Multi-Action Campaigns
- Users require a Campaign Manager license
Configuring Multi-Action Campaigns and Journeys for
To configure this feature, ensure Configuring Campaign Manager is complete.
Creating a Multi-Action Campaign or Journey as
To create a multi-action campaign or journey:
-
Navigate to Campaign Manager > Home.
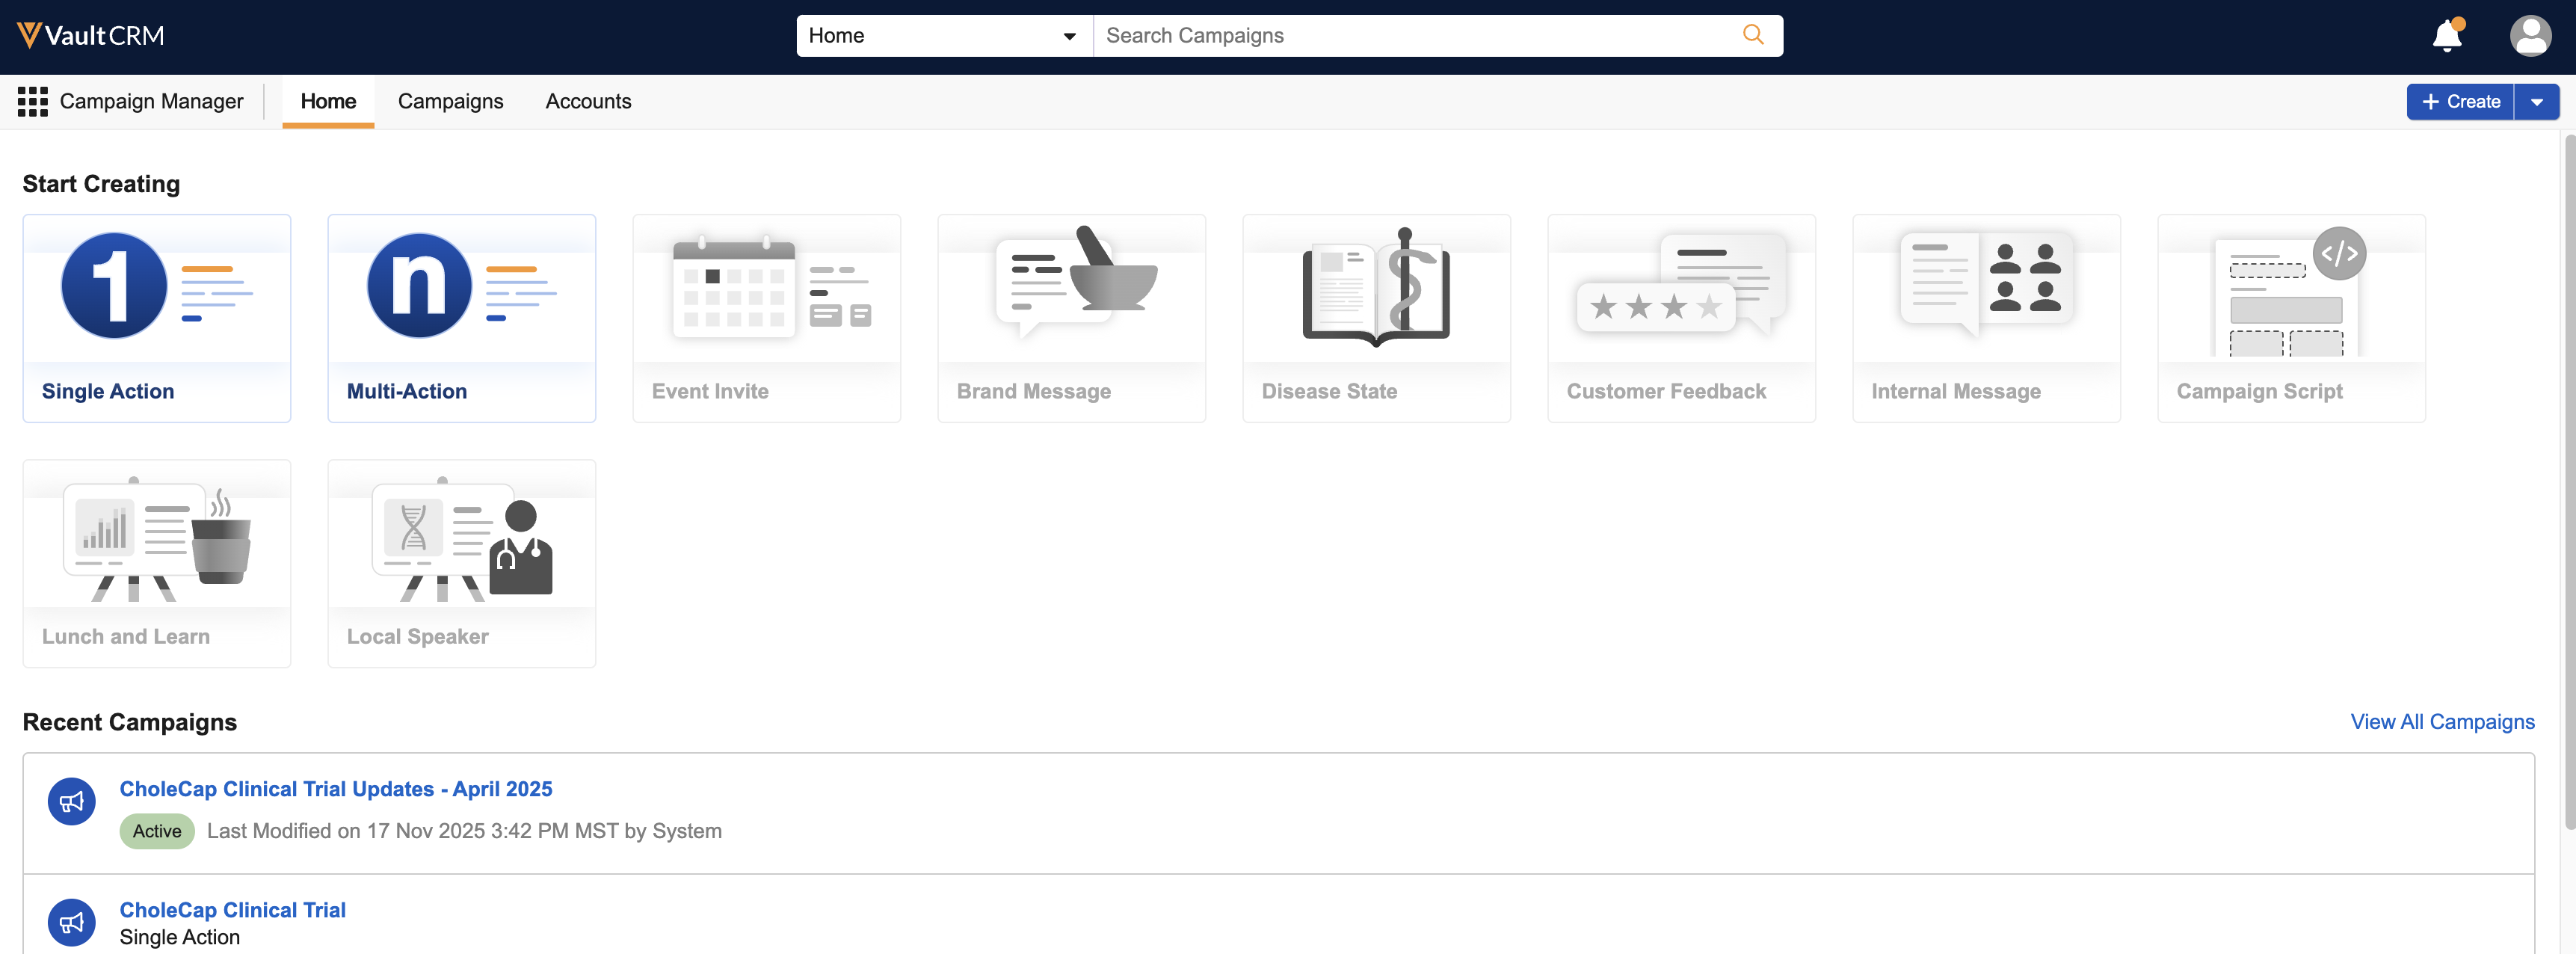
- Select ether Create Campaign or Create Journey.
- Select Multi-Action.
- Enter a Name. A maximum of 80 characters is supported.
-
Select Create. The new campaign or journey is created with the following fields automatically populated:
- owner__v – Populates with the user who created the campaign or journey
- vcountry__v – Populates with the vcountry__v field of the user who created the campaign or journey . If this field is not populated, the country is selected based on the user's country.
- campaign_time_zone__v – Populates with the timezone of the user who created the campaign or journey
Planning and Executing Multi-Action Campaigns and Journeys as
Once the campaign or journey is created, marketing users can perform the following processes to further plan, execute, and review Multi-Action Campaigns and Journeys:
1. Add Targets
Marketing users can create a target list of up to two million specific individuals targeted by the campaign or journey.
The following methods are available for adding targets to the campaign's target list:
- Build – Users can create filters on various fields and objects to create the target list. See Using the Target List Builder for more information.
- Copy – Users can copy the target list of an existing campaign or journey. See Copying Target Lists for more information.
- Import – Users can data load campaign targets via spreadsheet. See Importing Target Lists Using the Data Grid Loader for more information.
- Search – Users can search for and add individual accounts to the target list. See Manually Adding Targets to Target Lists for more information.
Once targets are added to the list, users can review and refine the target list, using the above methods, except for the Target List Builder, as well as adding new targets, removing individual targets, or removing all targets from the campaign. See Managing Target Lists for more information.
This is an optional step prior to activation for journeys.
2. Define Segments (Optional)
Marketing users can divide the targets of their campaign or journey into segments based on supported account__v fields, each of which can be assigned a distinct and unique flow. This enables more flexible, targeted, and relevant campaigns and journeys.
See Segmentation in Campaign Manager for more information.
3. Add Details
Use the Add Details section to specify the primary action to use for the campaign or journey based on the selected channel:
- Field Email with optional Field Review
- Field Action
See Using Campaign Manager to Send Emails for more information.
Additionally, marketing users can execute more complex campaigns and journeys with automated follow-up actions to their campaign or journey's primary action. This streamlines the process of engaging different target segments with tailored content and sequences of messages, enhancing the effectiveness and efficiency of marketing efforts. See Creating Follow-up Actions for more information.
This section is also where marketing users can create and define distinct flows for one or more segments. See Defining Flows for more information.
4. Activate the Campaign or Journey
Users can activate immediately, or schedule activation for a specific date and time.
See Activating Campaigns and Journeys for more information.
The primary action for all flows is executed alongside the campaign or journey activation. Follow-up actions execute based on their configured timing.
5. Monitor Performance
After activation, users can monitor key metrics associated with each channel action to gauge effectiveness. See Monitoring Performance in Campaign Manager for more information on when these metrics become available for review, as well as when these metrics update.
Additionally, users can view performance details.

