Displaying Website Content in the Media Library
Vault CRM supports displaying website content in the media library. Content creators can create websites with approved content which users can share with HCPs during calls and Engage meetings, while ensuring the content is compliant.
For example, your company has an online portal containing product information, which users can access from the media library in the Vault CRM app. During a call with an HCP, you receive a question about a popular product, but you do not know the answer. However, details about all products are listed on the online portal, so you navigate to the Websites tab in your media library and select the portal website. The website is launched in the embedded browser. You navigate through the website to find the correct answer and display it to the HCP. When you finish presenting the website, you exit the embedded browser and select the HCP's account to track the activity.
Who can use this feature?
- Content Admin Users - Browser
- Create website content
- Content Creator Users - Browser
- Create and manage website content in PromoMats/MedComms
- End Users - iPad, iPhone (CRM Desktop (Windows) coming soon)
- Display websites in the media library
- Display websites during calls and Engage meetings
- Users do not require an additional license
Configuring Websites for
To configure syncing website content from PromoMats/MedComms:
- Ensure Configuring CLM as Object Model is complete.
- Navigate to Admin > User & Groups > Permission Sets.
- Select the appropriate permission set.
- Navigate to Objects > Key Message.
- Grant Edit field permission to the url__v field on the key_message__v object.
- Navigate to CRM Setup > Content Setup > CLM.
- Select View Map for the appropriate PromoMats/MedComms connection in the Vault Connection Management section to update the field mappings.
- Select Sync.
To configure website content:
- Ensure Configuring CLM as Object Model is complete.
- Grant Edit field permission to the url__v field on the key_message__v object.
To configure website content:
- Ensure Configuring CLM as Object Model is complete.
- Navigate to Admin > User & Groups > Permission Sets.
- Select the appropriate permission set.
- Navigate to Objects > Key Message.
- Grant Read field permission to the url__v field on the key_message__v object.
Creating and Managing Website Content in PromoMats/MedComms as
Content creators can create and manage website content as binders and slides in PromoMats/MedComms. Website content then syncs to CRM as part of the CLM integration with PromoMats/MedComms.
To create website content in PromoMats/MedComms:
- Navigate to Admin > Configuration > Document Fields > Multichannel Slide.
- Select Add > Existing Shared Field.
- Add the website__v Shared Field to the Multichannel Slide document type.
- Navigate to Business Admin > Objects > Websites.
- Create a website__v record with the following information:
- URL – The URL for the website content. Tokens can be appended to the URL for activity tracking. See Adding Tracking Tokens to Website URLs for more information about supported tokens.
- Status – Active
- Distribution Channel – CRM
- Navigate to All > Library.
- Create a Multichannel Presentation.
- Create a Multichannel Slide in the Multichannel Presentation binder. A Multichannel Presentation binder for a website must only contain one Multichannel Slide.
- Populate the website__v field in the Engage Properties section on the Multichannel Slide with the newly created website__v record.
- Upload a distribution package to the slide. The distribution package is a zip file containing a folder with the following thumbnail assets:
Type
Naming Convention
Resolution (in pixels)
Poster
<filename>-full.jpg (for example, verteo-full.jpg)
1024 x 768
Thumbnail
<filename>-thumb.jpg (for example, verteo-thumb.jpg)
200 x 150
Ensure the name of the folder matches the filename in the thumbnail assets. For example, if the thumbnail is named Verteo-thumb.jpg, the zip file must be named Verteo.zip.
- Select Yes for the Publish to Veeva CRM (CLM) field to allow the Multichannel Presentation binder to sync to CRM.
- Select Yes for the Publish to Veeva CRM (Weblink) field to allow end users to share the website content via social messaging apps.
- Select Save.
Object lifecycles are not supported for the website__v object.
Creating Website Content as
To create website content, create the following records with the following fields:
- clm_presentation__v
- description__v
- keywords__v
- clm_presentation_status__v – This field must be set to Approved for the website to display as available to end users
The clm_presentation__v records for websites are not supported as sub-presentations.
- key_message__v
- active__v – This checkbox must be selected
- description__v
- url__v – The URL of the website. The Websites tab in the media library displays when users have visibility to this field. Tokens can be appended to the URL for activity tracking. See Adding Tracking Tokens to Website URLs for more information about supported tokens.
The key_message__v records for websites are not supported as shared resources or required slides.
- clm_presentation_slide__v
- clm_presentation__v – Populate with the newly created clm_presentation__v record
- display_order__v
- key_message__v – Populate with the newly created key_message__v record
For a website, there must only be one key_message__v and one clm_presentation_slide__v record per clm_presentation__v record.
Website content cannot be created in PromoMats/MedComms like CLM presentations and must be created in CRM.
Content creators cannot use the gotoSlide or launchSelector functions in CLM content to launch websites from other presentations.
Displaying Websites in the Media Library as
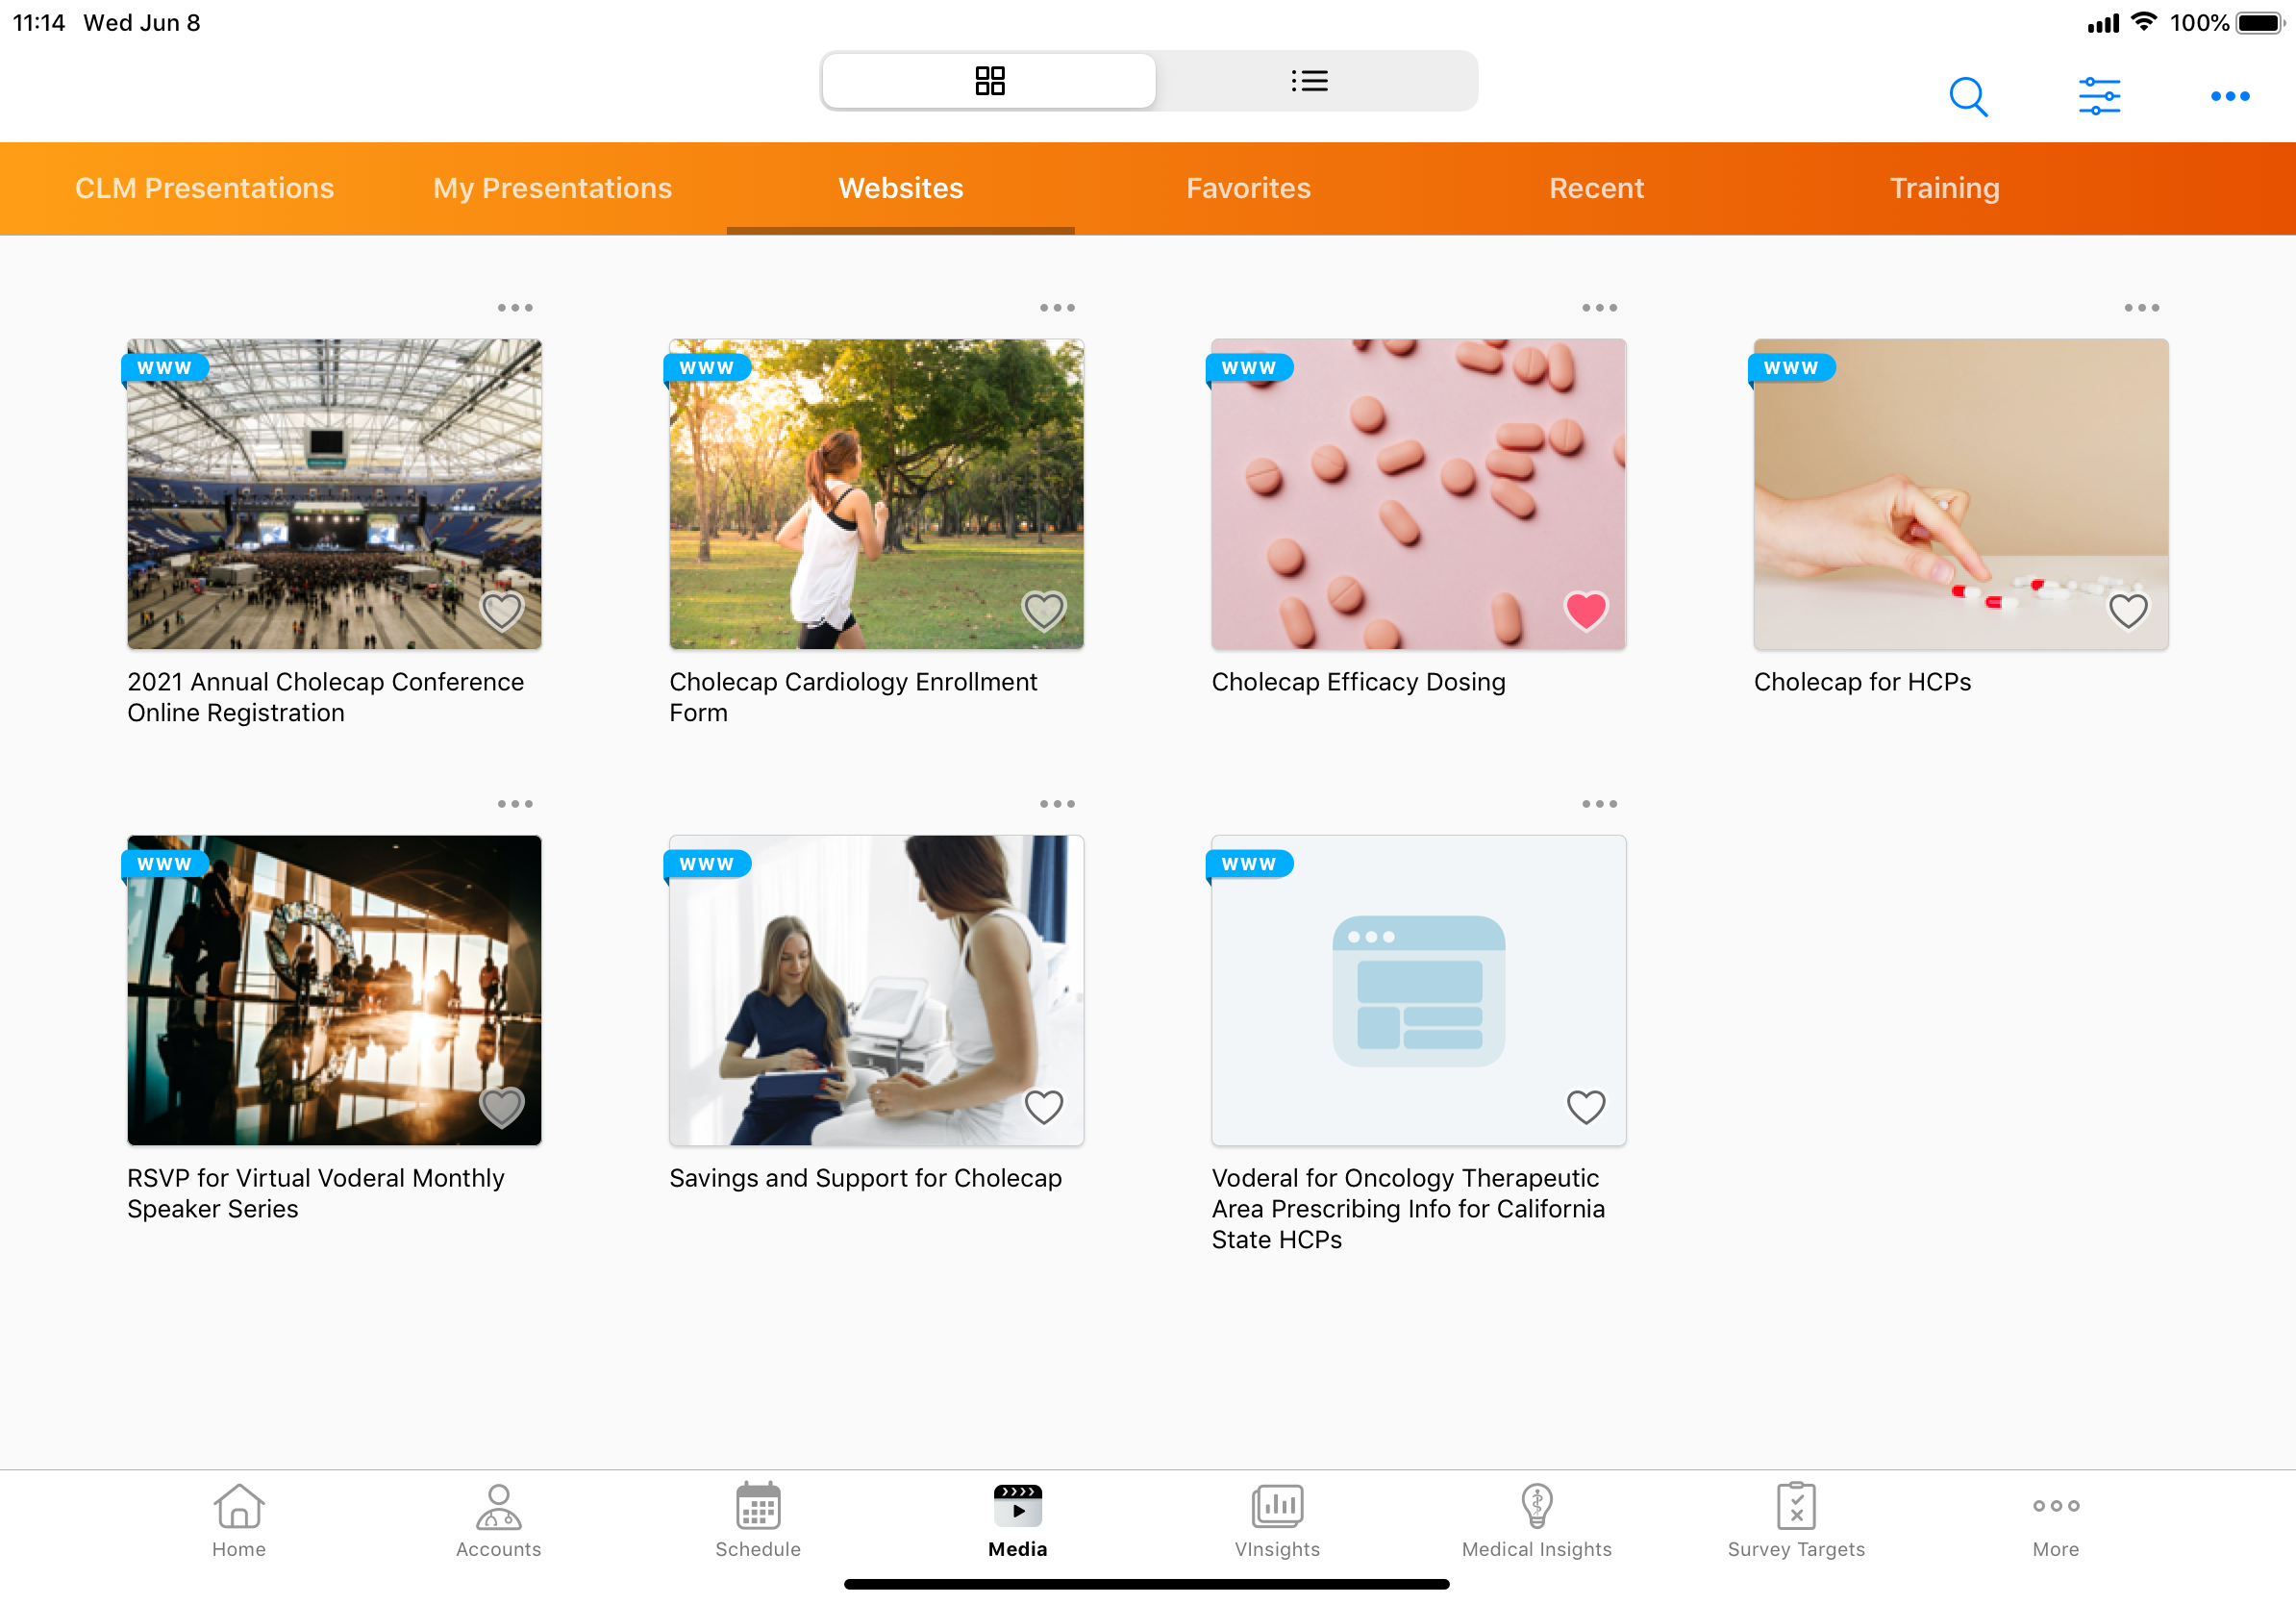
Websites display in the Websites tab in the media library.

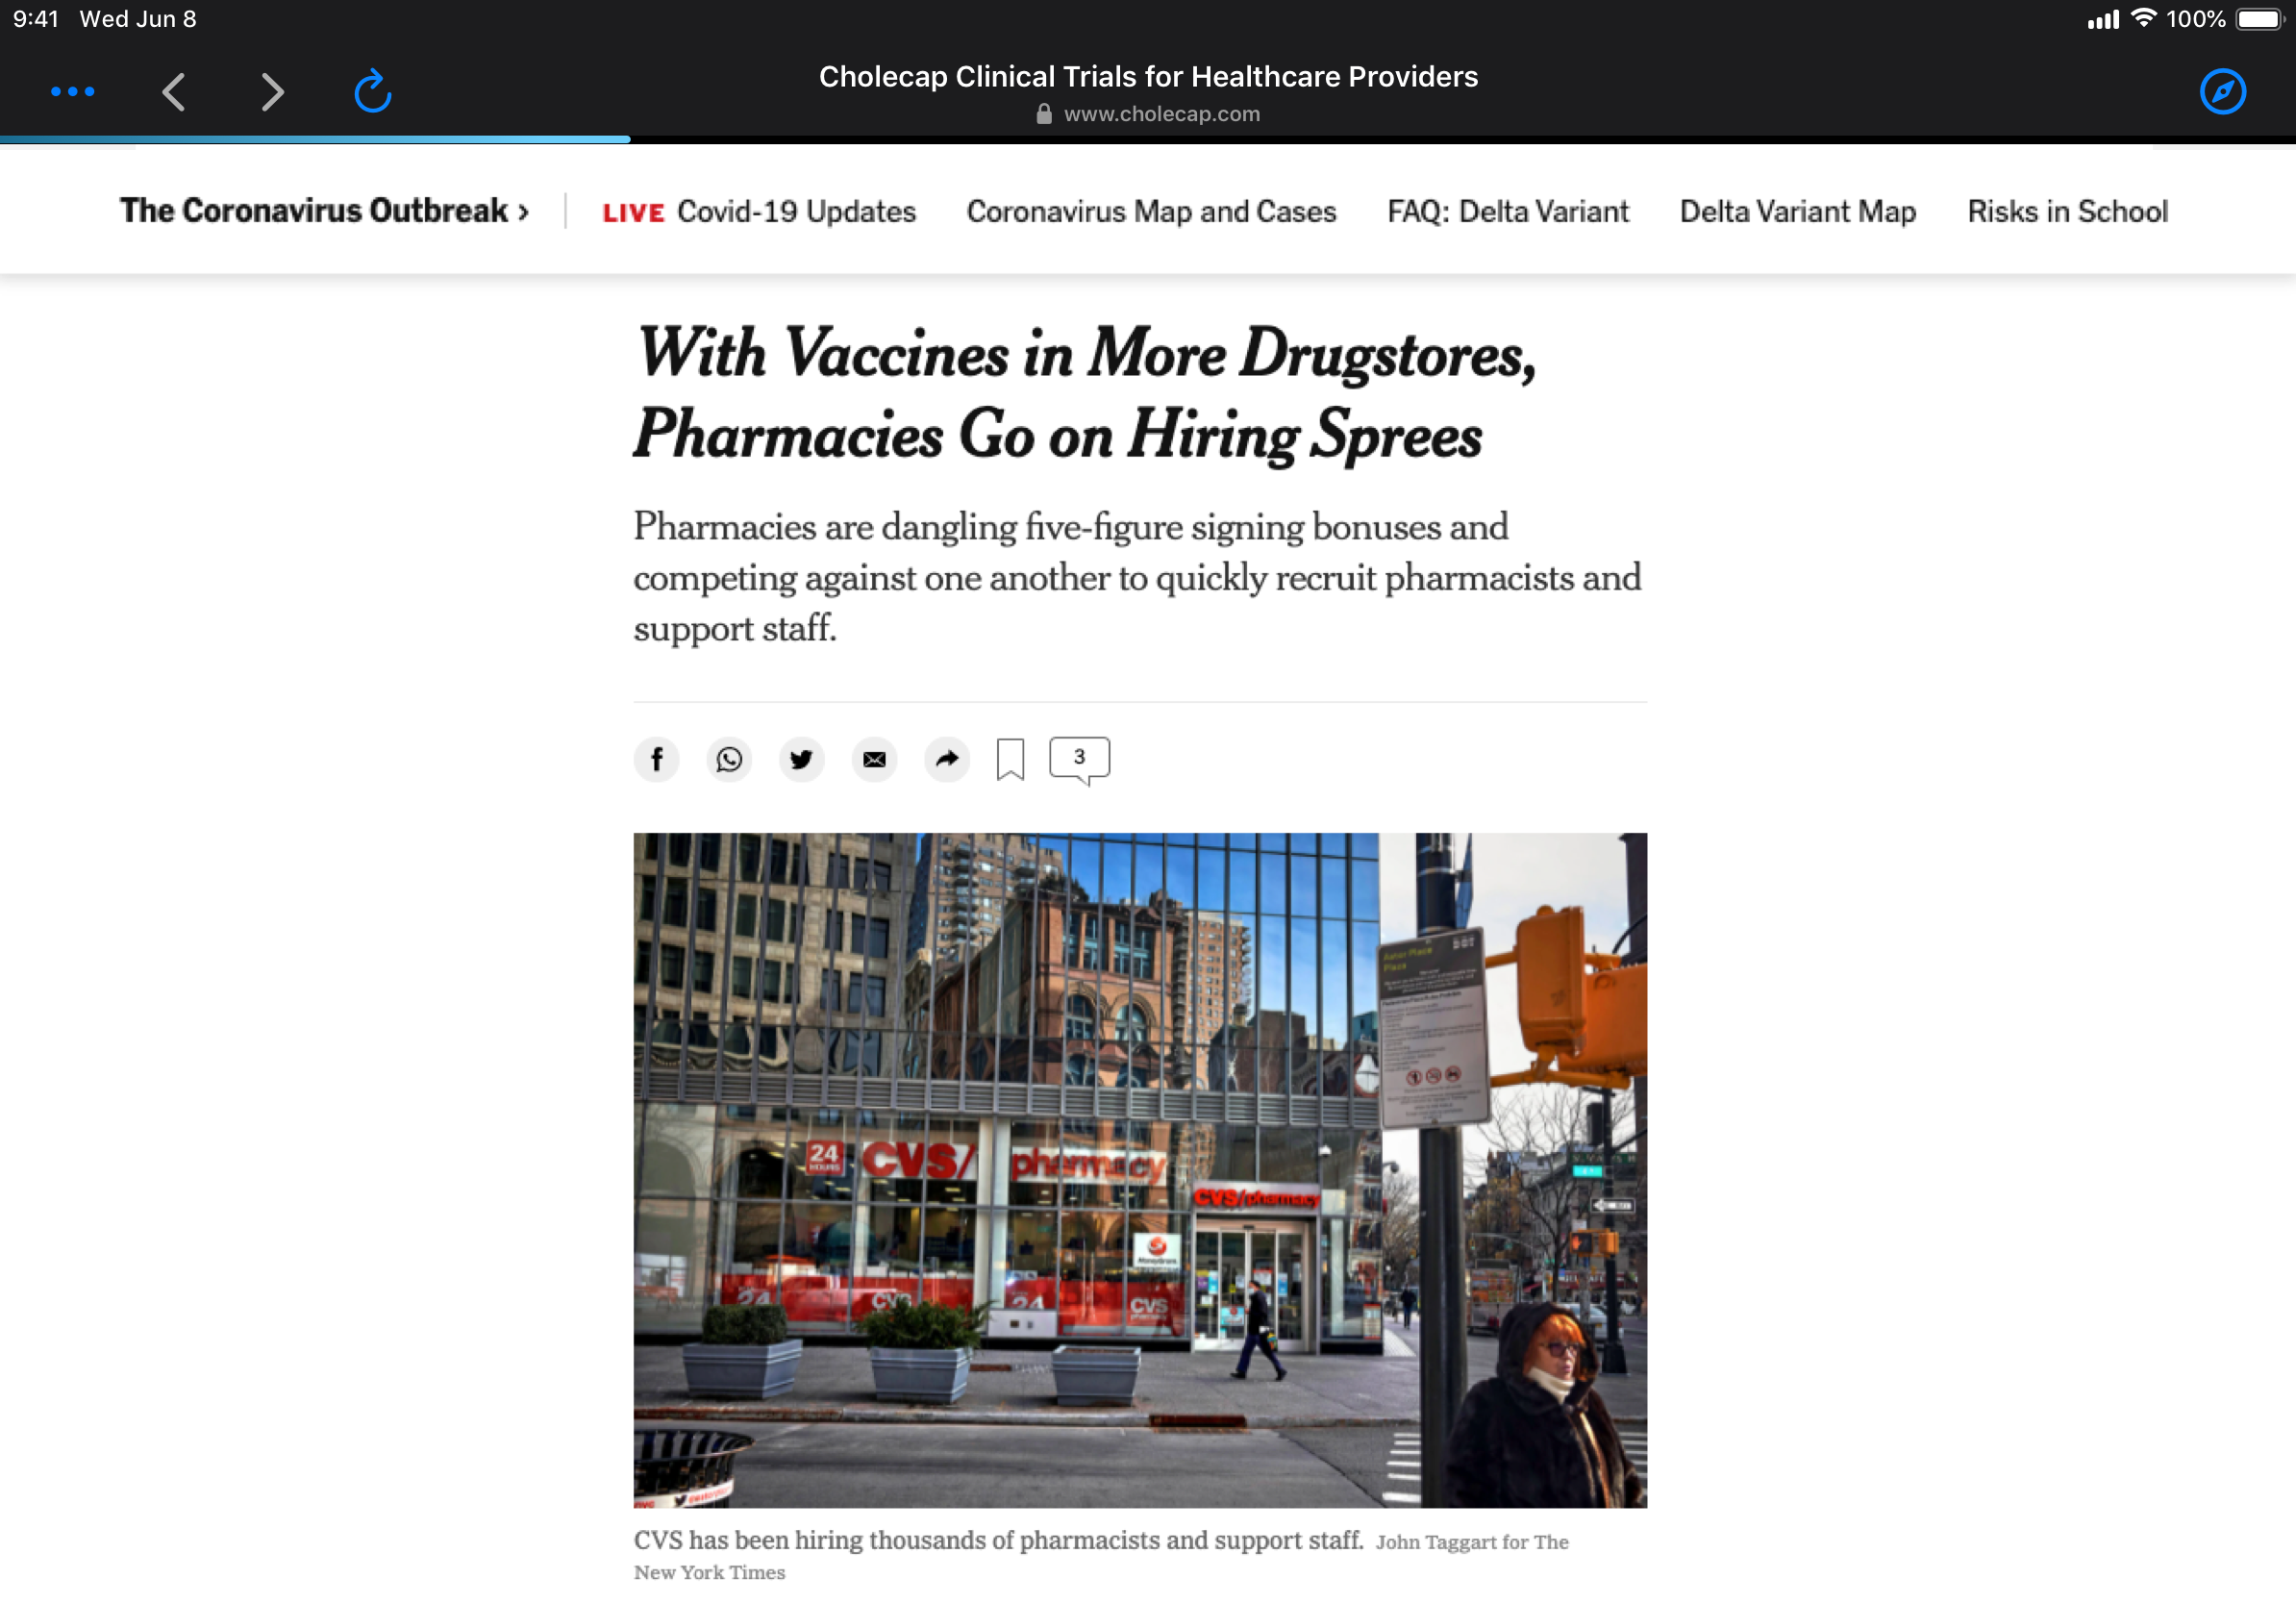
To display a website, navigate to the Websites tab in the media library and select the appropriate website thumbnail. The website displays in the embedded browser. When displaying a website, users can navigate within the website or launch the website in Safari using the Safari button in the top right corner.

Users can also perform the following actions from the All Actions menu or when exiting the embedded browser:
- Done – Exit the embedded browser. Users can select an account to save the website activity for tracking, save the activity for later, or discard the activity.
Website activity only tracks how long the user displays a website in the browser. Navigation within the browser is not tracked.
- Find Media – Navigate to another website or a CLM presentation. The media library displays in an overlay. Select Close to exit the overlay.
- Select Account – Select an account to create a call and save the website activity for tracking. A list of available accounts displays. If the Select CLM Call Record Type Multichannel Setting is enabled, users must select the call object type after selecting the account.
- Save for Later – Save the website activity for tracking and exit the embedded browser without selecting an account. Users can associate the activity with an account later.
Displaying Websites During Calls and Engage Meetings as
Users can display websites in the embedded browser during calls and Engage meetings.
To display a website during a call or an Engage meeting:
- Select the Media button on the call report.
- Navigate to the Websites tab.
- Select the appropriate website.
To share websites linked to PDF content during Engage meetings, admins must enable Host Screen Sharing on iPad.
Websites displayed during calls or Engage meetings are tracked on the call report, similar to CLM presentations. SeeTracking CLM Key Messages for more information.
Users cannot select reactions while displaying a website in the embedded browser. Users must exit the embedded browser, navigate to the Key Messages section of the call report, and select the appropriate value for the reaction__v field of the website key message. See Using Key Messages on the Call Report for more information.
Considerations
- Restricted products, allowed products, and segmentations for accounts are respected and control which websites users can display to each account
- The CLM Enable Auto Launch Veeva Setting is ignored to allow users to display websites in the embedded web browser

